In this part, things should get a little more interesting as we set up a Power App and our SharePoint site.
Objectives
- Create SharePoint Online Team Site.
- Create a Power App for team members to collect data with.
- Embed this Power App into a SharePoint page so we can do more work in a single environment.
Creating Our SharePoint Team Site
Using our existing SharePoint Online instance, I’m going to create a new Team site off of the root site collection.
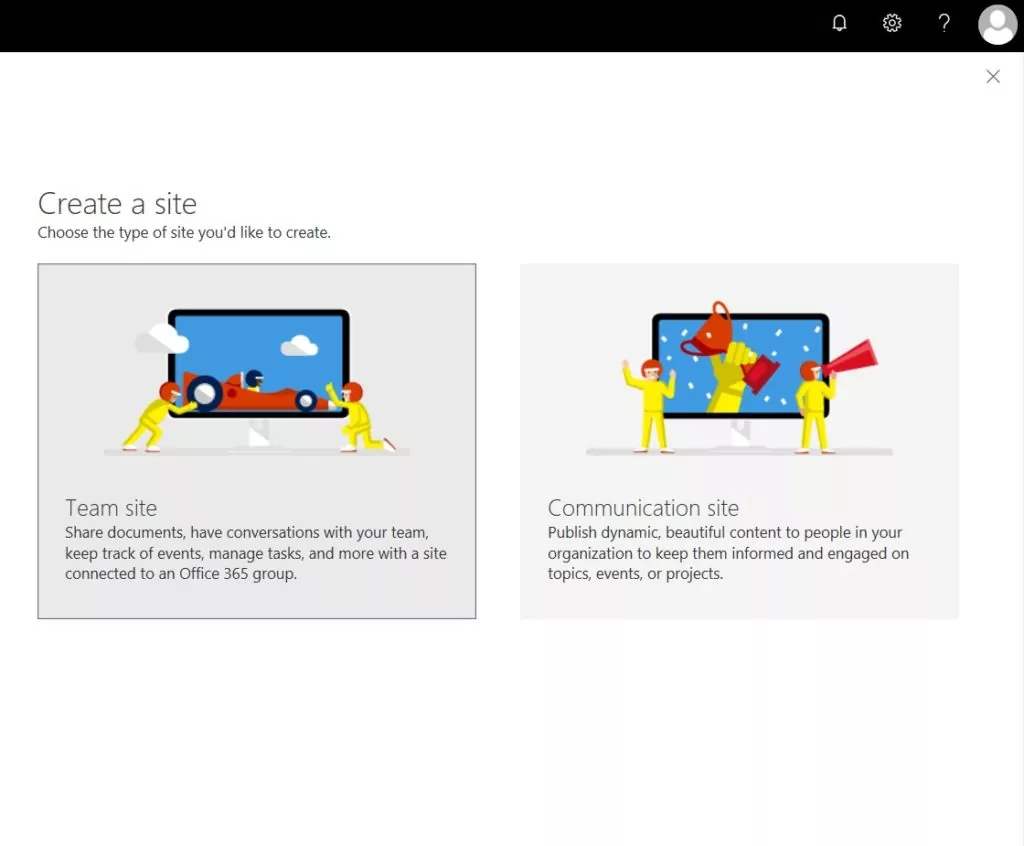
- From the home page of the root site collection, click the “Create site” button.

2. Select Team site on the panel that opens.
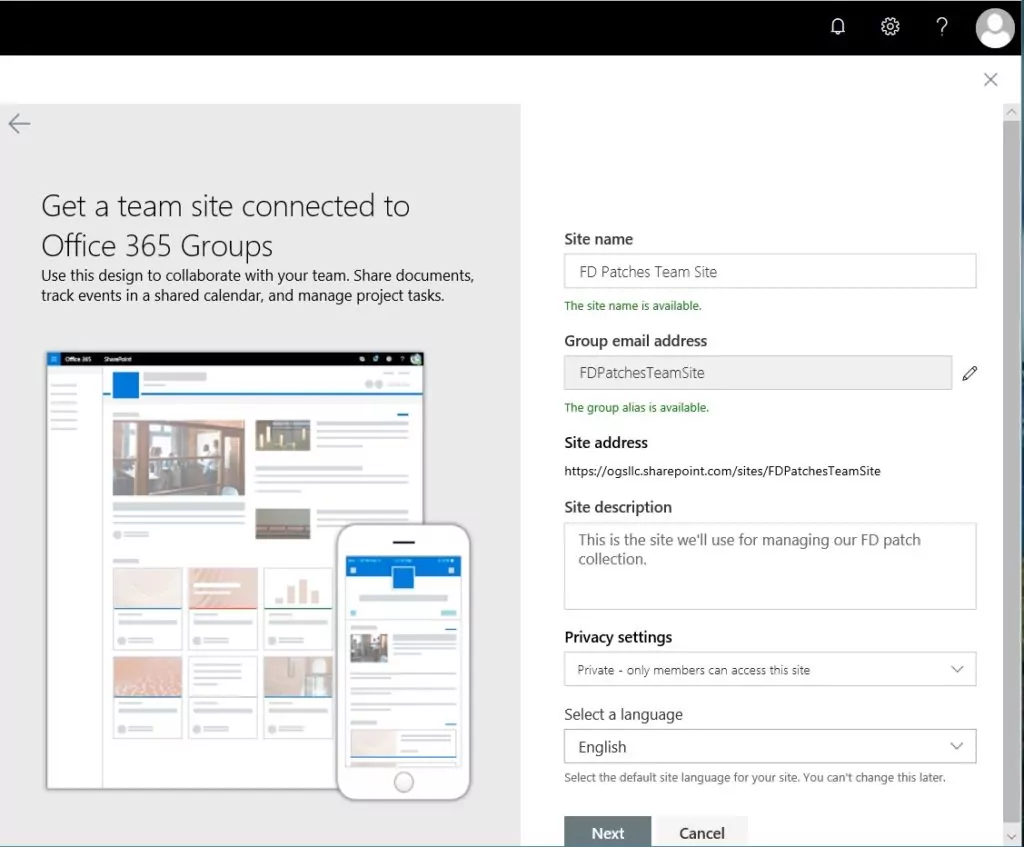
 3. Fill in the information on the next page and click Next.
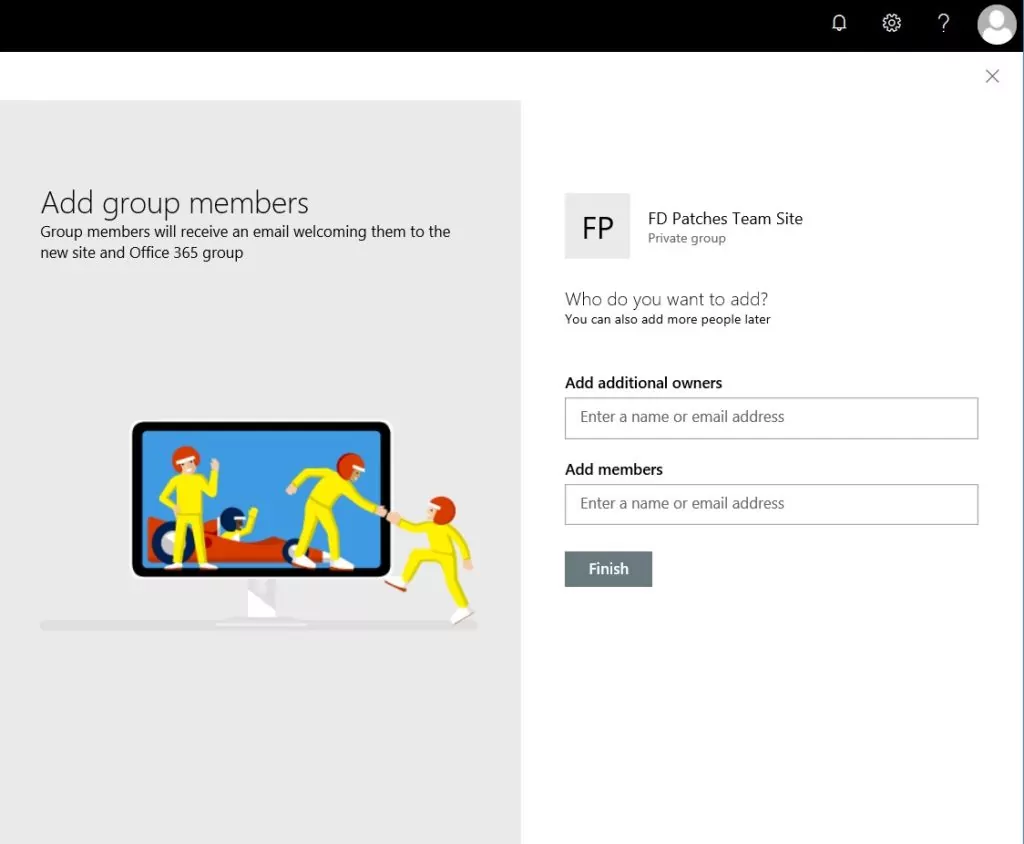
4. Add any additional users and click Finish.
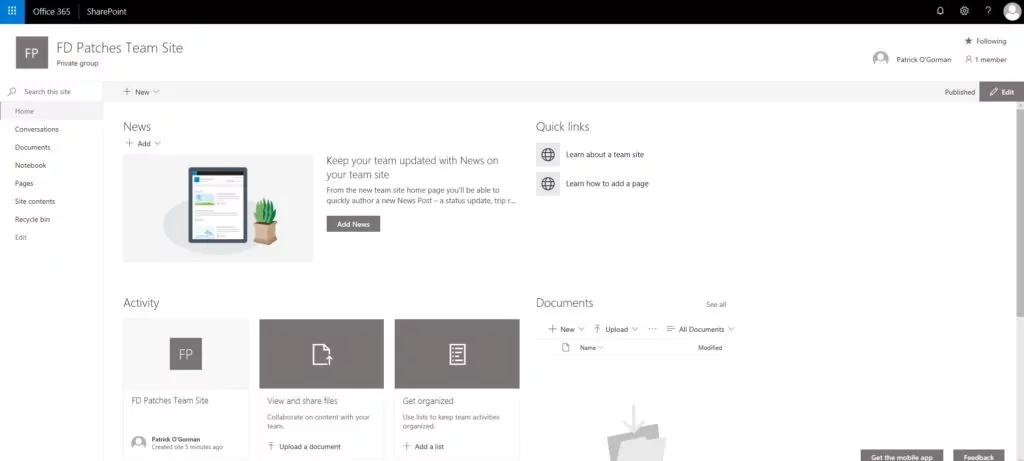
If all went well, you should be redirected to the new site.
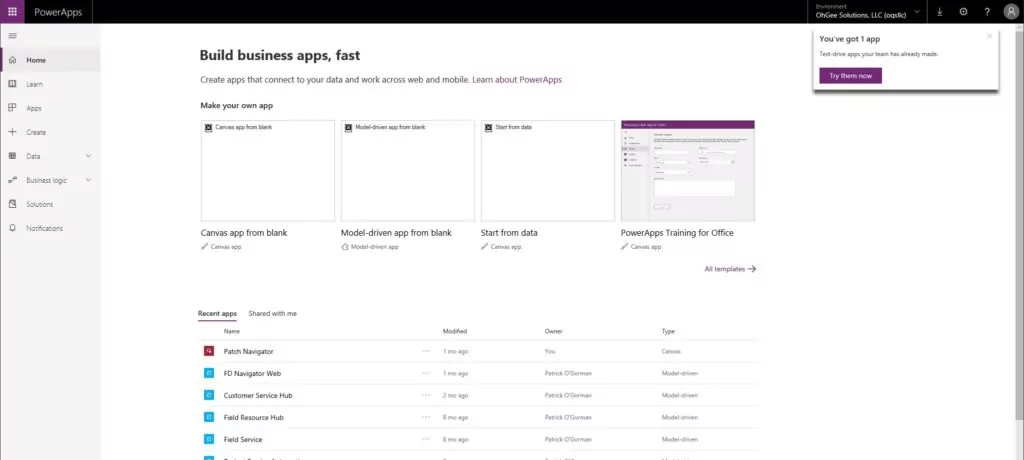
Creating the Power App
To be clear, we are going to create a “canvas” Power App as opposed to a model-driven Power App. To get this going I’ll navigate to my Power Apps environment and create a new app.
-
- From your Power Apps home page, click Create.
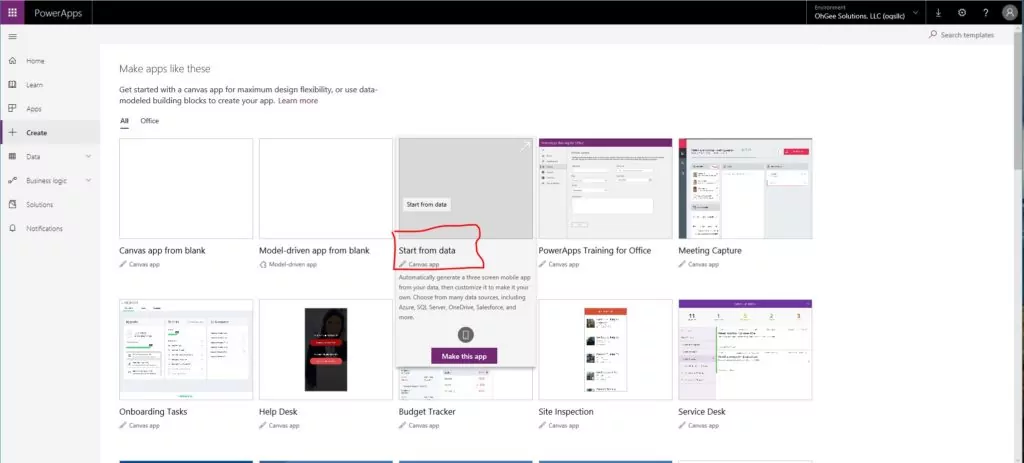
- On this page you can see various templates for making both model-driven and canvas apps. We’re going to use the “Start from data” Canvas app.
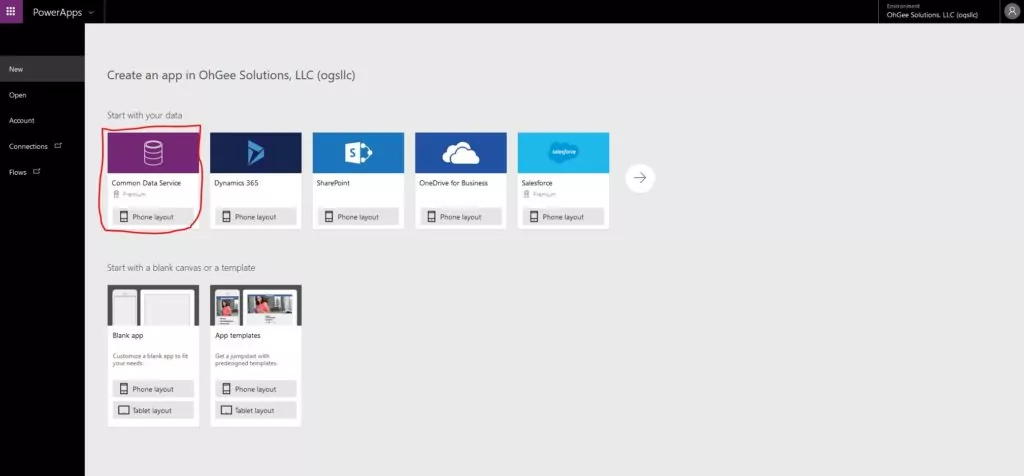
- On the next page we see multiple choices for apps that start with our data. I’m going to use the Common Data Service here.
- With my Common Data Service account instance selected under “Connections,” I scroll to find and select the “Patches” table, then click “Connect.”
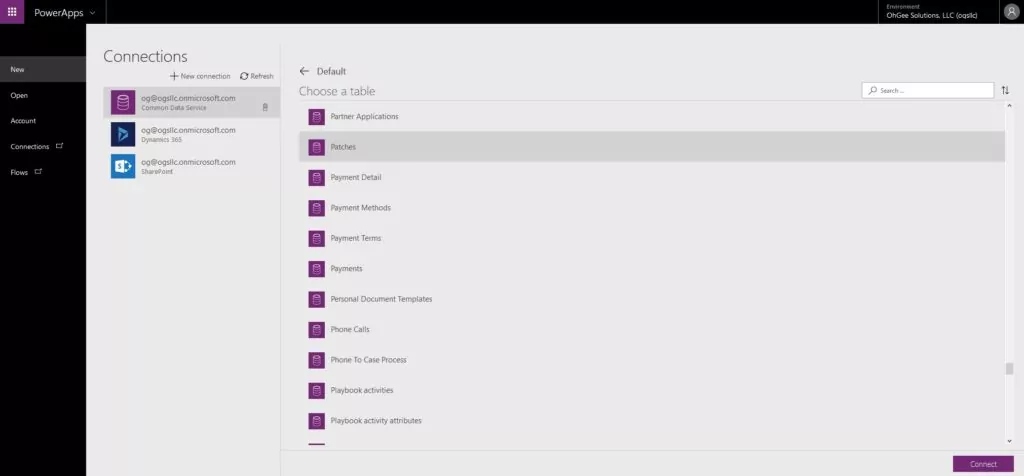
PRO TIP: If you get to this point and you still don’t see your data, make sure to check the “Environment” at the top right of the window. You may not have the correct environment selected where your data is stored. You can read more about Environments in Power Apps here.

-
-
-
- Once Power Apps is done creating the new app, the app designer will appear.
-
-
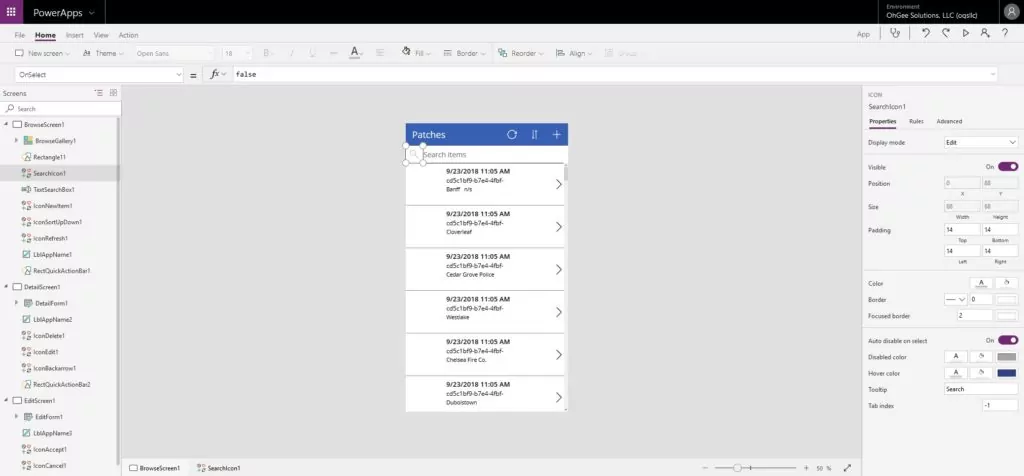
Let’s pause and look at this screen for a minute. On the right, we have our properties and some other items, in the middle we have our design canvas, and on the left we have our Screens Explorer. In our Screens Explorer we see three screens already created for us: the browse, detail, and edit screens.
If you look under each of those screens you’ll see a primary user interface object that is collapsed (meaning it has content/child nodes underneath it), along with some other user interface elements that usually provide some other functionality or a label. When you select an element in the Screens Explorer it will also be selected on the design canvas. In the previous screen shot, the Search Icon is selected under the Browse Screen 1 item. Consequently, the search hourglass on the design canvas is also selected.
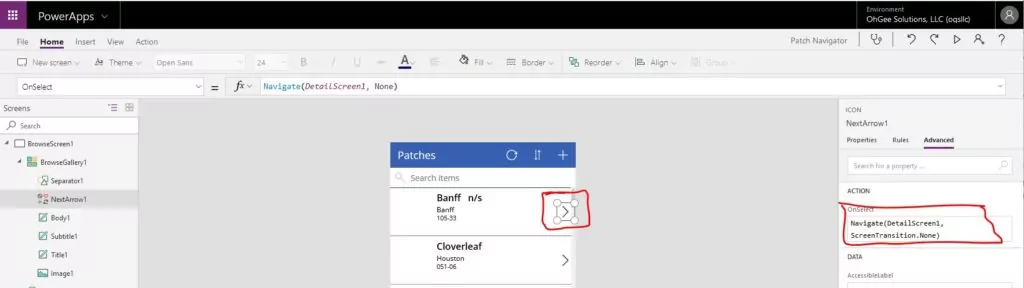
We don’t want to change this up much, but I think we can all agree that it would be a lot more helpful to have something other than the created-on date and item id as our main fields for each row.
PRO TIP: Power Apps provides us with a super fast way of spinning up apps by automatically building things into our apps like navigation and search controls. Be careful about changing or removing these unless you plan to replace them with a control of your own that provides the same functionality. Oftentimes if you remove one of these you render a portion of the app unusable or difficult to access. To see what a given user interface item does, select it in the designer and check out the “OnSelect” Action in the Advanced tab on the right.
-
-
- Select the bolded date field on the row item on the design canvas and make sure the Advanced tab is selected on the right.
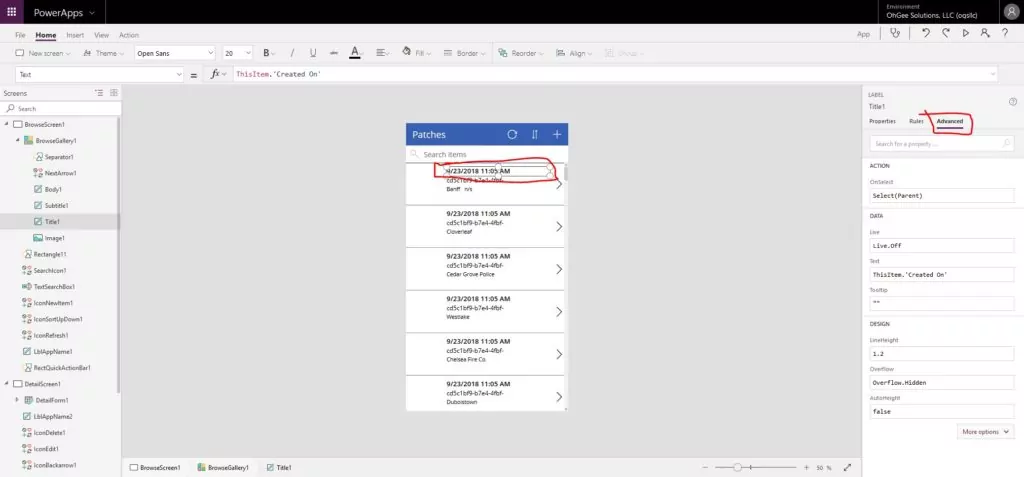
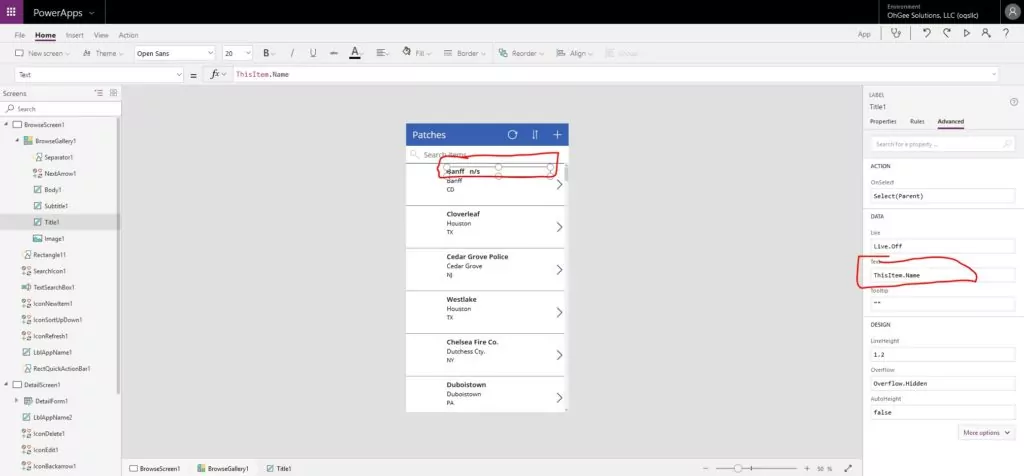
- In the Data section under the Advanced tab, we can use the Text field to change what we want displayed in each of these user interface elements. I’m going to change the first to name, the second to city, and the last one to state.
- Select the bolded date field on the row item on the design canvas and make sure the Advanced tab is selected on the right.
-
Once we’re done tweaking the browser display we’ll want to work on the detail and edit forms. These work a bit differently.
-
-
- Select the Detail Form under the Detail Screen node. In the right pane under Properties, select the Fields link that indicates the number of fields currently selected.
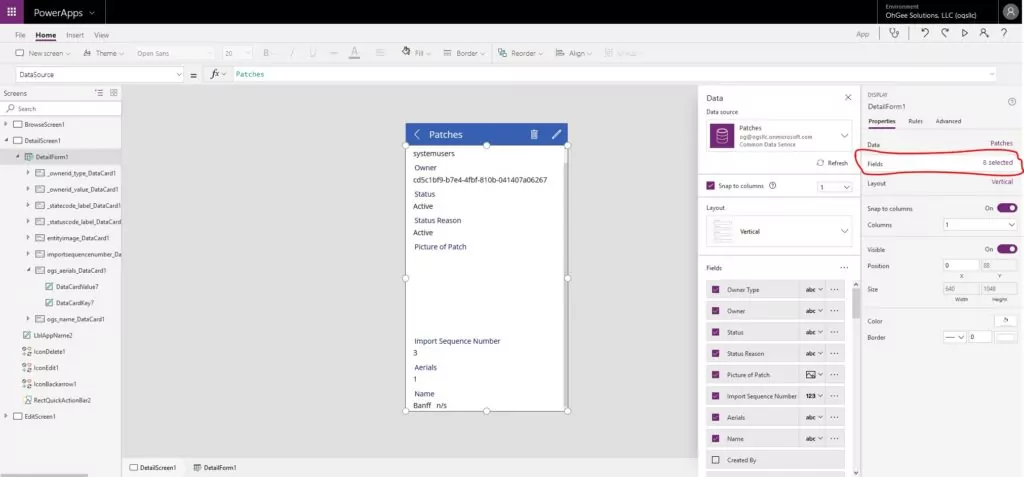
- Check any fields you would like that aren’t currently on the form. Similarly, uncheck any fields the system put on the form that you want to remove. You can also reorder the fields to your liking.
- Select the Detail Form under the Detail Screen node. In the right pane under Properties, select the Fields link that indicates the number of fields currently selected.
-
After a little bit of tweaking to both our detail and edit forms, we’re ready to publish this Power App. You can preview the app with the “Play” arrow icon near the top right, or just switch over to your File menu to wrap things up.
-
-
- Click the File menu and under App Settings give your app a name and feel free to play around with the icon and background color. There are other settings you can explore too but for now we’ll just cover the basics.
- Click “Save” to save your app to your gallery.
-

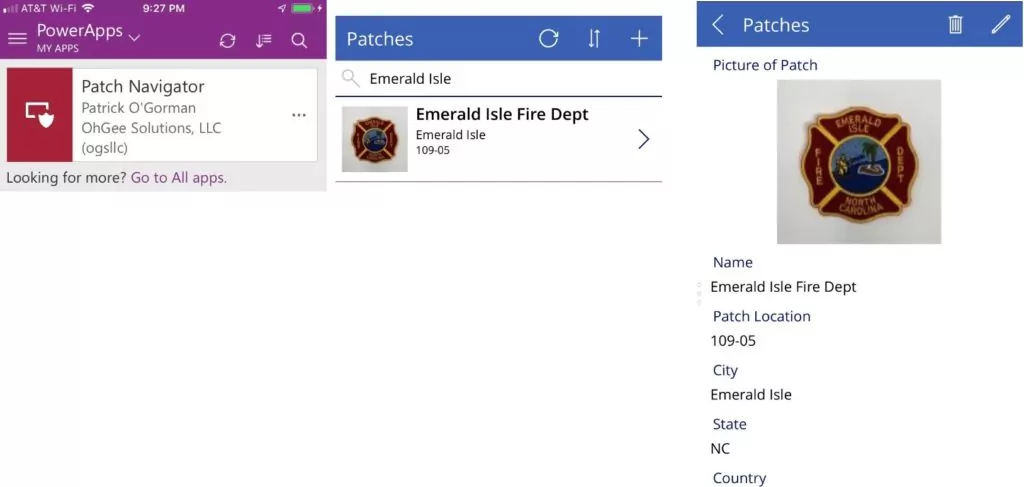
In this next screen shot I’ve captured our three screens from left to right: display, detail, and edit. 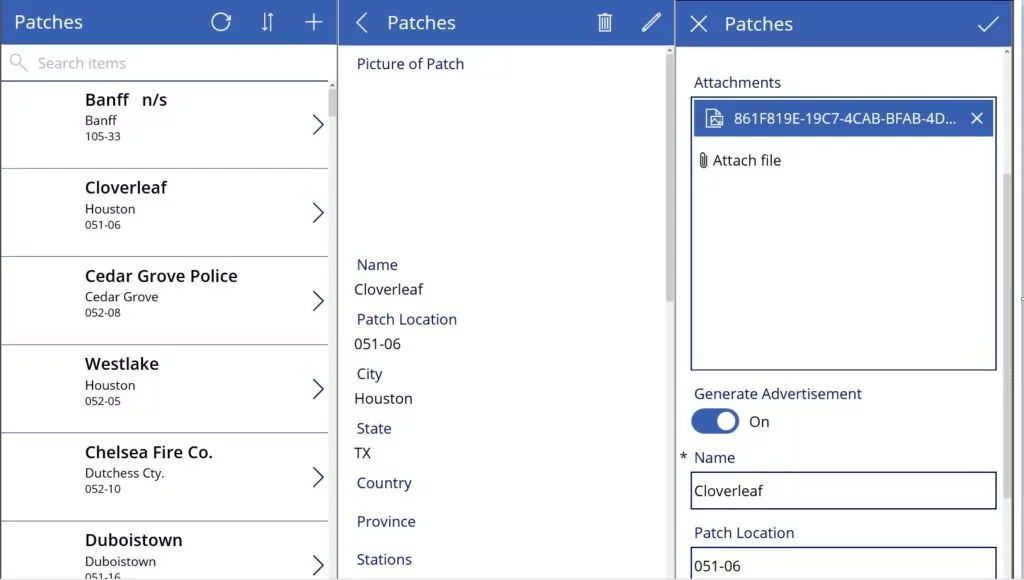 .
.
You might be wondering what the Generate Advertisement switch is for on the edit screen. We’ll use that to toggle that specific functionality later in our Flow.
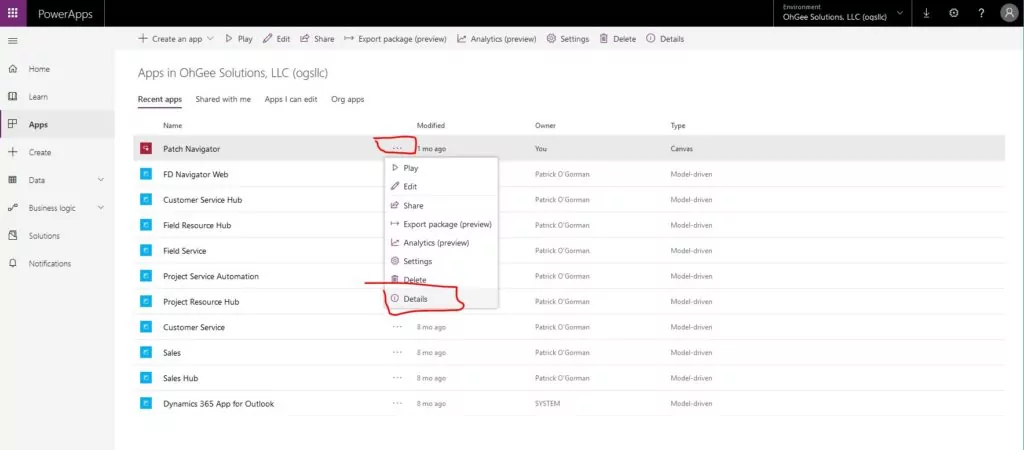
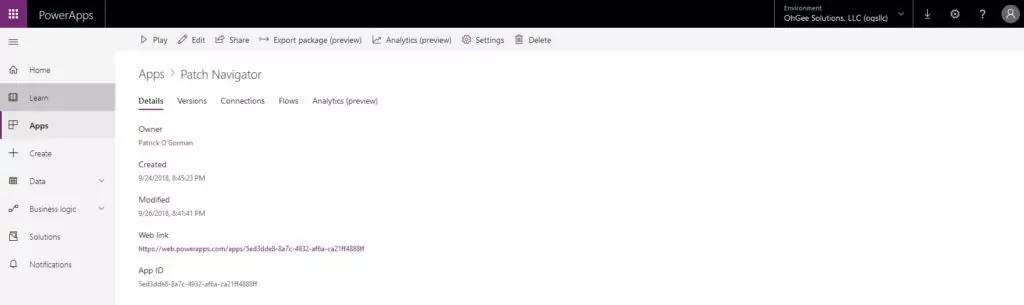
Finally, if you click on the ellipsis for the new app in our Power Apps app gallery, you can click “Details” and get additional helpful information for the app such as the app URL. This will come in handy for what we do next.
Here are some screen shots from my mobile phone as I helped gather inventory for this massive side project!
Embedding the Power App in SharePoint
As mentioned, we don’t want to find ourselves jumping back and forth between application instances for managing inventory. Thankfully we’re able to embed our Power App into the SharePoint page we want so we can do a lot of our common work from that one screen.
-
-
- Open the SharePoint site we created earlier and edit the home page. I’ve tweaked mine so we only have the Documents Library web part and some empty columns.
- Click the plus button in the right column to add a new web part. Find the Microsoft Power Apps web part and select it.

- Paste the link from your Power App into the “App web link or ID” field in the right pane that opens. The app should come up in the new web part.
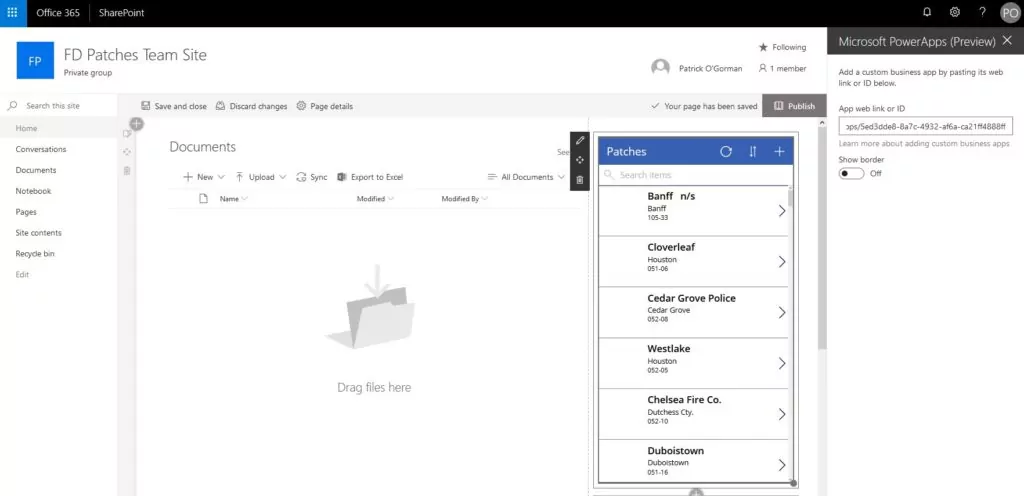
- Publish the page.
-
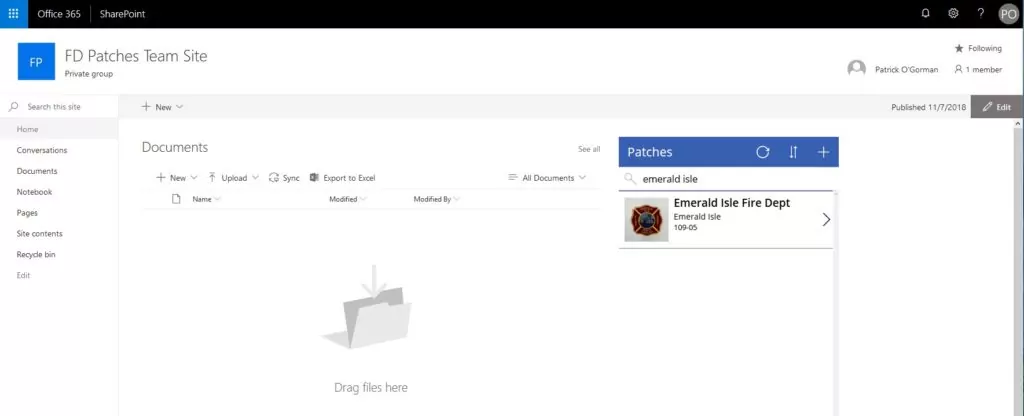
We can now use the same Power App that everyone else will be using on their mobile devices, right here in SharePoint.
Tune in next time, when we’ll use Microsoft Flow to move some data around, automatically generate advertisements, and notify team members of important events.