Part One: Identify, Define, Build, Migrate
 My dad passed away in 2015, leaving behind an extensive collection of fire trucks, patches, and other fire department (FD) memorabilia. Before he passed, he gave us instructions to sell them and some direction on what to do with the money. After a few years of not really wanting to deal with it, my family decided to make a project out of it. My mom, sister, wife, two daughters, and I are working our way through thousands of patches, hundreds of fire trucks, and who knows how many pendants and other trinket like items, all while working full-time jobs (school for the kiddos) and from different locations.
Dad was great about logging his patches into a Microsoft Access database, but not so good about taking pictures of them, and even worse at logging his fire trucks and other items. The objective and high-level steps for this project were quickly identified.
The Objective
- Help my mom liquidate my dad’s enormous fire department memorabilia collection.
The High-Level Steps
- Identify the technologies to be used. Easy!
- Microsoft Dynamics 365 & Common Data Service – our foundation.
- Microsoft Power Apps – mobile app for inventory capture.
- Microsoft Flow – move data and attachments around, auto-create ads.
- Microsoft SharePoint – store ads, images. Keep large files out of CDS.
- Complete a first-cut of the data schema and migrate the patches data from the Microsoft Access database.
- Configure a software solution for the family to use so we can all capture data to a single database. Solution must be user friendly!
- Configure processes that streamline the creation of advertisements and other data processing.
- Start capturing data and creating ads!
The Players
Not everyone in an organization has the same skill level and this will certainly lead to some challenges. With that in mind, let’s look at the players involved in our project.
- Mom – Low technical skill – Capable of using anything “Excel-like” to capture data.
- Sister – Low-to-Medium – Arguably more advanced than mom, works on a Mac. Enough said.
- Wife – Medium – Works around Excel with ease, understands what I do from a high level.
- Kids – Low-to-Medium – two daughters, ages 12 and 10. Both are geniuses on any touch device but have no clue how to work around Excel.
- Me – High – developer and technology enthusiast!
I’ve spent the better part of my career as a .Net developer working in SharePoint and Dynamics, among other things, so it was easy for me to decide on a path forward. Let’s get rolling!
Configure Data Schema and Migrate Microsoft Access Data
Just so no one thinks I’m lying here for the sake of this blog, let’s see what my dad was working with back in the day. Yes, he was ND alum.
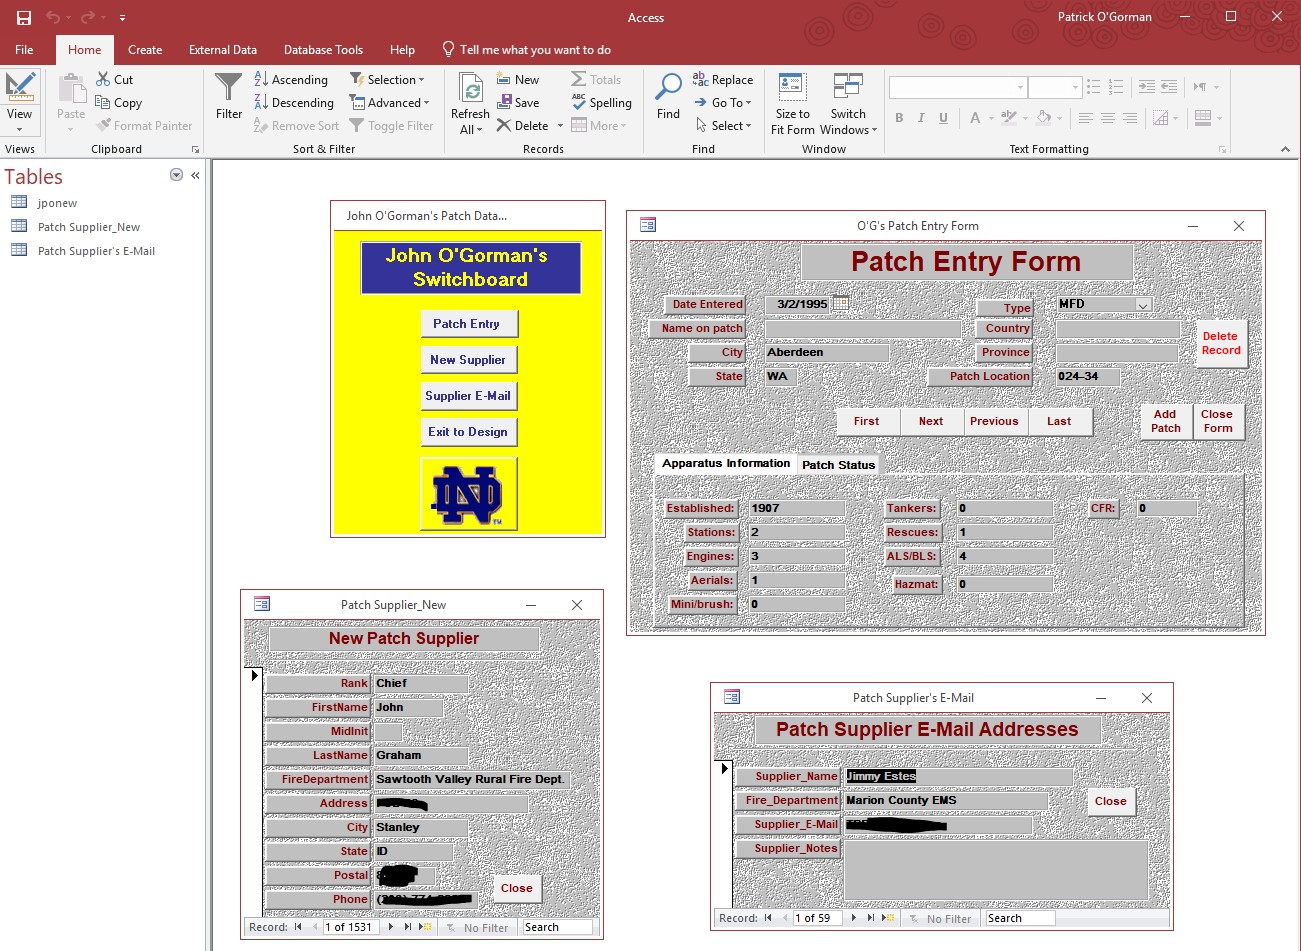
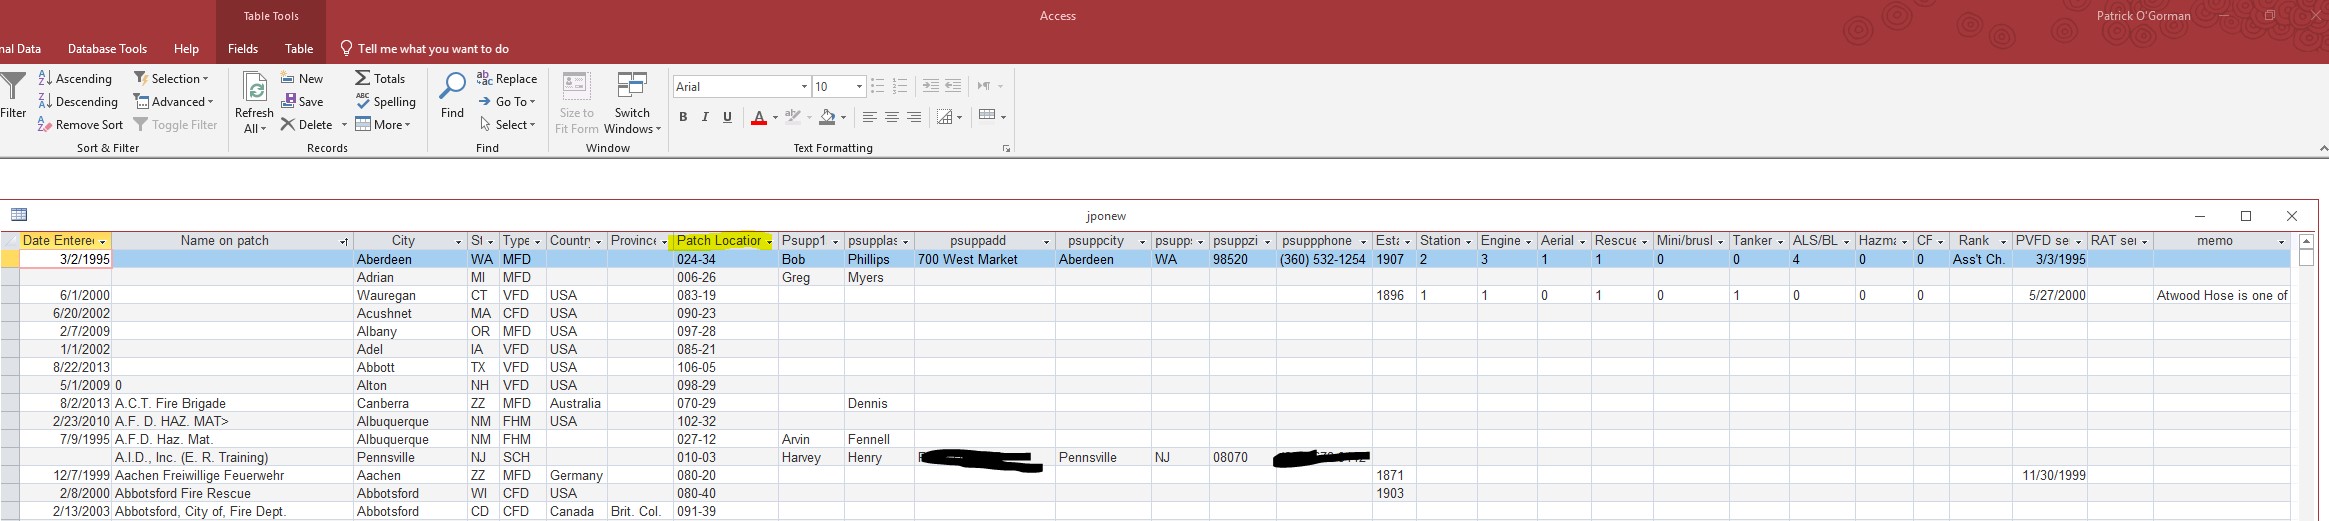
Side note: You see that column named “Patch Locator” highlighted in that last screen shot? My dad kept his patches in old-school photo albums that he then stored in boxes. This ‘locator’ field was his way of finding the patch once a box was full and stored away. Genius dad!
As you can see defining the schema for patches was pretty much done. If we run into anything along the way, we can certainly add it.
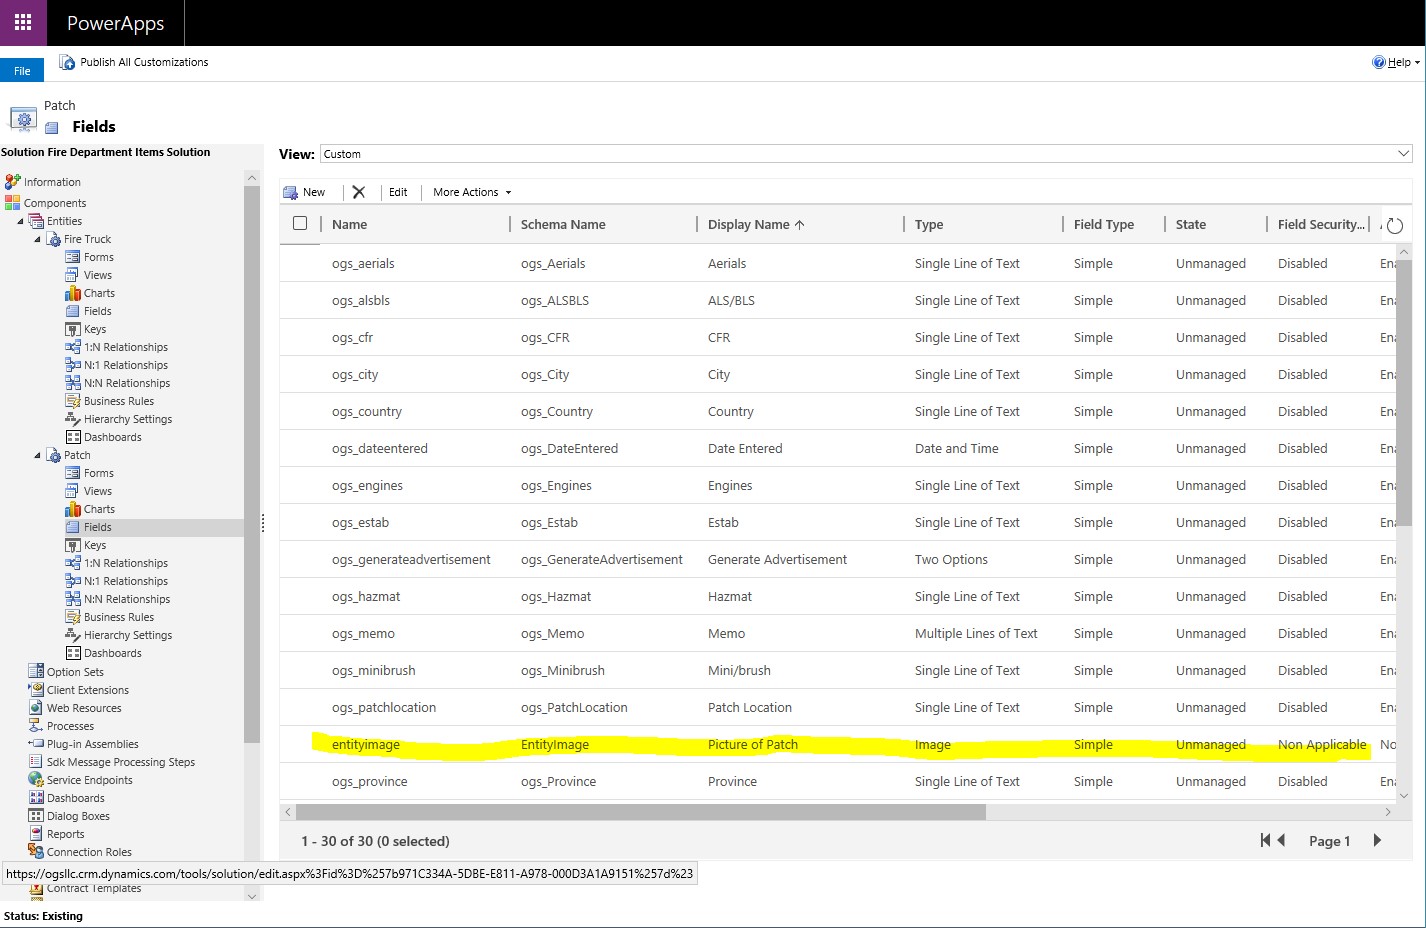
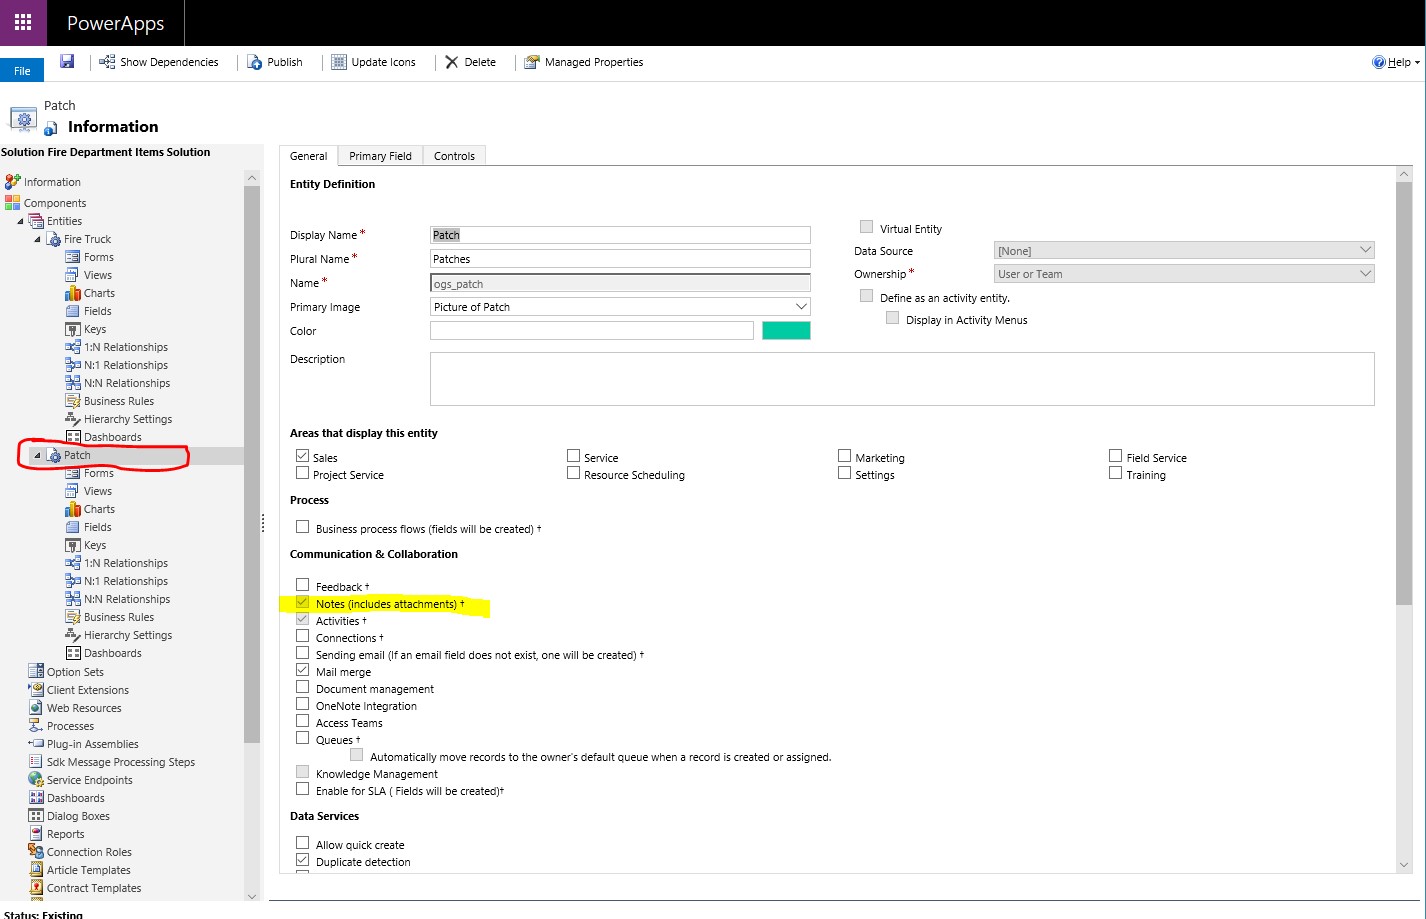
- In Dynamics I created an un-managed solution named “Fire Department Items Solution” and added two custom entities, “Patch” and “Fire Truck.”
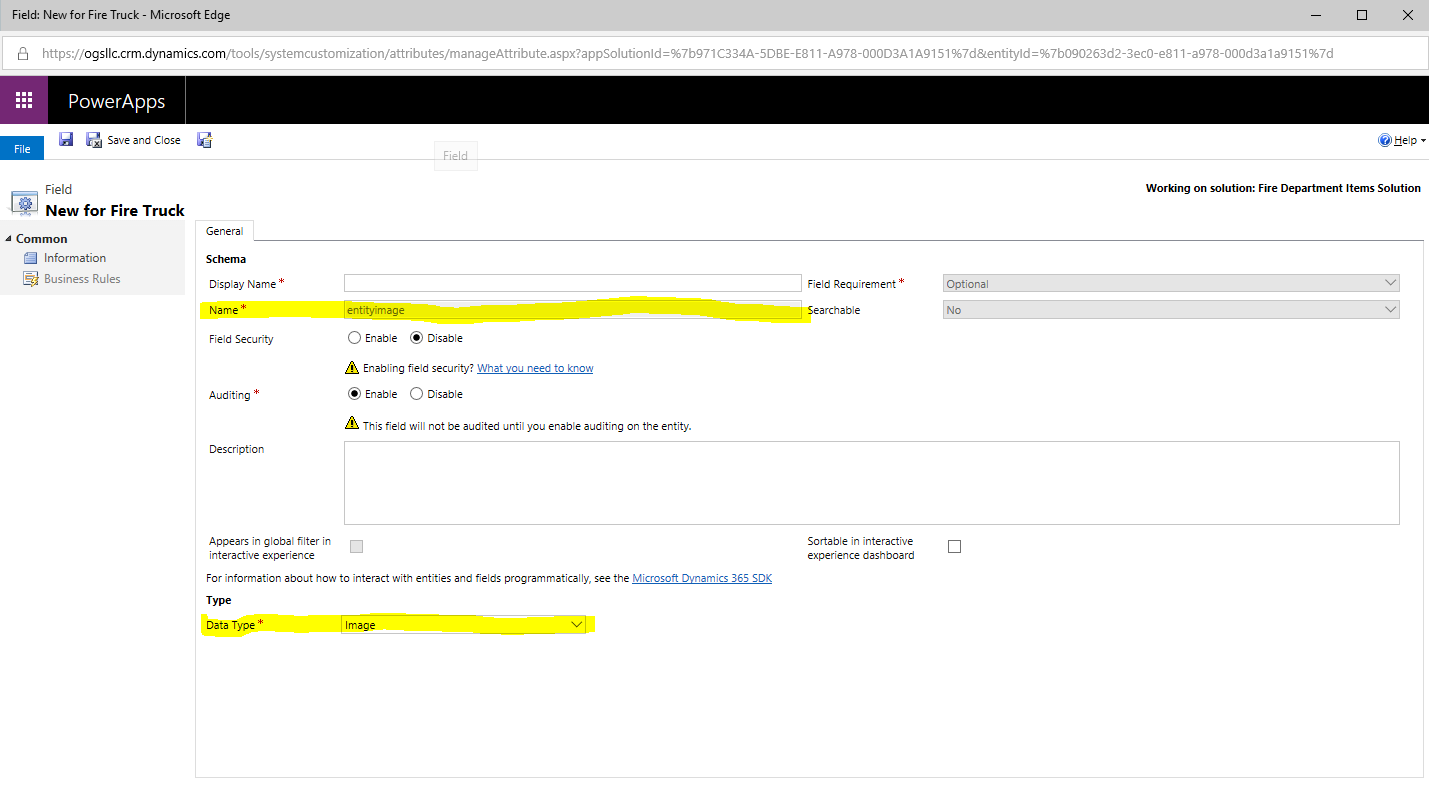
- I added all the fields my dad had in his Access database, and then I made sure that the out of box field “EntityImage” was available for displaying an image of the patch.
PRO TIP: Dynamics 365 only allows you to have one image field on an entity and it is not configured out of the box. To use this field, create a new field on your entity and use the data type “Image”. This will automatically set the name of your field to “EntityImage” and the image you set there will be used as your entity image at the top of the entity form.
- Before we save and publish, we need to enable Notes functionality for our entities. To do this select the entity from the left pane in the solution explorer, then make sure the “Notes (includes attachments)” checkbox is selected.
PRO TIP: When you save an image to the EntityImage filed it loses a lot of its quality. Because we are using this data for inventory, including creating ads, we don’t want to lose the quality of our images. For this reason, we will use the attachments collection for our entity to capture the actual high-quality image. We will then use Microsoft Flow to take that image and store it as the EntityImage (which will lose quality) but also store the high-quality version in a SharePoint library.
- Finally, be sure to publish your customizations.
Migrating the Data
Now it’s time to migrate the data. Since this was such a simple schema, I opted to use the out-of-box data import functionality that Dynamics 365 provides. With that said, however, there are a few different ways to accomplish this migration. For me it was easy to simply export the Microsoft Access database to Excel, then use that file to import into Dynamics 365.
-
- Export your data into an Excel file from Microsoft Access.

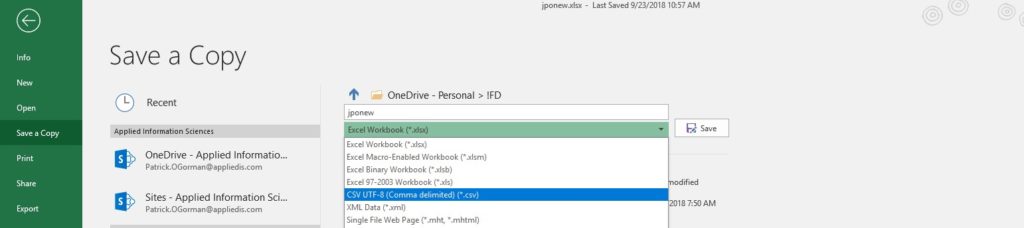
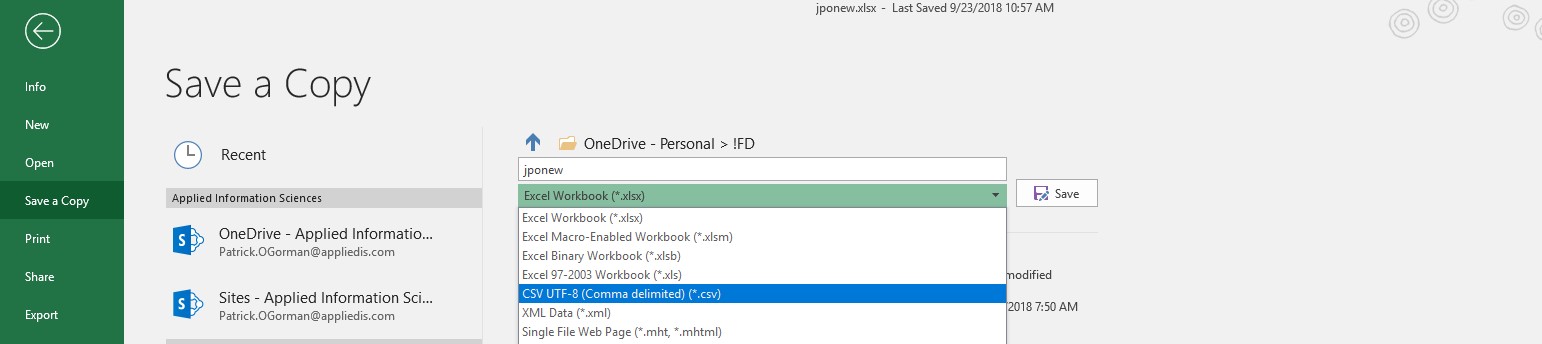
- In Excel you’ll want to Save a Copy and save it as a CSV file.
- Open the Patch View in Dynamics and use the out-of-box Import from Excel functionality to load our data.
- Export your data into an Excel file from Microsoft Access.


-
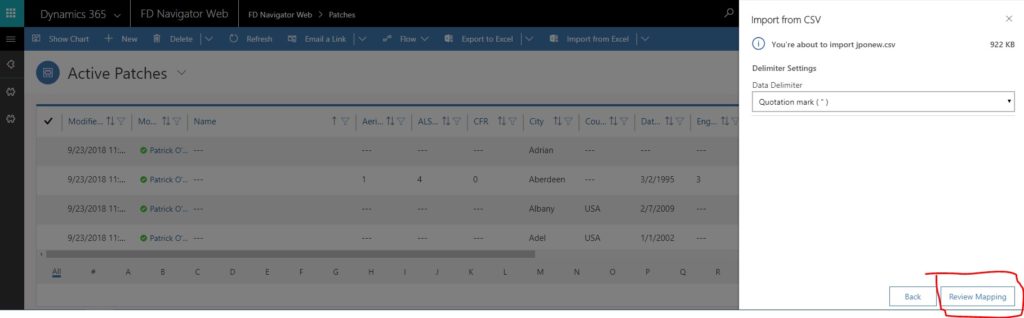
- Choose the CSV file we just created when we saved the copy in Excel.

-
- On this next screen, let’s click the button to Review our Field Mappings.
-
- Here you’ll see some of my fields are mapped and some aren’t. Let’s get those shored up before we proceed.
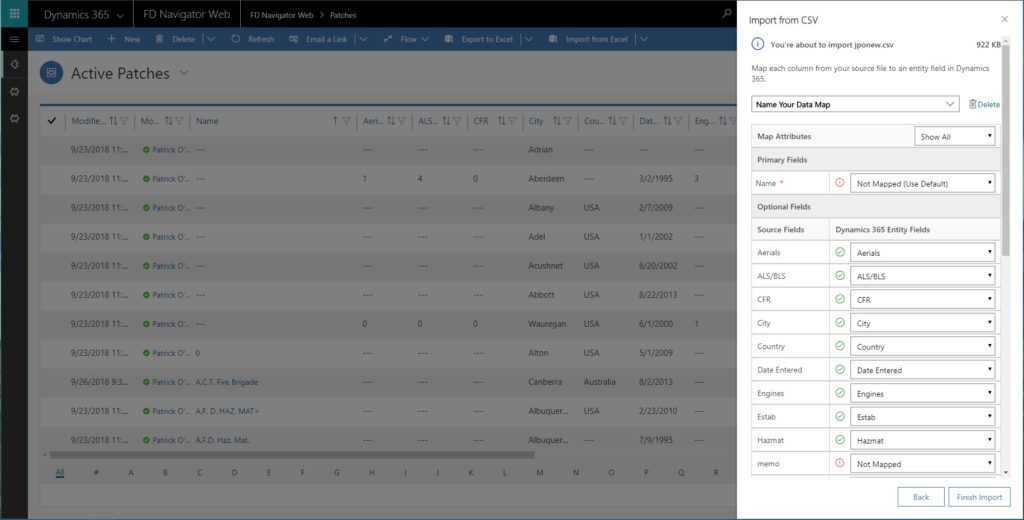
-
- Now that I’ve resolved all the field mappings, you’ll see we have green check marks across the board and we’re ready to import. Click the Finish Import button and you’re off.
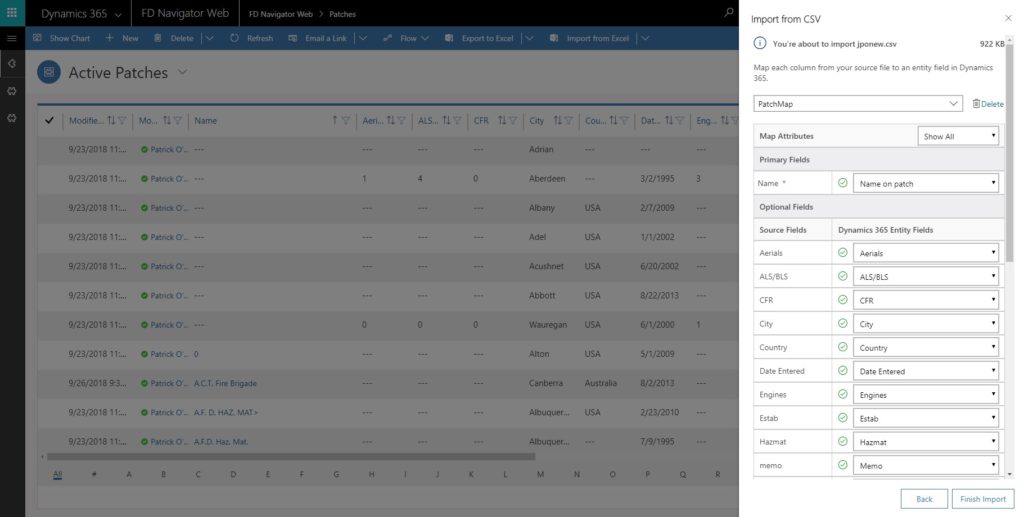
-
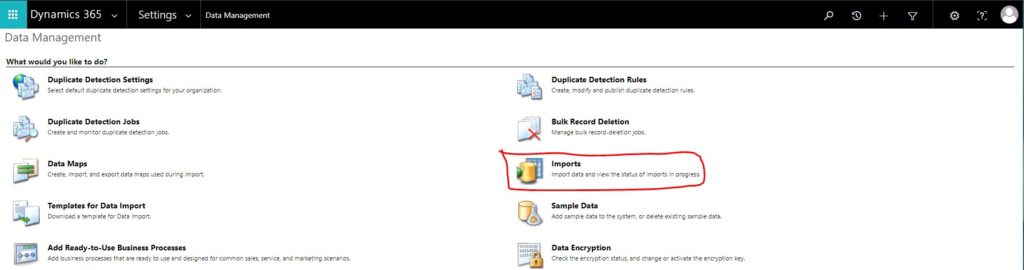
- You can check out the progress of the import by navigating to Settings à Data Management à
Summary & Next Steps
Let’s look at what we’ve done here. On the surface it would appear we’ve simply gone into Dynamics 365 and configured a couple of entities. But as we know, Dynamics 365 v9 was built on the Common Data Service (CDS) and that means our Dynamics data is now available to any other application that can connect to the CDS. Why is this important for this project you might ask? That answer will become clear in the next part of this blog. For now, here are some screen shots on how things look now that we have our patch data migrated.
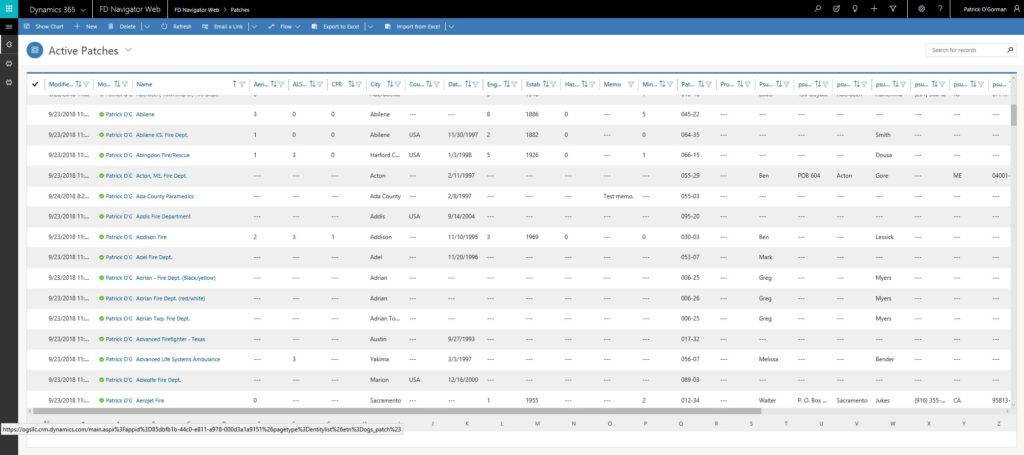
Keep in mind, come end of January 2019 everyone will need to switch over to Microsoft’s Unified Interface and that’s what we’re using here for our patches. This is an example of a model-driven Power App which we’ll discuss in our next entry to this blog.
If you log in to your Power Apps environment using the same credentials as your Dynamics 365 environment, you should see your entities and the data migrated in this environment too. Remember, once it’s in Dynamics, it’s available through the CDS.

One thing to note, if you have 10,000-plus records like I do for patches, CDS in the browser may freeze trying to display them all. I would hope MS resolves this at some point so that it handles paging and displaying of data as gracefully as the D365 web client does.
Stay tuned for my next entry where we’ll set up our SharePoint Online site, create a simple canvas Power App for inventory management on our mobile devices, and then set up a Flow to help move some things around and automate the creation of our online advertisements.
Thanks for reading!