![]() Many organizations are utilizing both CRM 2013 Online and Yammer Enterprise. For those that are, or are planing to in the future, here is a quick guide on getting these two products integrated.
Many organizations are utilizing both CRM 2013 Online and Yammer Enterprise. For those that are, or are planing to in the future, here is a quick guide on getting these two products integrated.
Before you get started, here are a few things to keep in mind.
- You must have a Global Administrator in your Office 365 instance for the same domain as your CRM Online and Yammer instances.
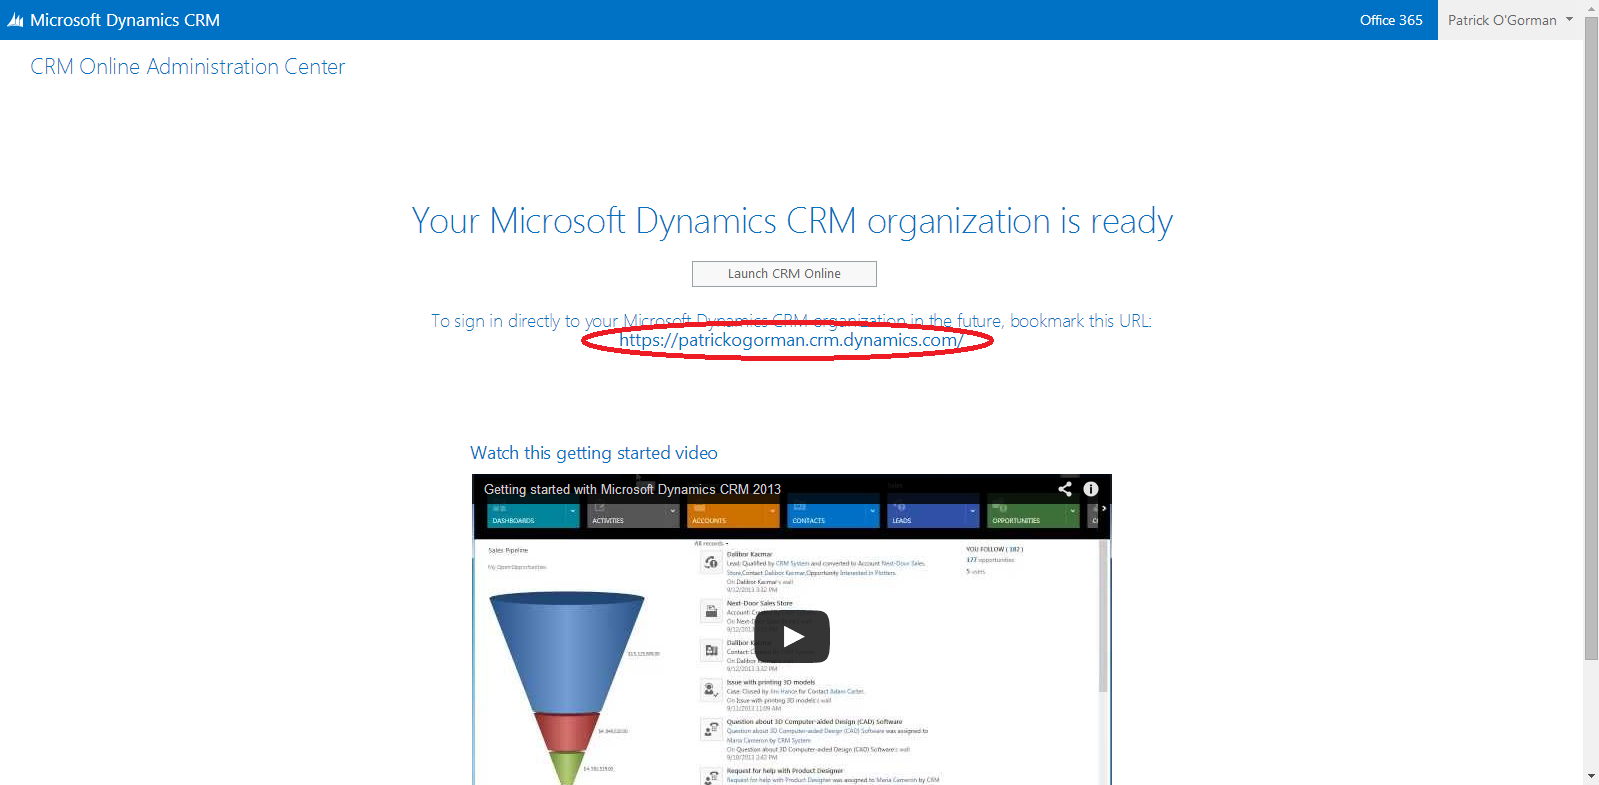
- You must have a Yammer Enterprise instance that has the same domain as the CRM 2013 instance. See my screen shots below.
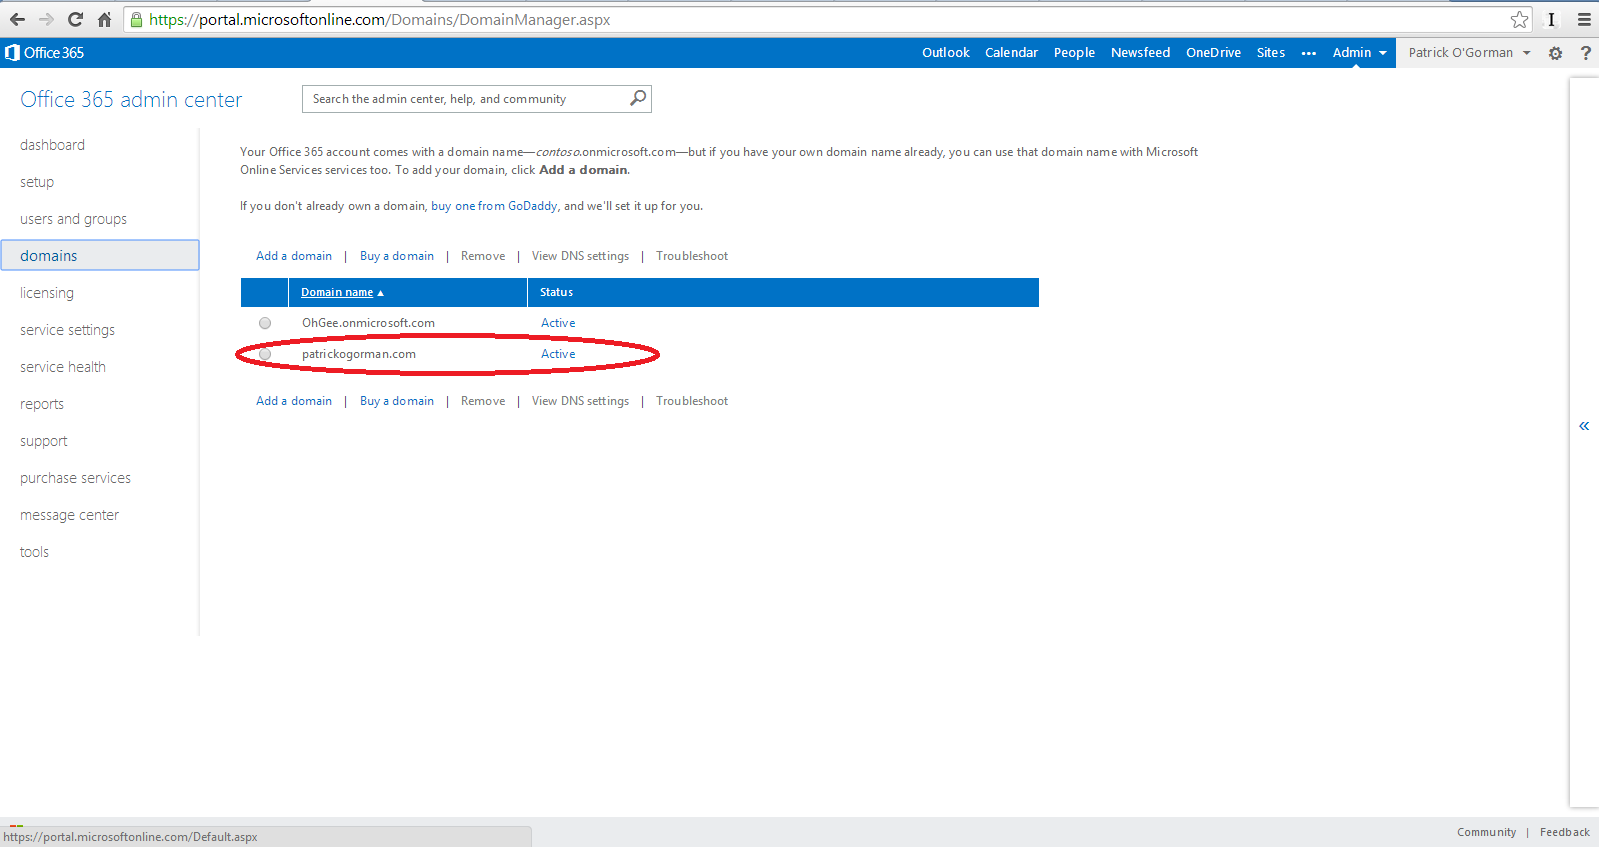
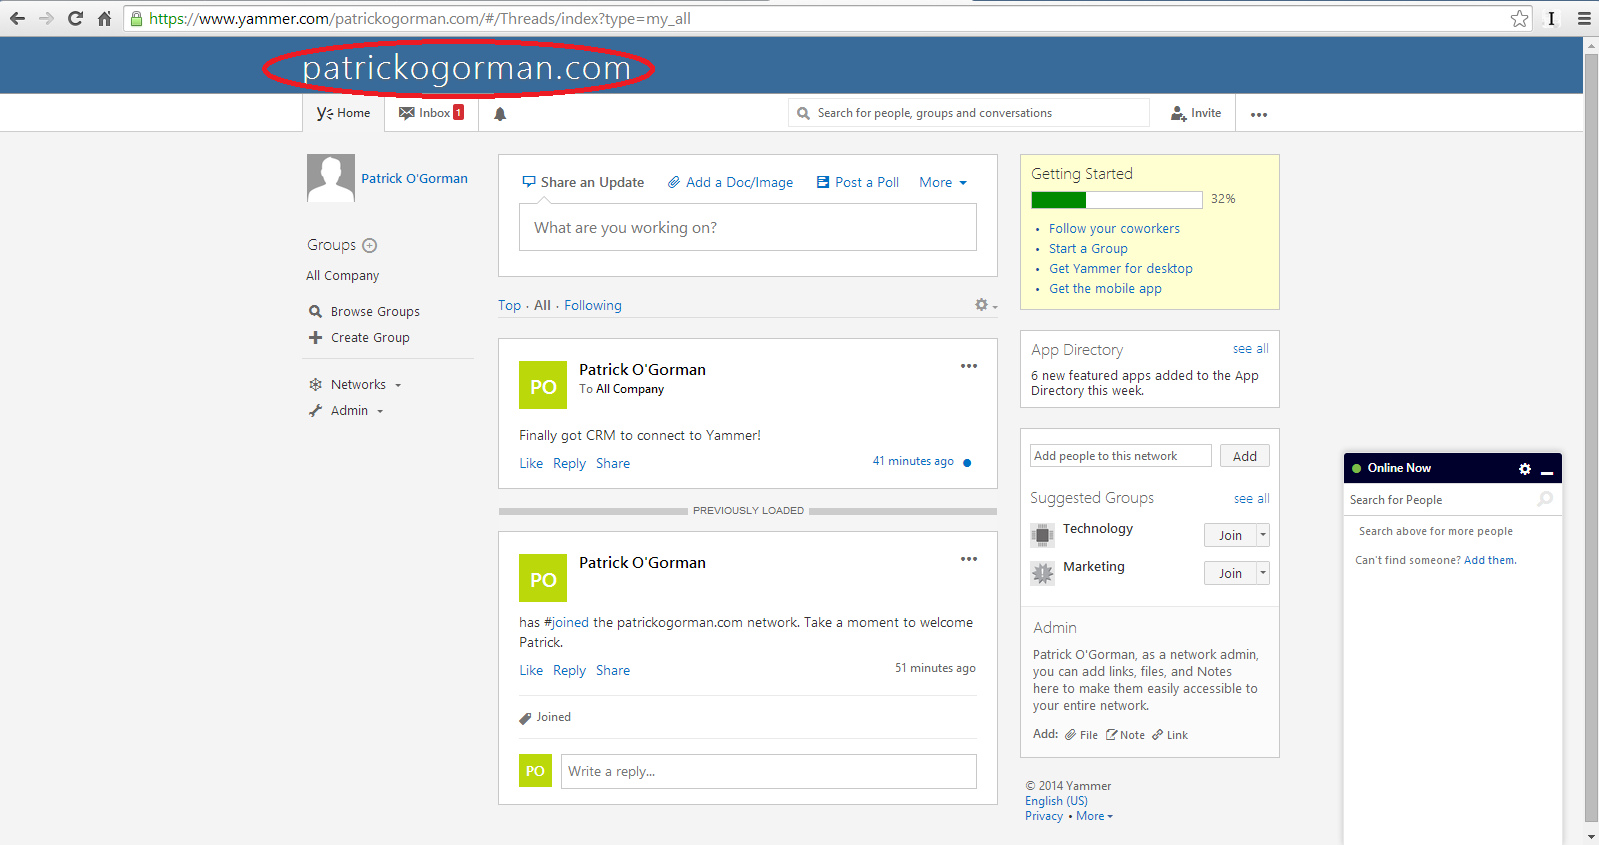
- You must activate your Yammer instance on the correct domain. This is the one that got me at first as I have multiple domains on my Office 365 instance and I initially configured Yammer to use the “domain.onmicrosoft.com” domain versus my personal domain “patrickogorman.com” that I configured through GoDaddy and used for my CRM Online instance.

You can learn more about activating your Yammer account here.
If you need to add a new domain to your Office 365 instance and configure a Global Administrator, you can check out this excellent tutorial on Yammer’s site.
Once you are sure you have met the criteria mentioned above, you can proceed to configuring Yammer in CRM Online. Believe me, the hard part is over.
Configuring Yammer in CRM 2013 Online
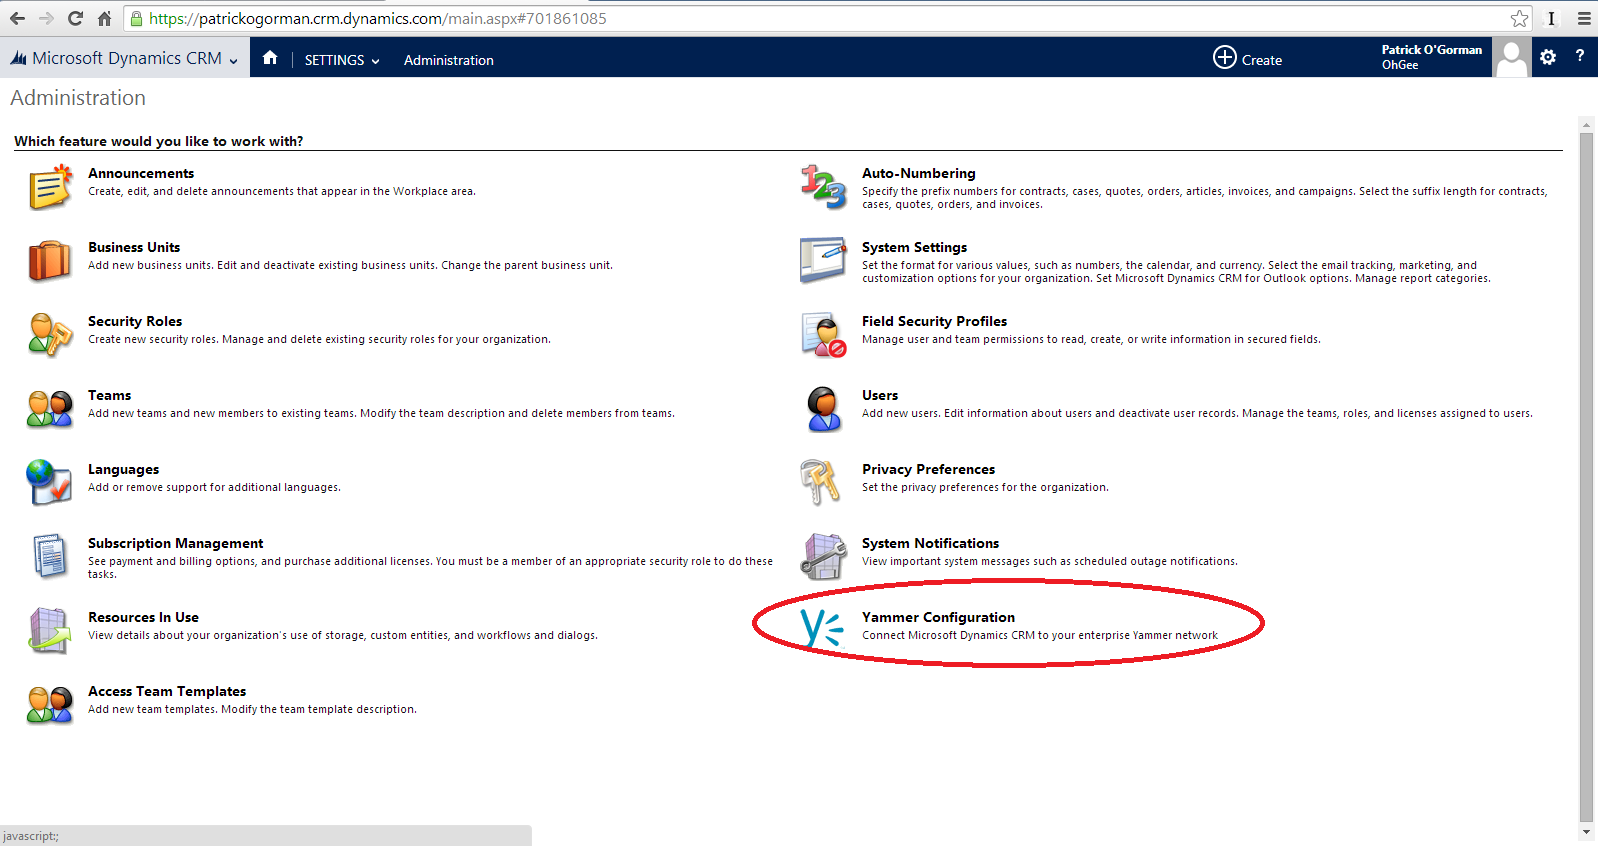
- Navigate to your administration page in CRM 2013 Online. (Settings then Administration)
- Click the Yammer Configuration link
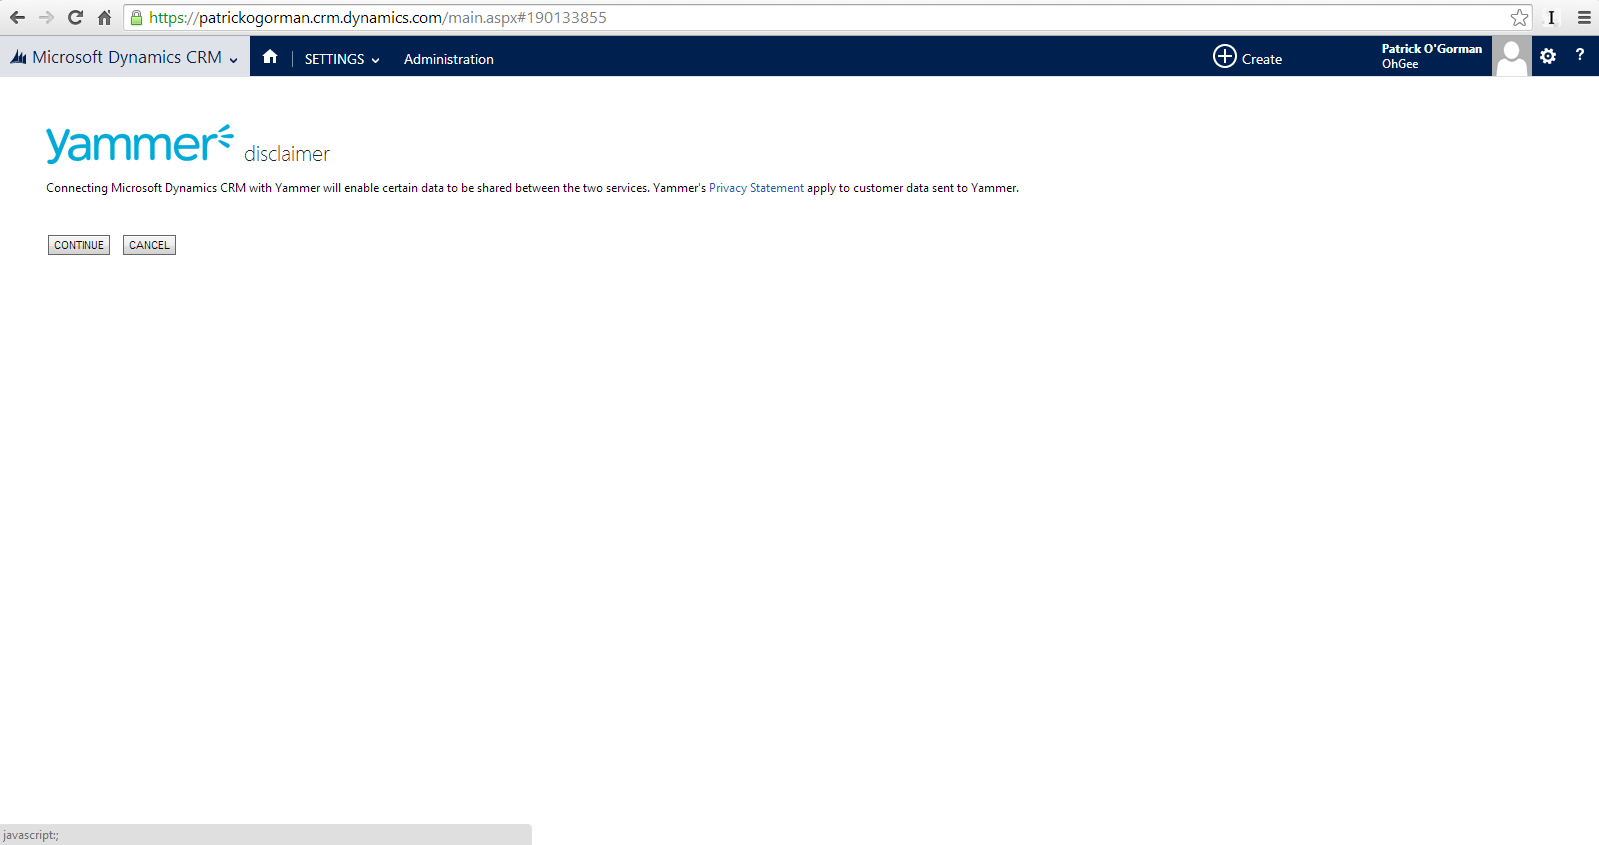
CRM Administration Settings page; Yammer configuration link - Click Continue on the Yammer disclaimer page
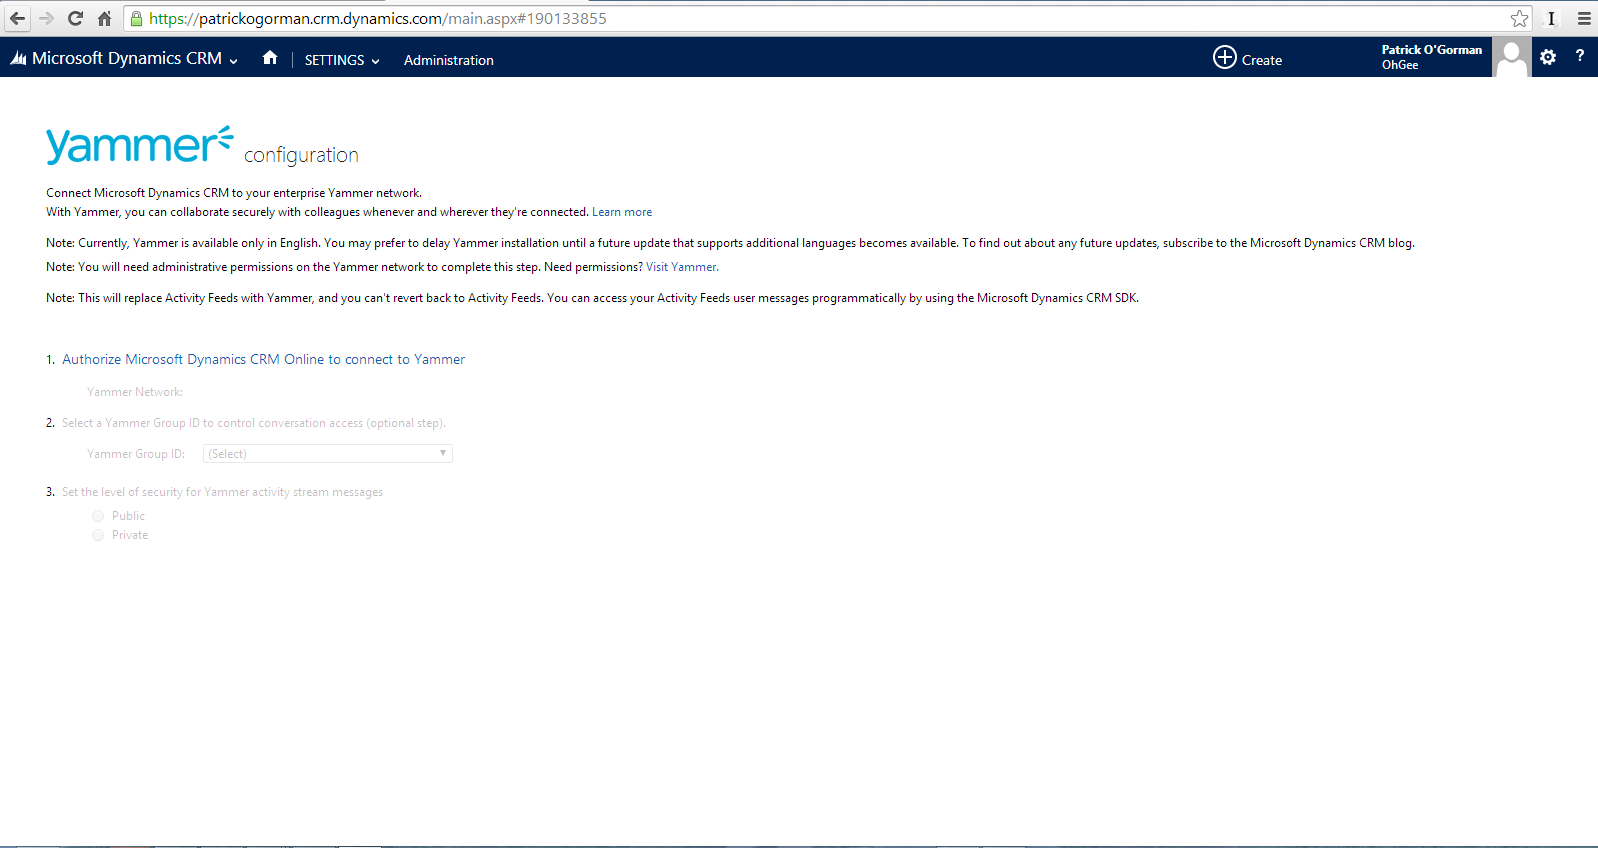
Yammer disclaimer page; click Continue - Click “Authorize Microsoft Dynamics CRM Online to connect to Yammer” on the Yammer configuration page
Yammer configuration page; click Authorize link to get started - Click Allow on the Yammer dialog which will connect CRM with your Yammer account

Yammer configuration dialog; click Allow - For our purposes you can leave everything else the same on the next page. Your CRM 2013 Online instance is now integrated with your Yammer Enterprise instance.
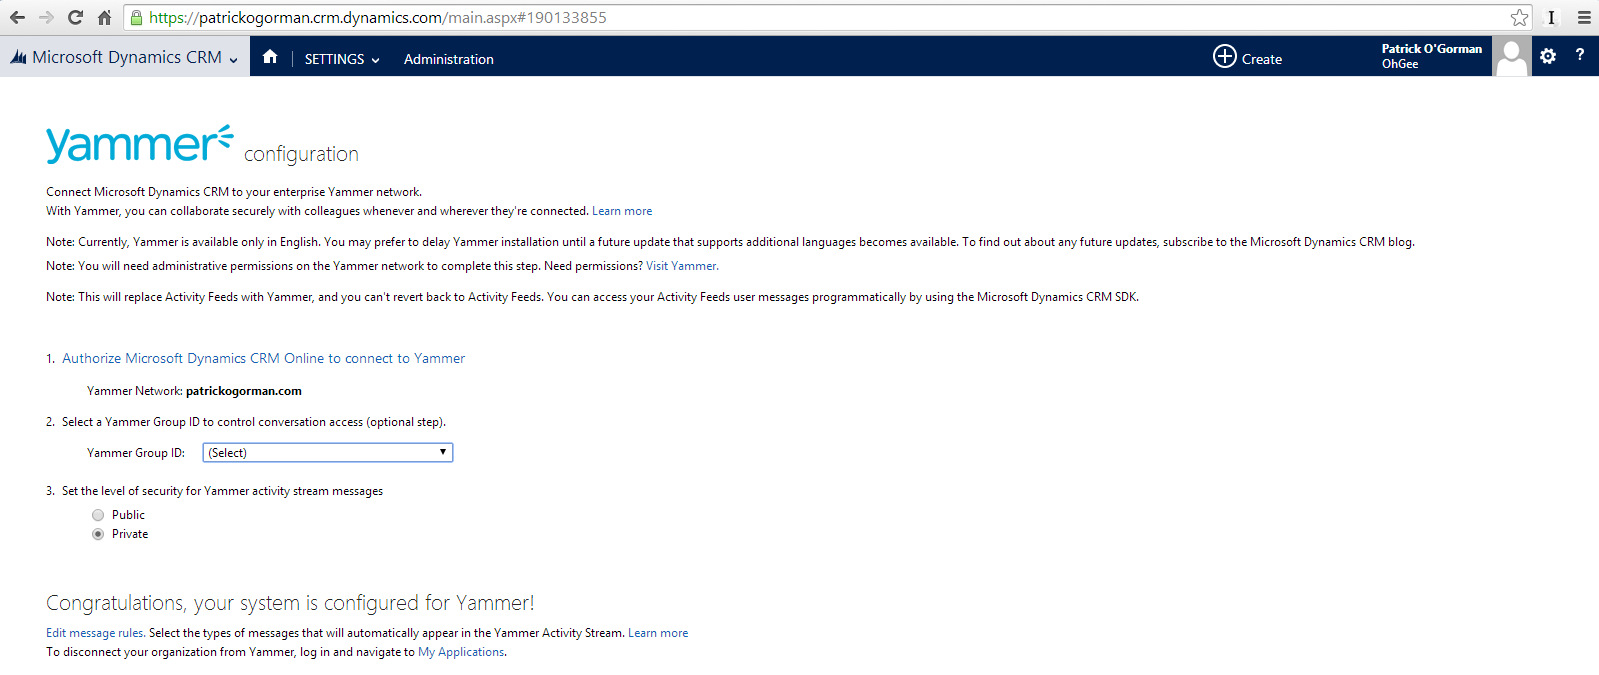
Yammer configuration successful
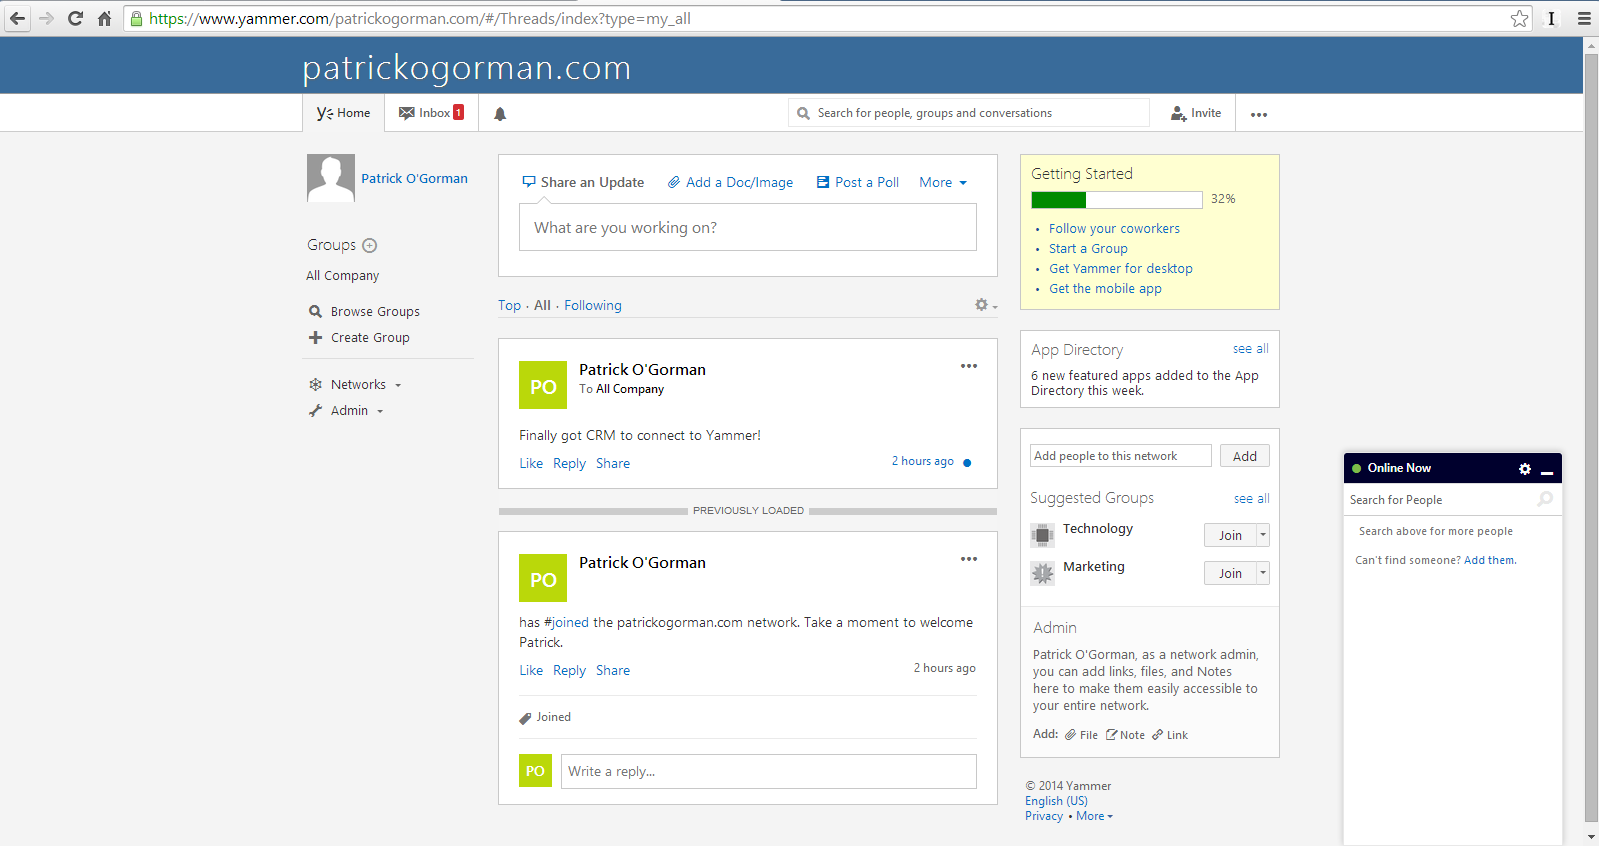
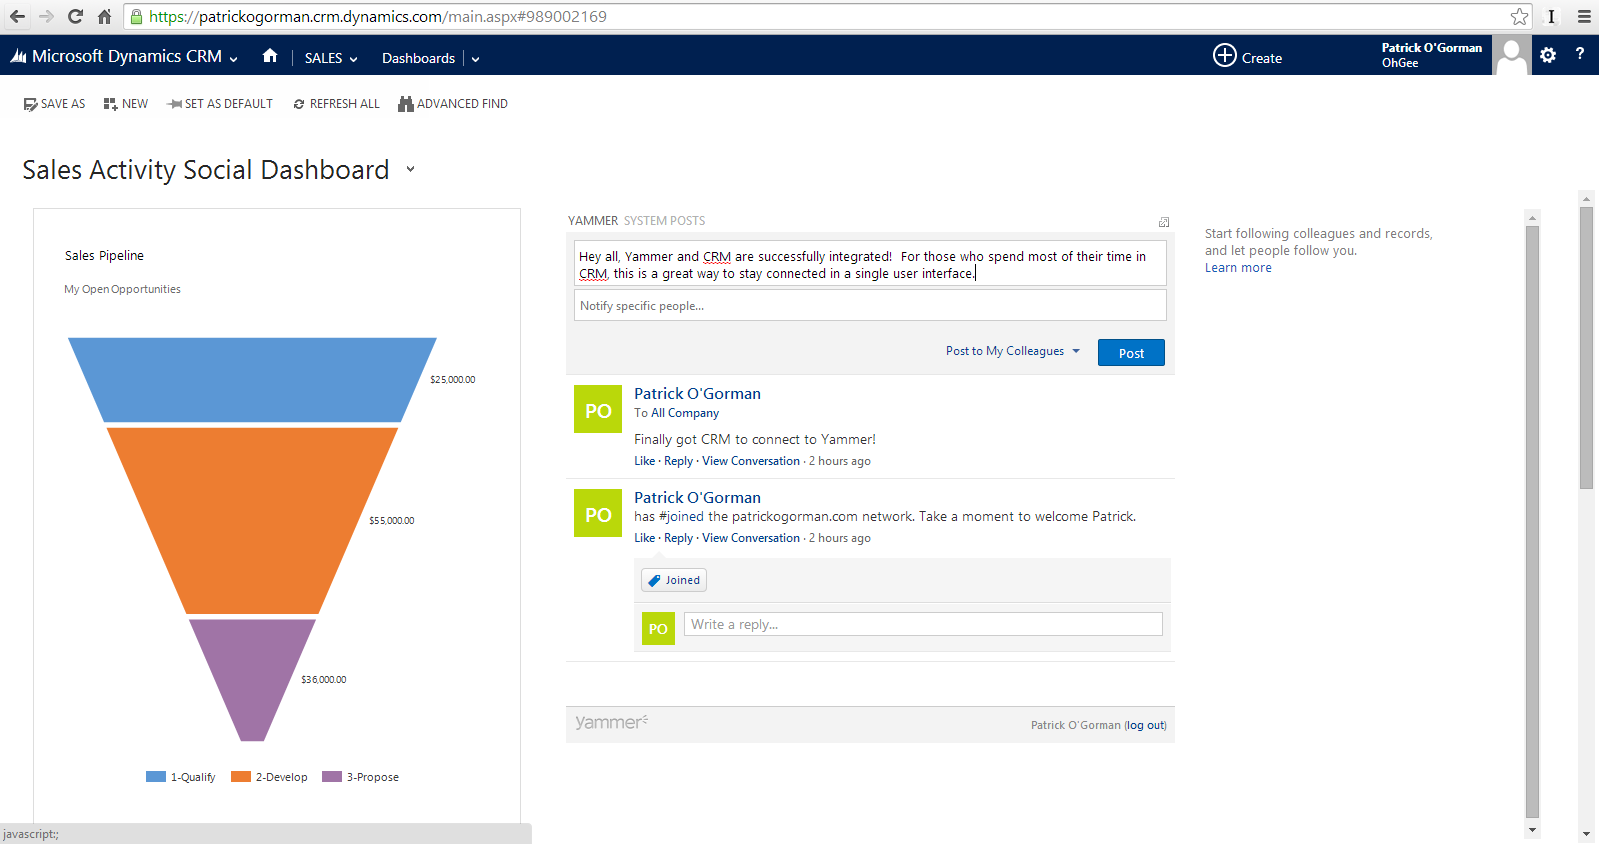
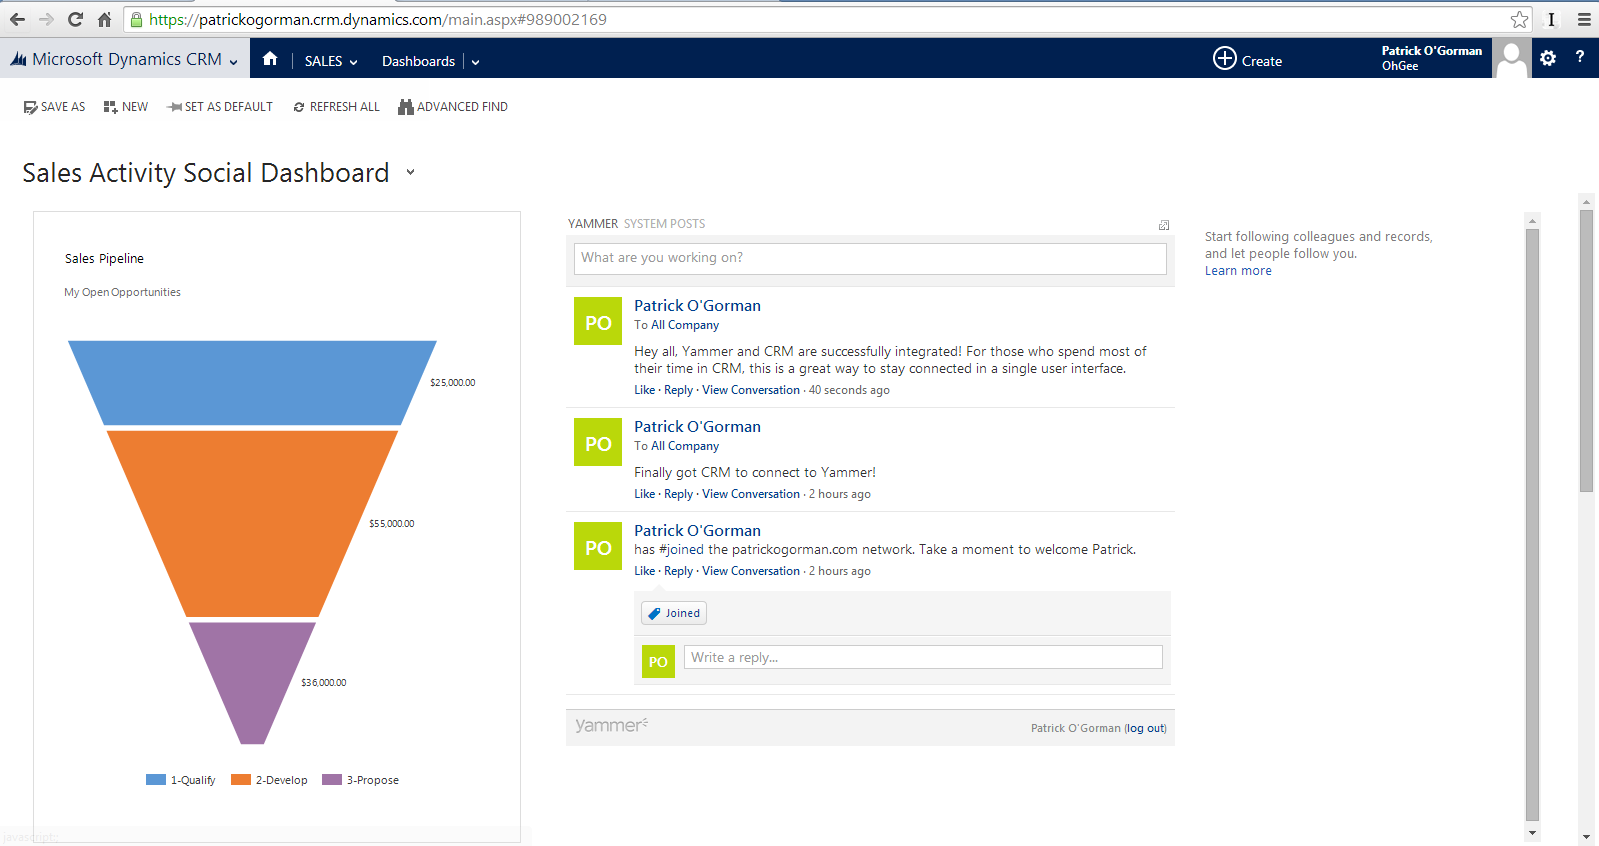
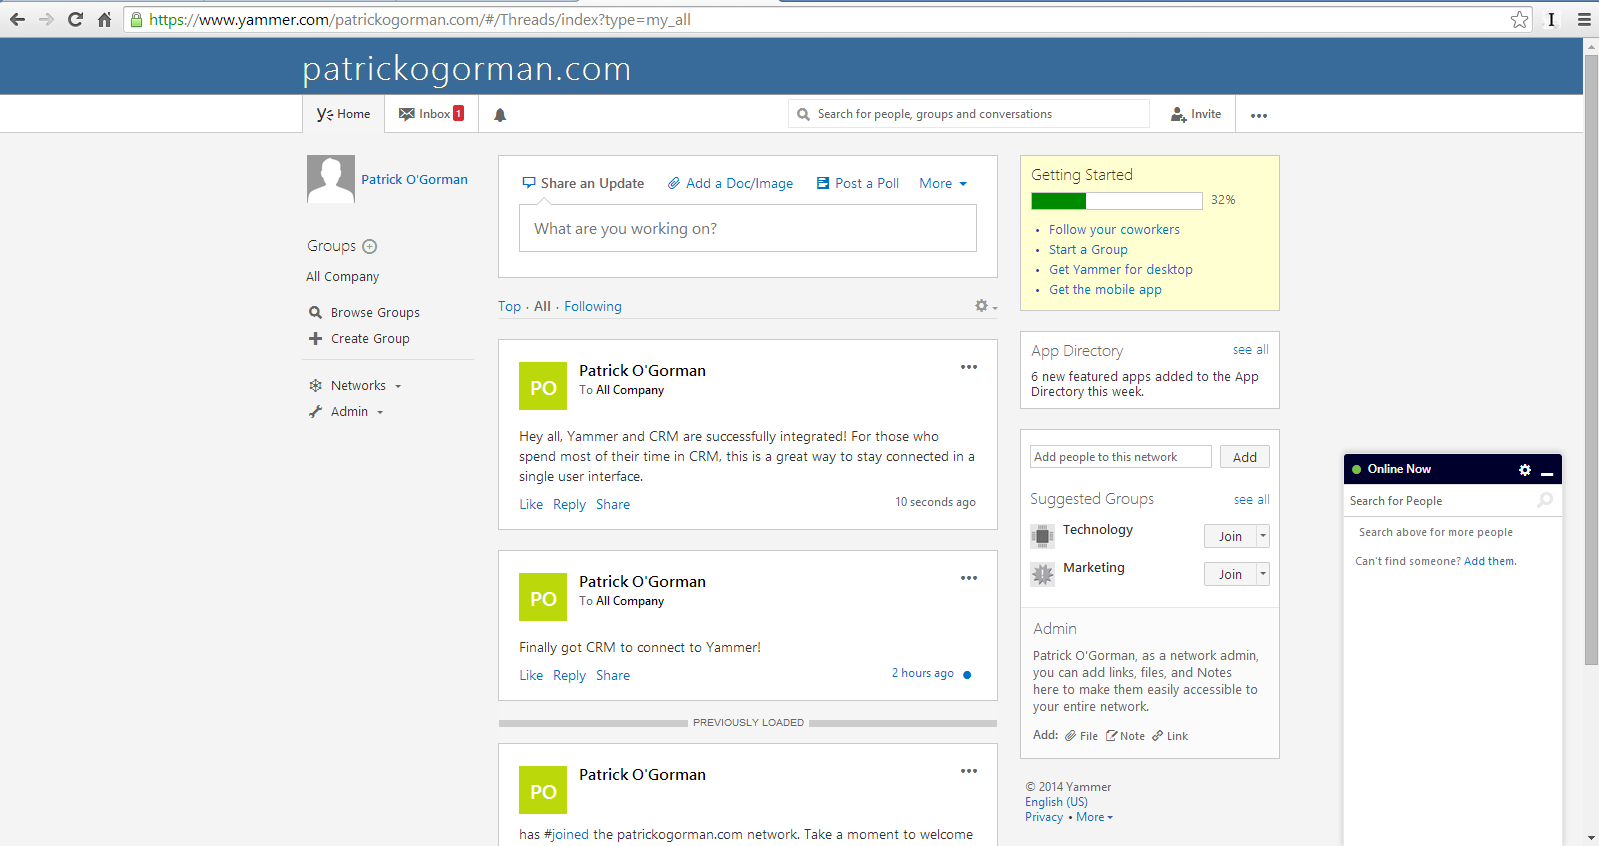
Now that you’ve successfully configured CRM 2013 and Yammer, navigate back to your CRM home page. You might also want to open up a new tab and navigate to your Yammer page so you can more easily verify the integration is working.
In this blog I’ve shown you how to configure Yammer Enterprise and Microsoft Dynamics CRM Online 2013. I also hope this blog shed some light on some of the tricks to getting this configuration correct. If you have any questions, please feel free to contact me at patrick.ogorman@appliedis.com.