


Recently, I have been using the new windows terminal to run CMD and PowerShell commands while supporting clients. I wanted to write this blog to help answer some of the questions and issues I had while installing and customizing it.
Note: The New Windows Terminal is in PREVIEW. That means you may experience crashes or features may appear/disappear without warning.
The new terminal has an impressive set of features that I will detail below. These include:
- Tabbed interface for Command Prompt and Multiple PowerShell versions
- Support for Unicode characters so you can now use emoji in your scripts!
- Rich customization options that can be modified to suit your preferences
Install Notes
Prerequisites
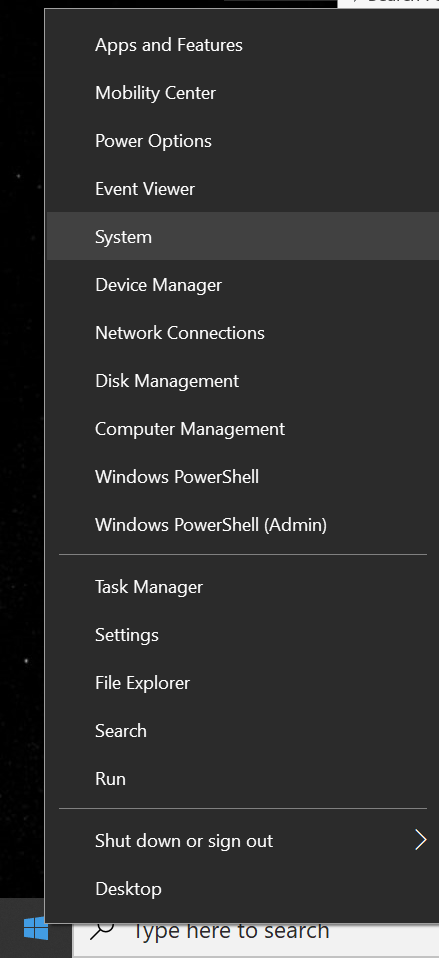
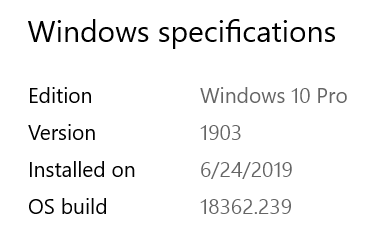
The first settings to check is your current version of Windows 10. You can find this by right-clicking Start and selecting System. Scroll down and look at the version you are currently running. You need to be running 1903 or later:
If you need to update to version 1903 (also called the Windows 10 May 2019 Update) you can open Windows Update by clicking Start, then Typing “Update”. Then click “Check for Update” in the Start menu. This will bring up Windows Update. From there you can click the “Check for Updates” button and apply the latest version. If no version appears you can manually download/install version 1903 here.
Install the New Terminal
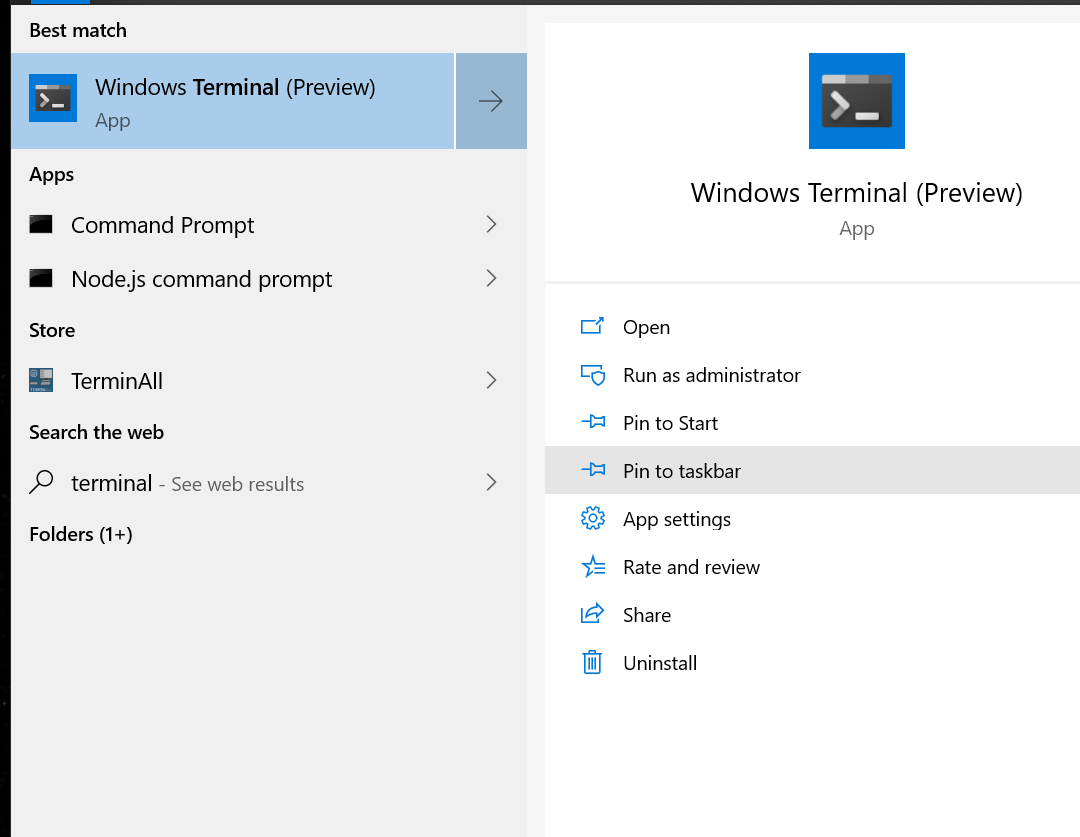
Install the Windows Terminal (Preview) from the Microsoft Store. Fire that app up and search for Windows Terminal. Once you find it, click “Get” in the upper right. Ensure you are on a device in which you have logged in to with a Microsoft/Outlook.com/LiveID account. I had an issue with device authorization I had to work through before the store would allow me to download and install the terminal.
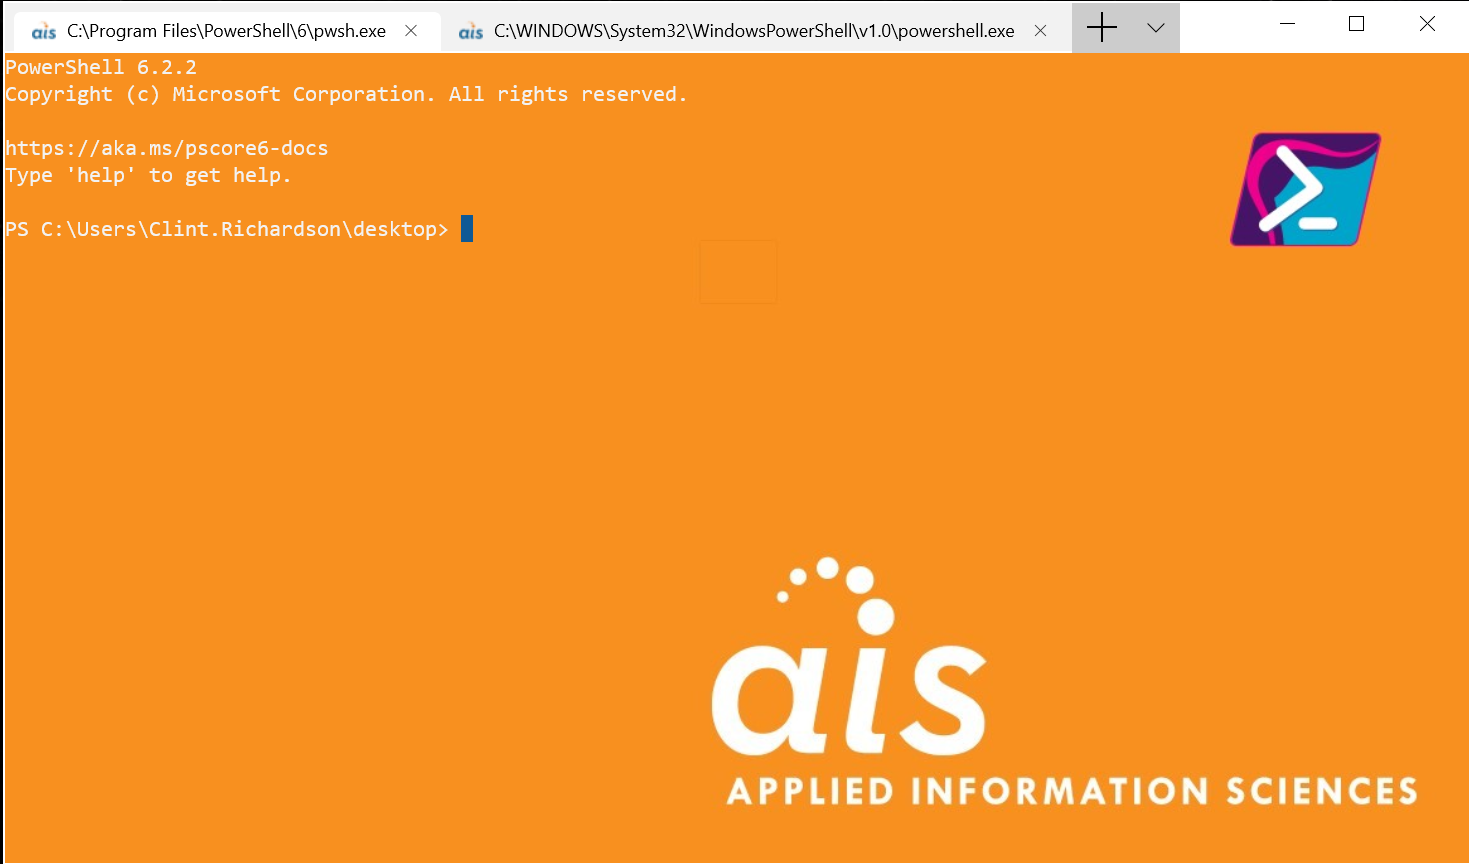
Once the install completes, you can start the terminal by clicking Start then typing Terminal. If you are a taskbar die hard (like me) you may also wish to pin the app:
The Interface
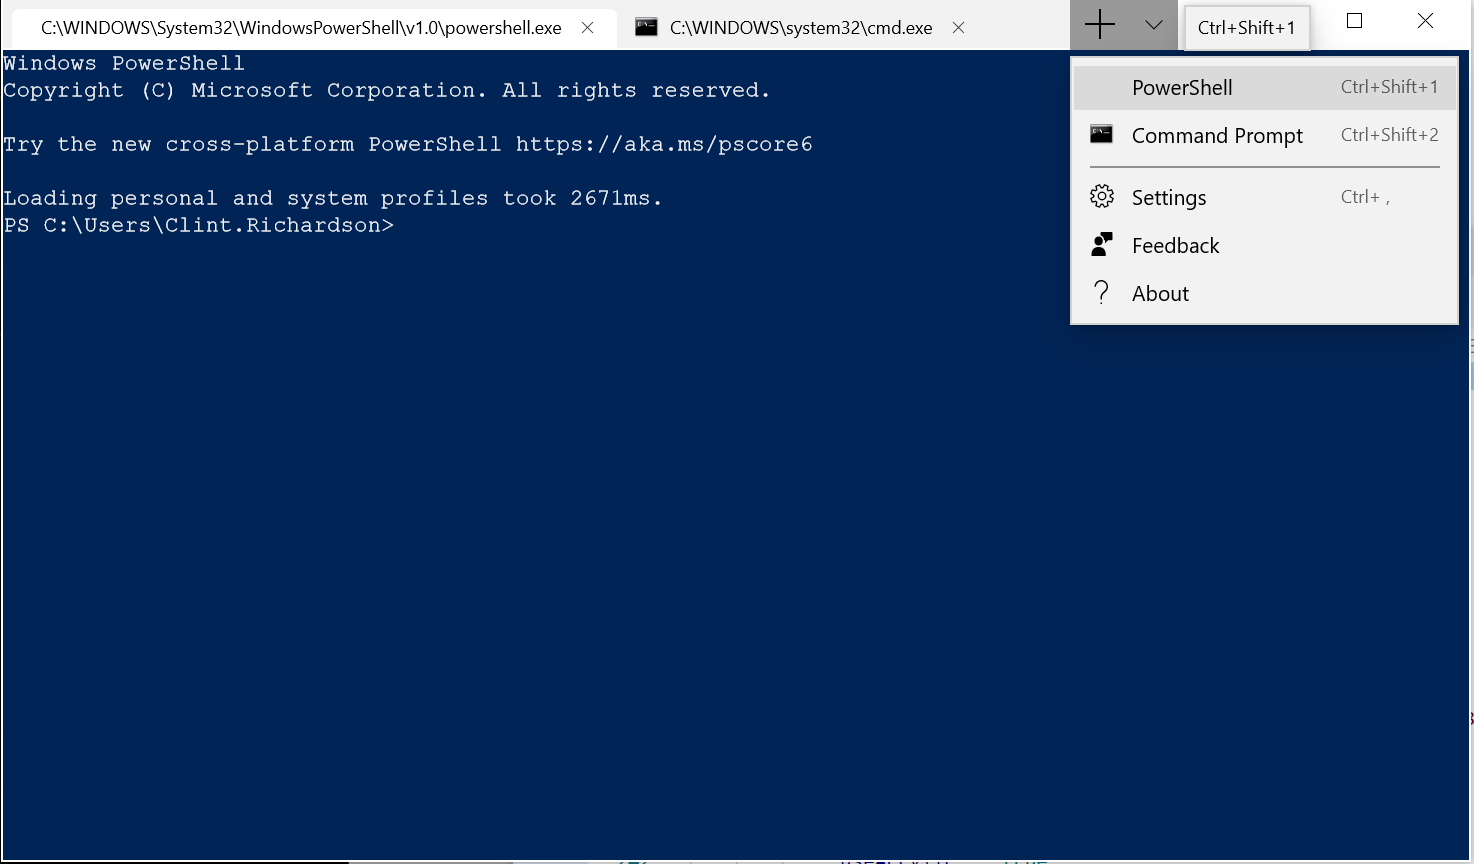
Once you fire up the terminal, you will immediately notice it looks different from a standard PowerShell or CMD shell. The tabs along the top allow you to run multiple shells in the same session. You can also link to multiple versions of PowerShell by adding additional profiles to the settings JSON file. We will cover the customization of settings in the next section.
Customization
One of the most exciting features of the new terminal is the ability to customize it. You can set custom background images (yes, even GIFs!). You can also change text color schemes, cursor shape and color, and background opacity.
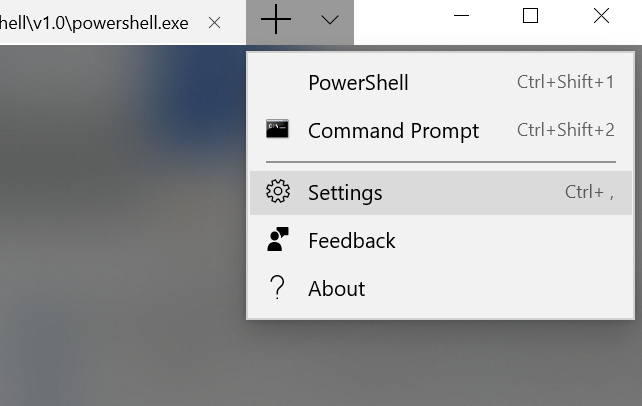
To access the configuration settings, you need to click the down arrow at the upper right of the terminal. From there click “Settings”:
That will open the profiles.json in your favorite editor. On my system that’s VSCode.
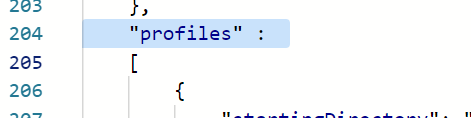
Scroll down to the Profiles section:
To create your own profile copy and paste the following JSON above an existing profile:
{

"startingDirectory": "%USERPROFILE%",

"guid": "{565ed1db-1474-455e-9d62-cb9fc7eb3f59}",

"name": "PowerShell",

"background": "#012456",

"colorscheme": "Campbell",

"historySize": 9001,

"snapOnInput": true,

"cursorColor": "#FFFFFF",

"cursorShape": "bar",

"commandline": "powershell.exe",

"fontFace": "Courier New",

"fontSize": 12,

"acrylicOpacity": 0.5,

"useAcrylic": false,

"closeOnExit": true,

"padding": "0, 0, 0, 0",

"icon": "ms-appdata:///roaming/pwsh-32.png"

},
From there, we can use this structure to begin our custom profile.
Important: The GUID above must be unique for each profile. You can change one character or use PowerShell Cmdlet New-GUID to generate a completely new GUID. If there are overlapping profile GUIDS, unexpected behavior will result.
Next, let’s look at the implementation details of each customization:
Acrylic Settings
The acrylic setting allows you to set the opacity to the background of the terminal. When the terminal window is in focus, there is a cool translucent effect allowing you to see the windows behind the terminal. When the window is out of focus, the opacity is cranked back up, and the terminal becomes fully opaque once more.
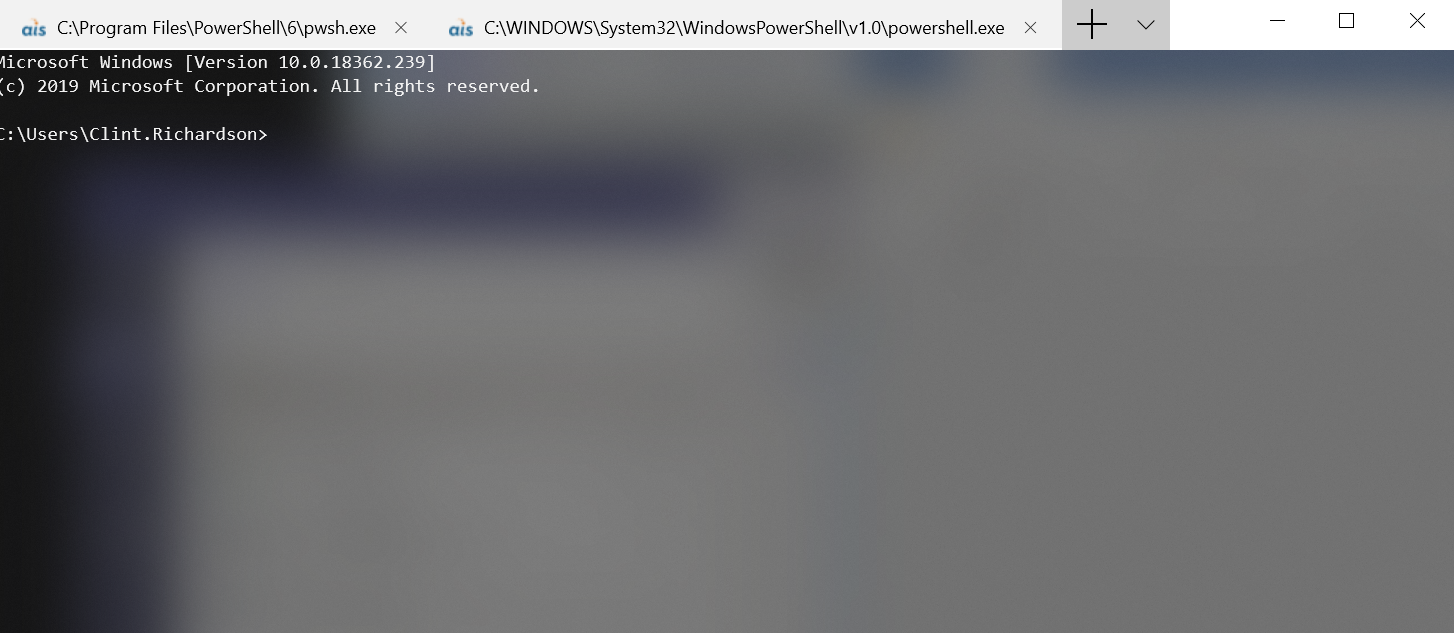
CMD in Focus:
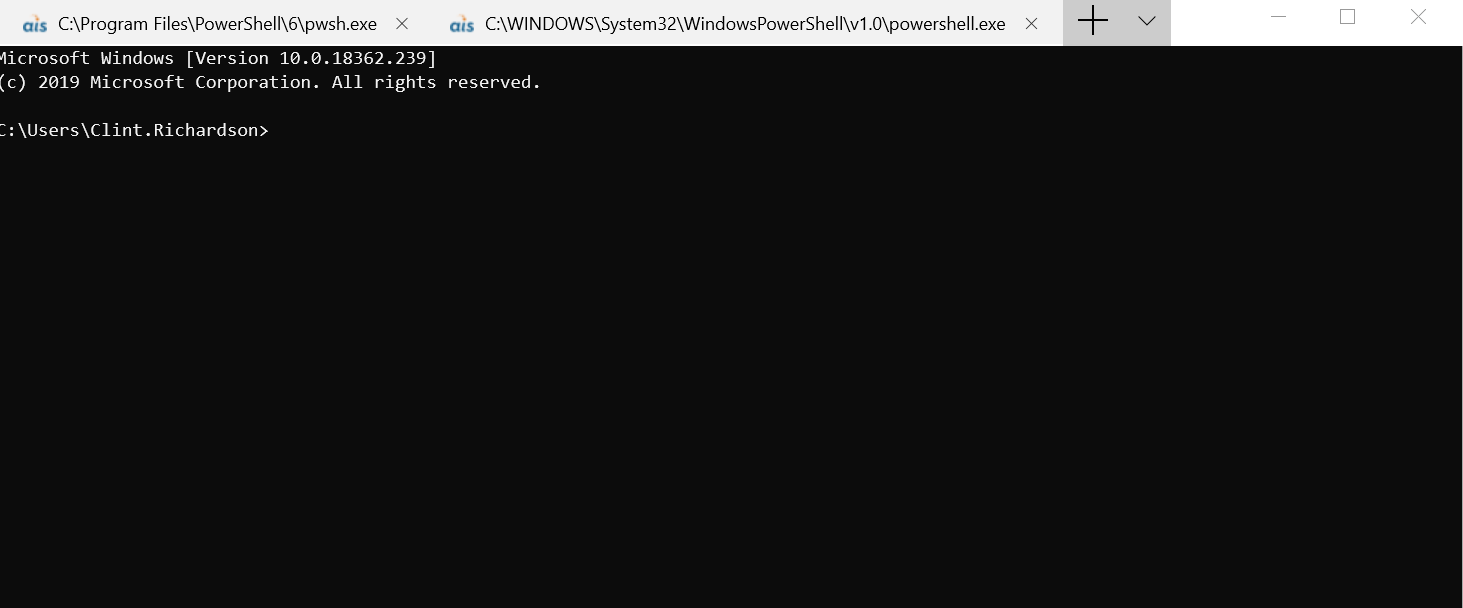
CMD Out of Focus:
Note: If you use a background image, Acrylic needs to be disabled (set to false). As of this writing, acrylic does not support the overlay of a background image.
Background Images
You can add a background image to a specific profile. The image can be static or a GIF. You can add a background image with the addition of the following key/value pair in the profile:
"backgroundImage" : "/aisbackground.jpg",
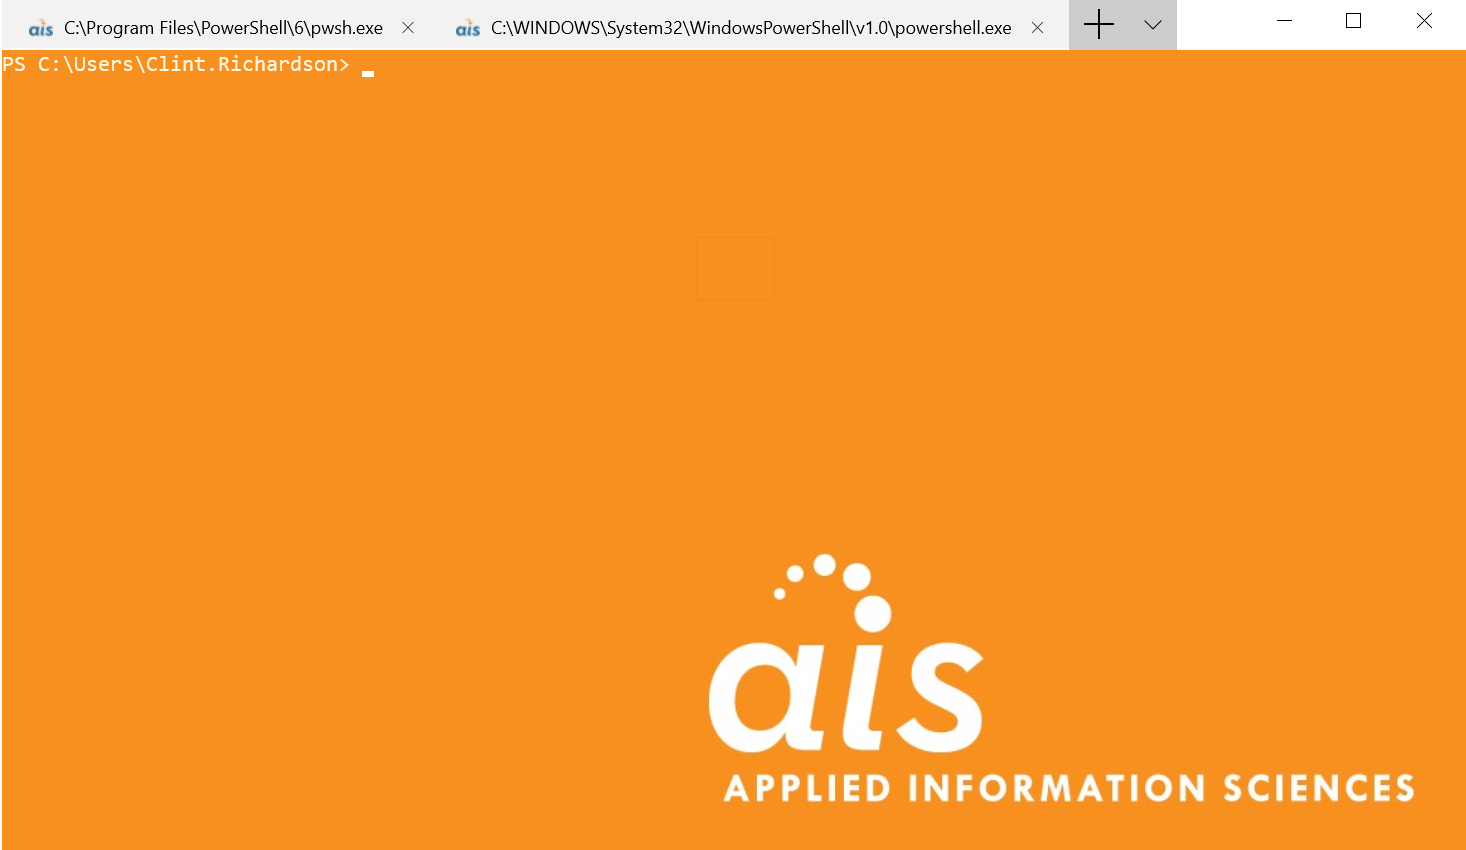
This will change the default background to the image you have added:
Or you can get creative and add a GIF:
"backgroundImage" : "/nyan.gif",
Note: If you set a GIF as a background, you should also add the following key to the profile containing the GIF:
"backgroundImageStretchMode" : "uniformToFill",
Color Schemes
There are default color schemes included if you scroll down to the Schemes area in the profile JSON. The default names you can use are (Pay attention to the case below, it matters):
- Campbell (The new default color scheme for Windows Console)
- One Half Dark
- One Half Light
- Solarized Dark
- Solarized Light
You can modify the Hex values for the existing schemes or copy/paste one of the above and rename/edit it how you see fit.
These color schemes can also be applied to standard CMD console through the Microsoft ColorTool.
Cursor Share and Color
In addition to overall color schemes, you can modify the shape and color of the cursor in your custom profile.
Here are the other options and their settings for cursor shape:
Important: Note the camelCase, once again, these properties are case sensitive.
bar
"cursorShape" : “bar",
![]()
emptyBox
"cursorShape" : "filledBox",
![]()
filledBox
"cursorShape" : "filledBox",
![]()
underscore
"cursorShape" : "underscore",
![]()
vintage
"cursorShape" : "vintage",
![]()
I also changed the cursor color to the blue from our company style guide:
"cursorColor" : "#0F5995",
![]()
Icon Setting
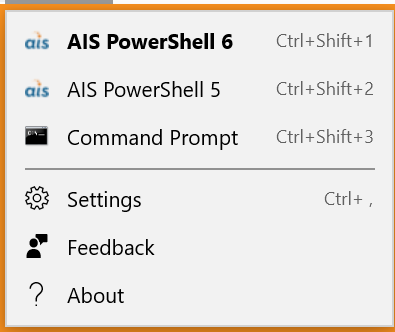
When you click the down arrow in the new terminal, you will notice a small blank space next to the CMD/Command Prompt shell.

This can also be customized. I changed mine to the AIS logo in my custom profiles:
To accomplish this, edit the Icon key in the profile as follows:
"icon" : "C:/Users/Clint.Richardson/aisfavicon.png",
Command Line (Target shell):
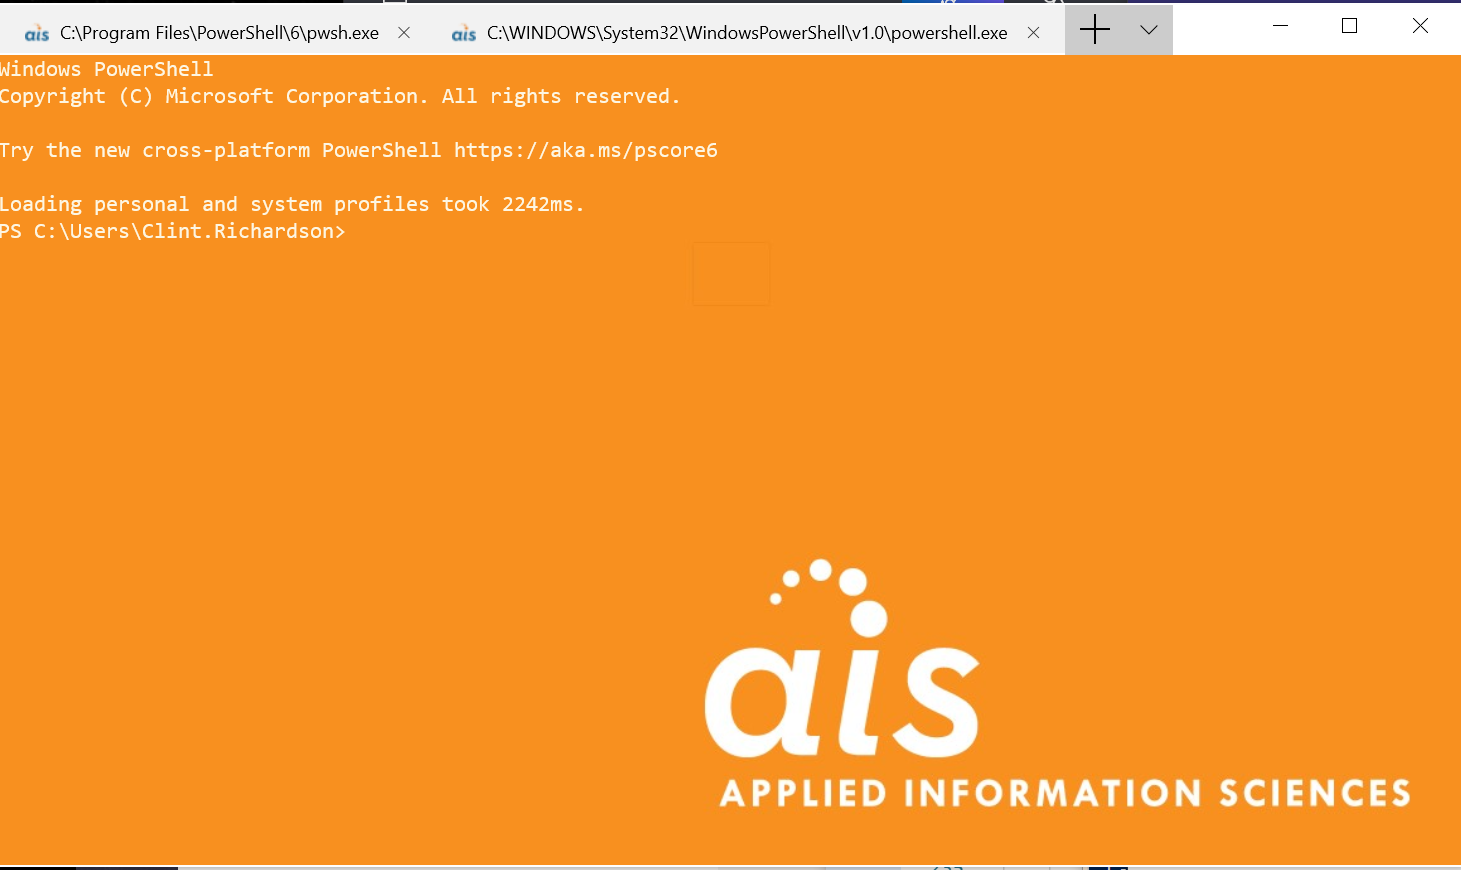
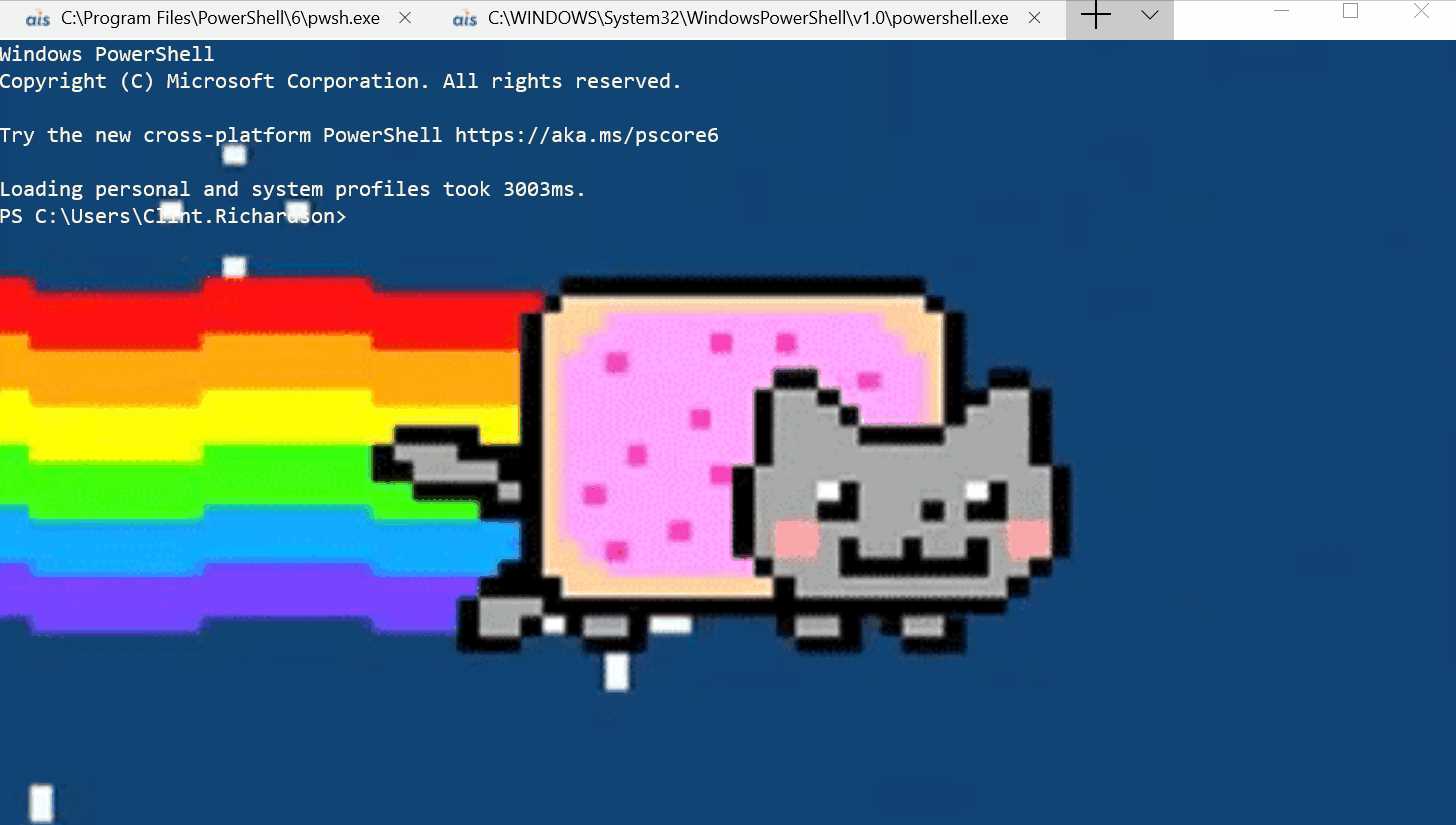
You may have noticed in the previous section that my choices of PowerShell version also changed. This allows me to run PowerShell 5 which ships with Windows 10. Or the new PowerShell Core 6. I also wanted to add a visual queue to the background image, so I knew when I was using version 6.
PowerShell Version 5
PowerShell Version 6
To enable version 6 in a custom profile, you first need to download and install PowerShell Core 6. After that you can make the following change to the command like key:
"commandline" : "pwsh.exe",
I also added the PowerShell Core 6 Avatar to my background image. If you would like the add the image it can be found here. I also had to convert the SVG to a PNG. You can do that here.
Emoji in Scripts
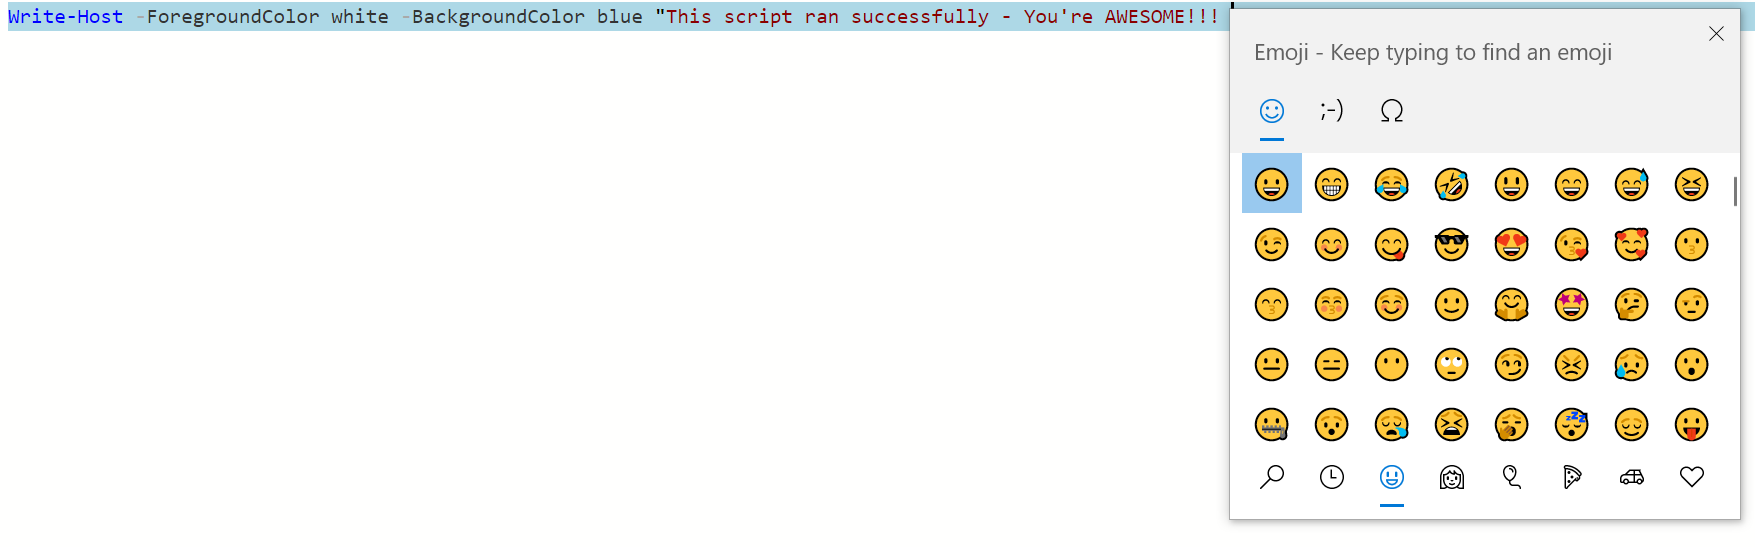
Finally, there is the concept the VSCode and PowerShell Core 6/The New Windows Terminal understand Unicode characters. What does that mean to us? EMOJIS IN SCRIPTS 😁😂😜!!!!
A straightforward example of this is to show the write-host Cmdlet in VSCode. First, we form our write-host then wherever we want to insert an emoji, we press “WIN-.” On the keyboard. That’s the Windows key and the period. From that menu, we can insert our emoji into our PowerShell script.
Once we save and run the script in the New Terminal, this is what we see:

In Closing
I hope this post has helped you to understand the customization options available in the new Windows Terminal. In the future, I’m sure the customization options will receive better documentation or maybe a UI configure them.
Now get to downloading, and I hope you have as much fun making the new terminal your own!

