


Summary
To break this series apart into more manageable chunks, in this installment, we’ll focus on setting up the API in Azure API Management (APIM) and the custom connector. If you missed the first installment where we set up our On-Premises Data Gateway and Azure Logic App, please check it out here.
Scenario
The company has an on-premises SQL Server database that contains customer data that needs to be available to various apps built on the Power Platform and/or Azure.
Assumptions
- That you have a sample of the data your Logic App returns. For this write-up, we’ll use the data returned from the Logic App we created in our previous lab.
High-Level Steps
- Create an Azure API in Azure API Management (APIM) that provides access to the Logic App, and can be called from various Power Apps and Power Automate Flows
- Create a Custom Connector
Azure API Management
In this section, we’ll walk through setting up an API to the Logic App we created in our prior installment.
Why use Azure API Management (APIM)?
Azure APIM provides a single place for managing your company’s APIs. It can be used to selectively expose data and services to employees and partners by applying authentication and even usage limits.
Create the API
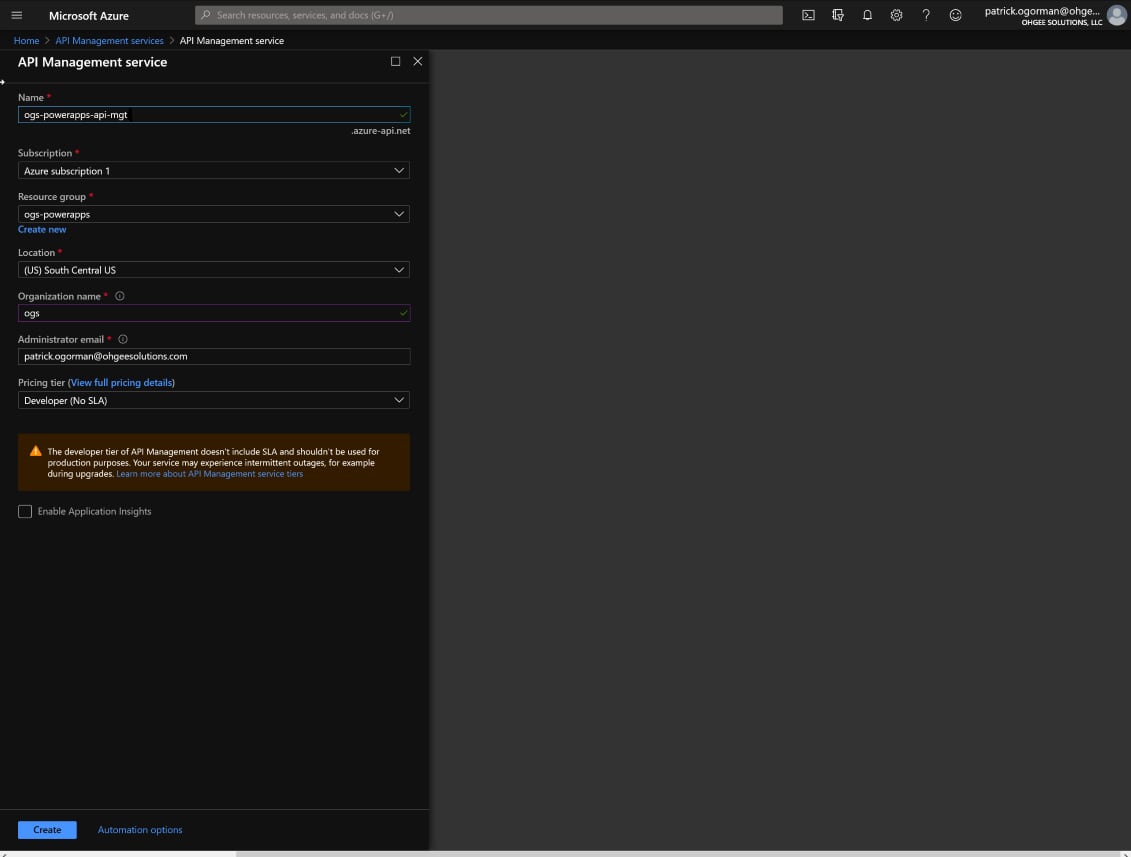
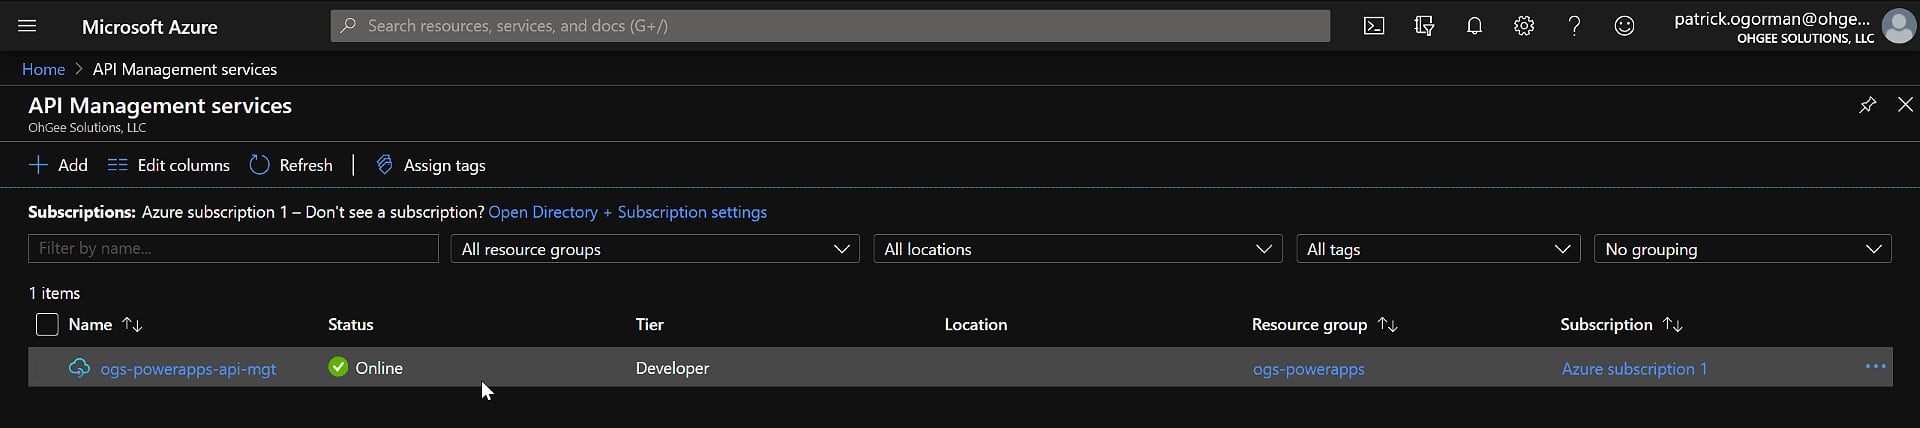
- Create an Azure API Management service instance in Azure. You can follow steps to do that here. In the Azure search bar, type API, and select API Management services. Provide the necessary information and click the Create button. Once complete, your API Management service should show as ‘on-line’.

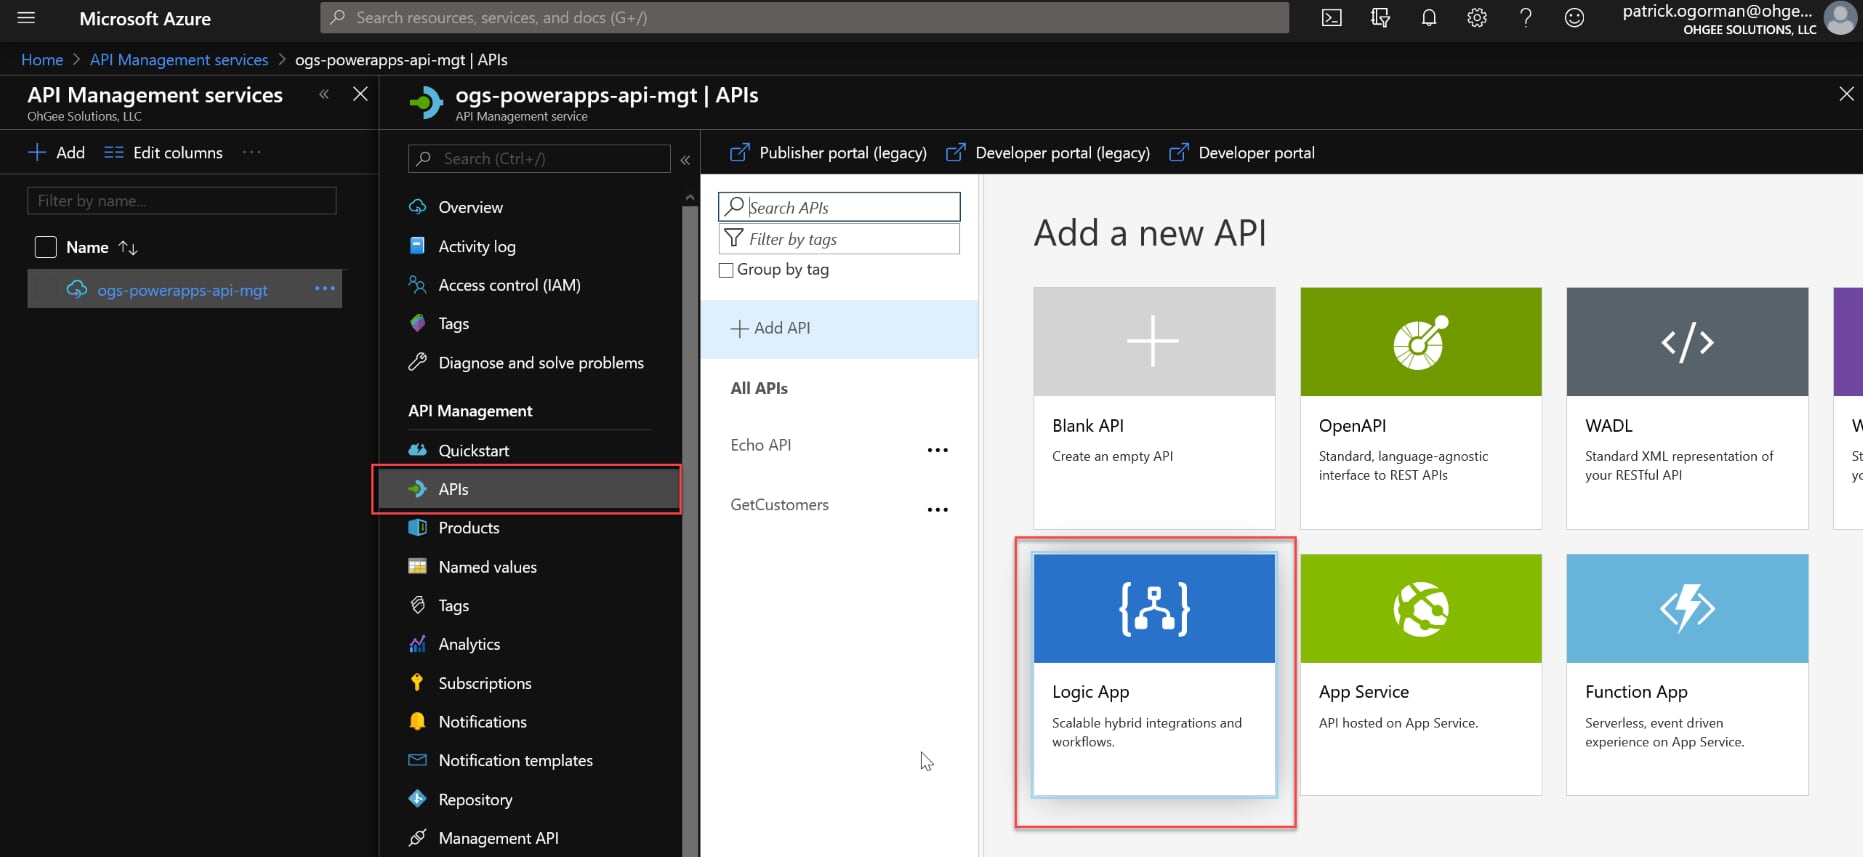
- Click to open your new APIM service. Select API’s from the blade that opens, and either select the Logic App tile or search APIs for Logic App and select it.
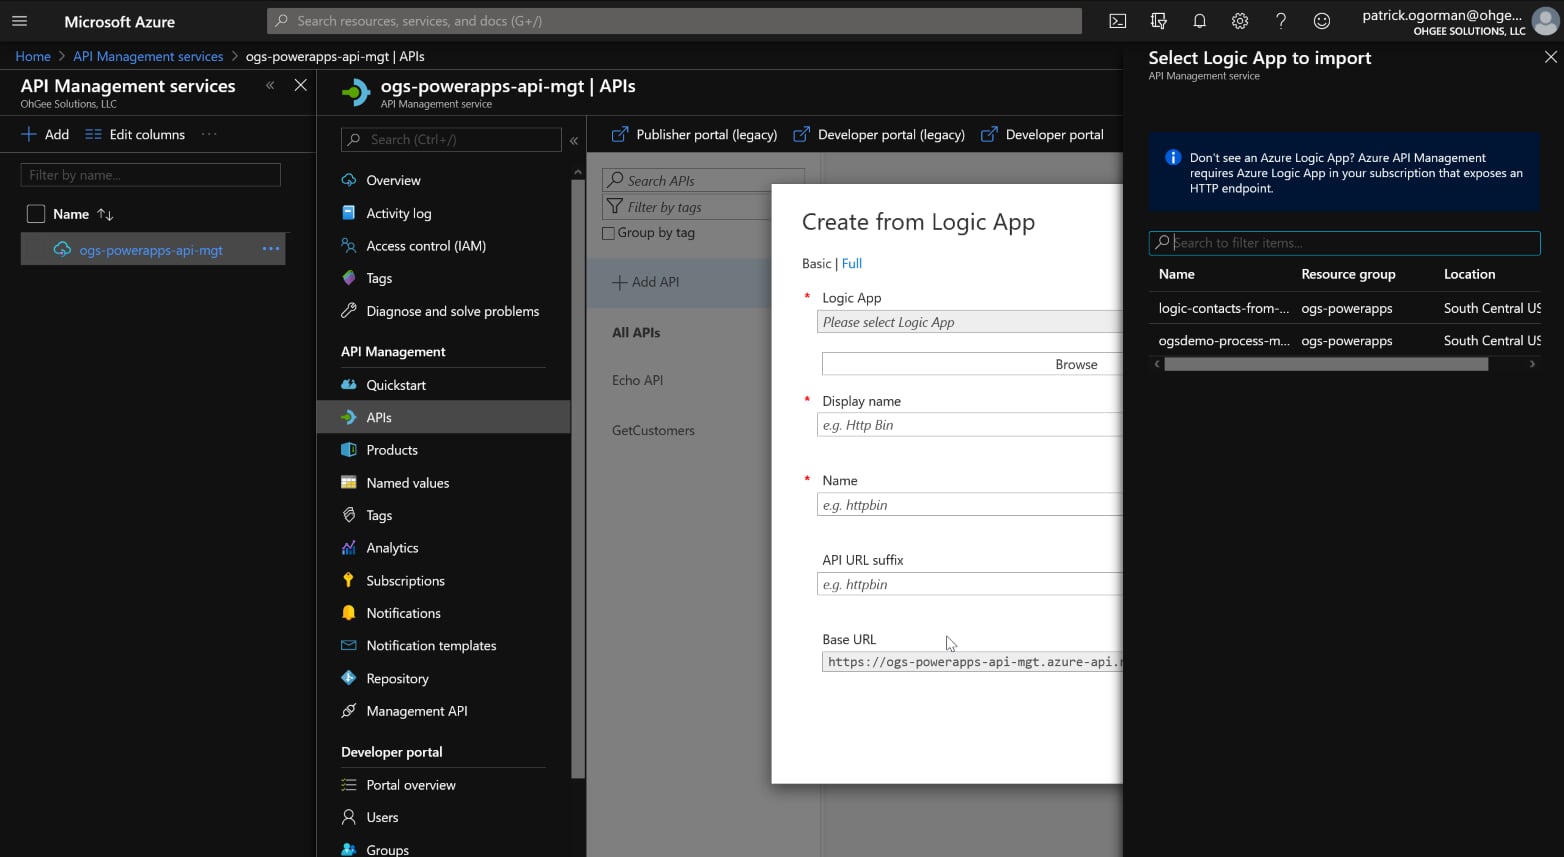
- Assuming you created the Logic App in the first installment of this series, select that Logic App from the “Select Logic App to import” blade that opens to the right.
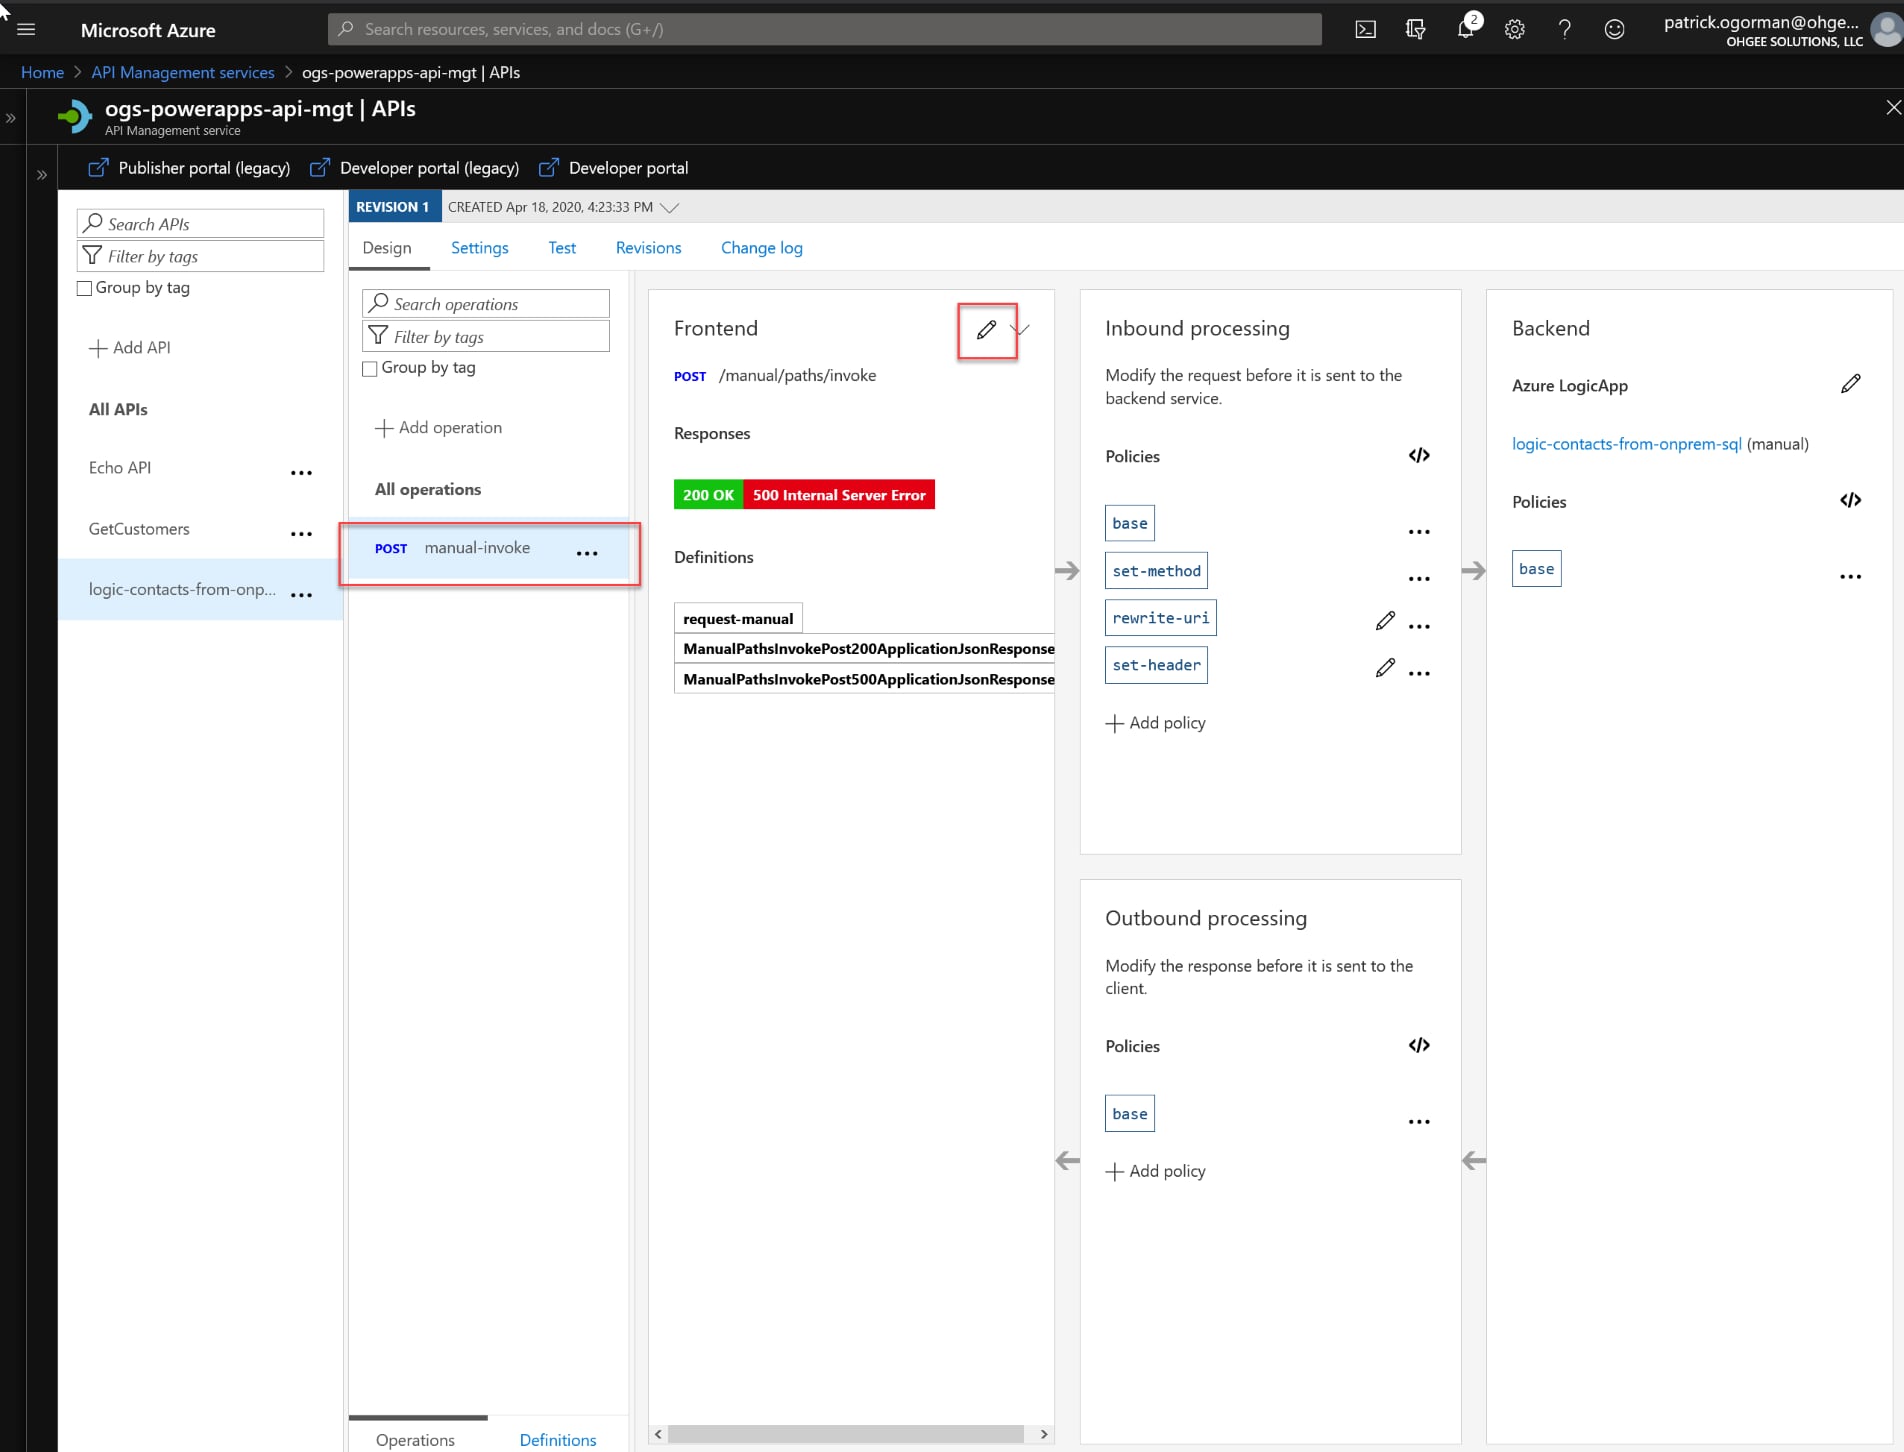
- When that is done being created, you should notice an operation that was created automatically called manual-invoke. Select that operation and click the pencil edit button in the Frontend section.
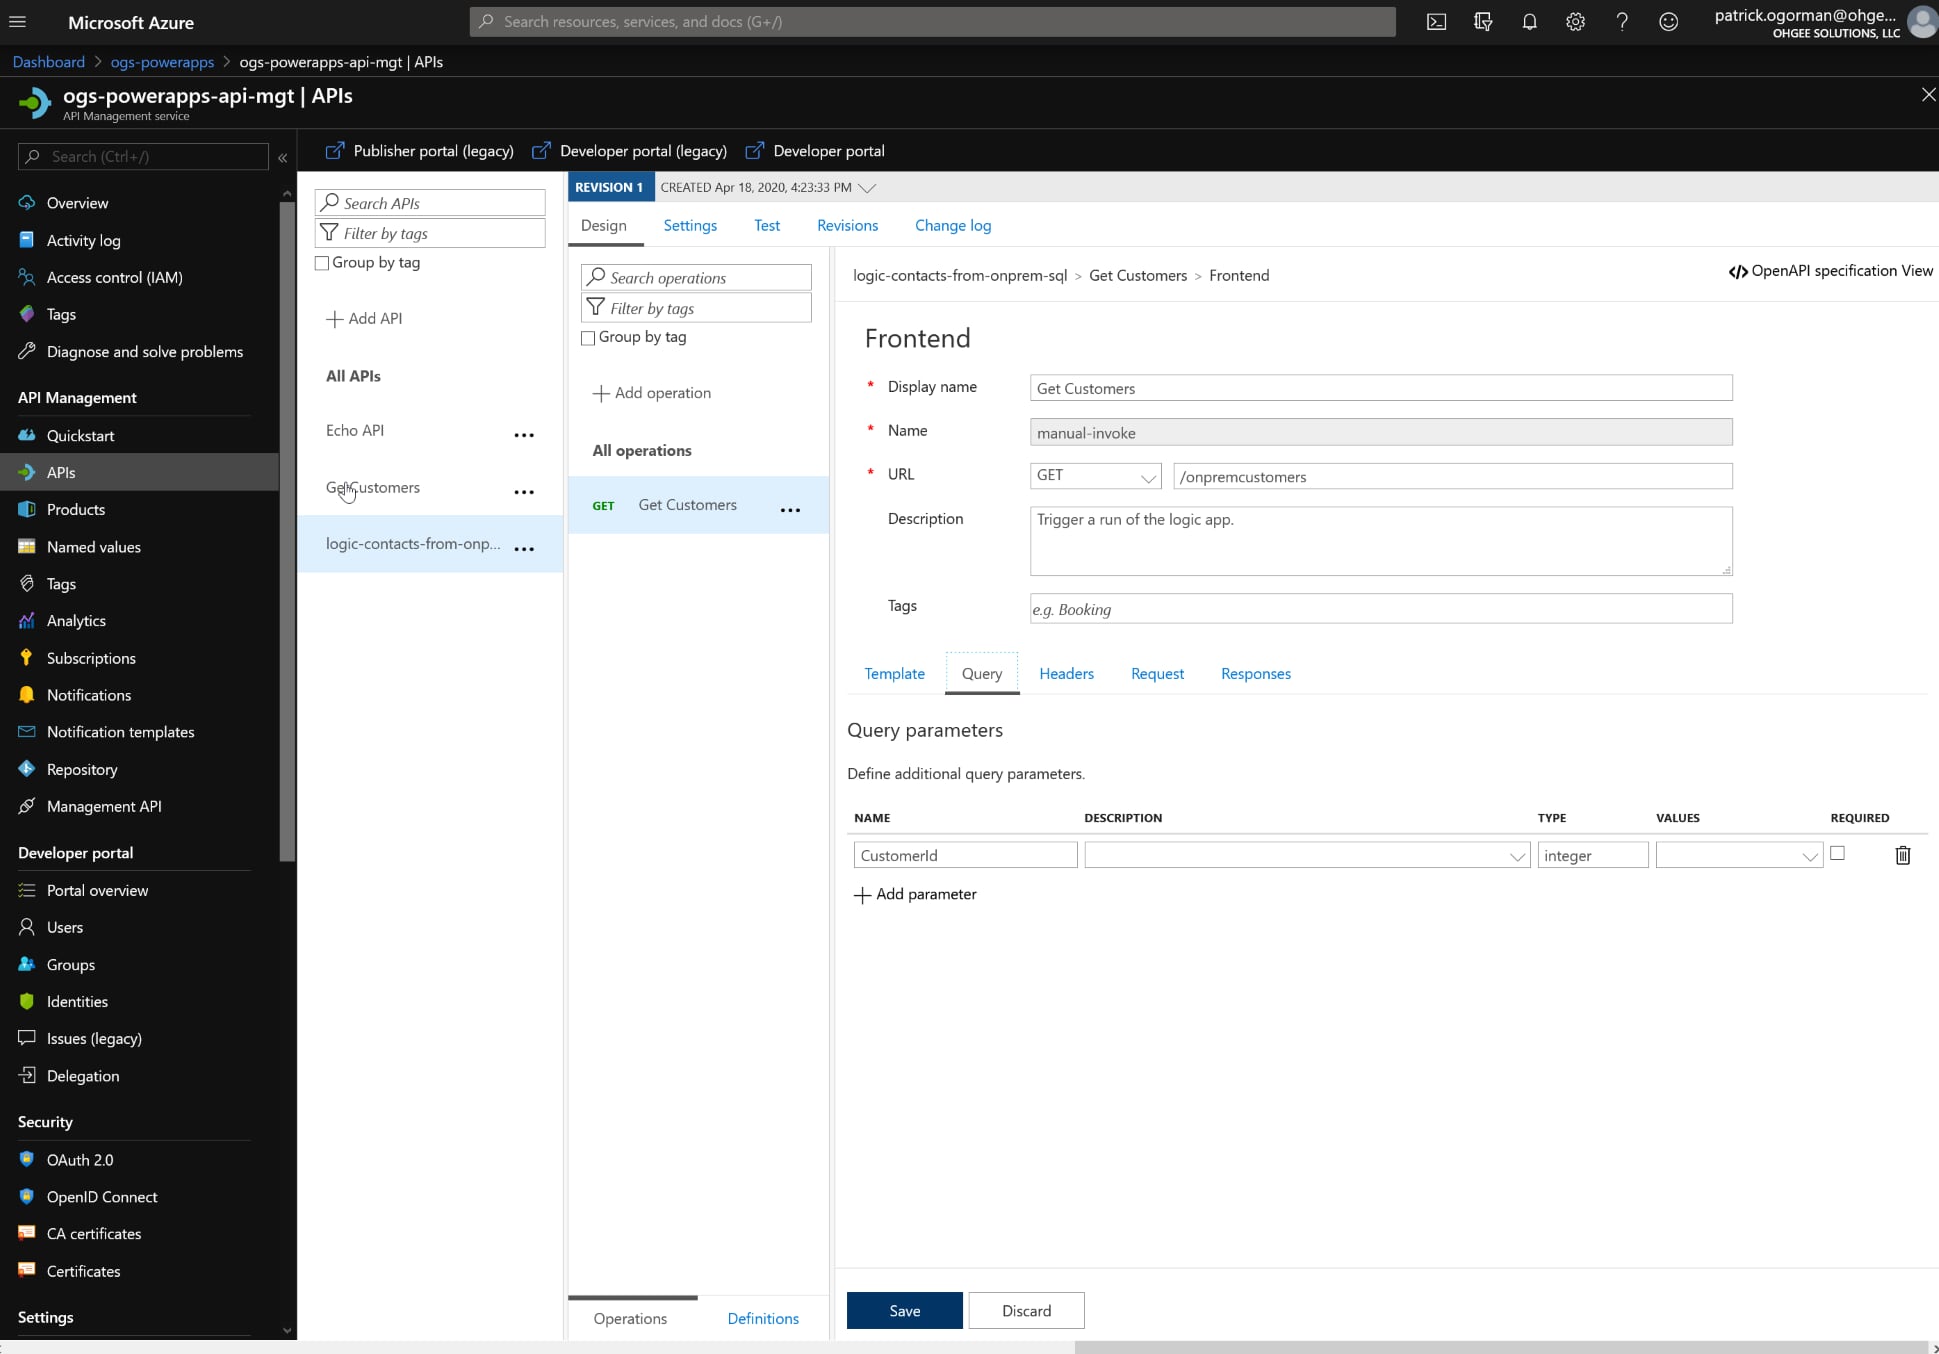
- Provide a meaningful display name if you’d like. Change the URL to a GET with a “/onpremcustomers” as a resource path.
- On the Query tab at the bottom, add the CustomerId (integer) query parameter.
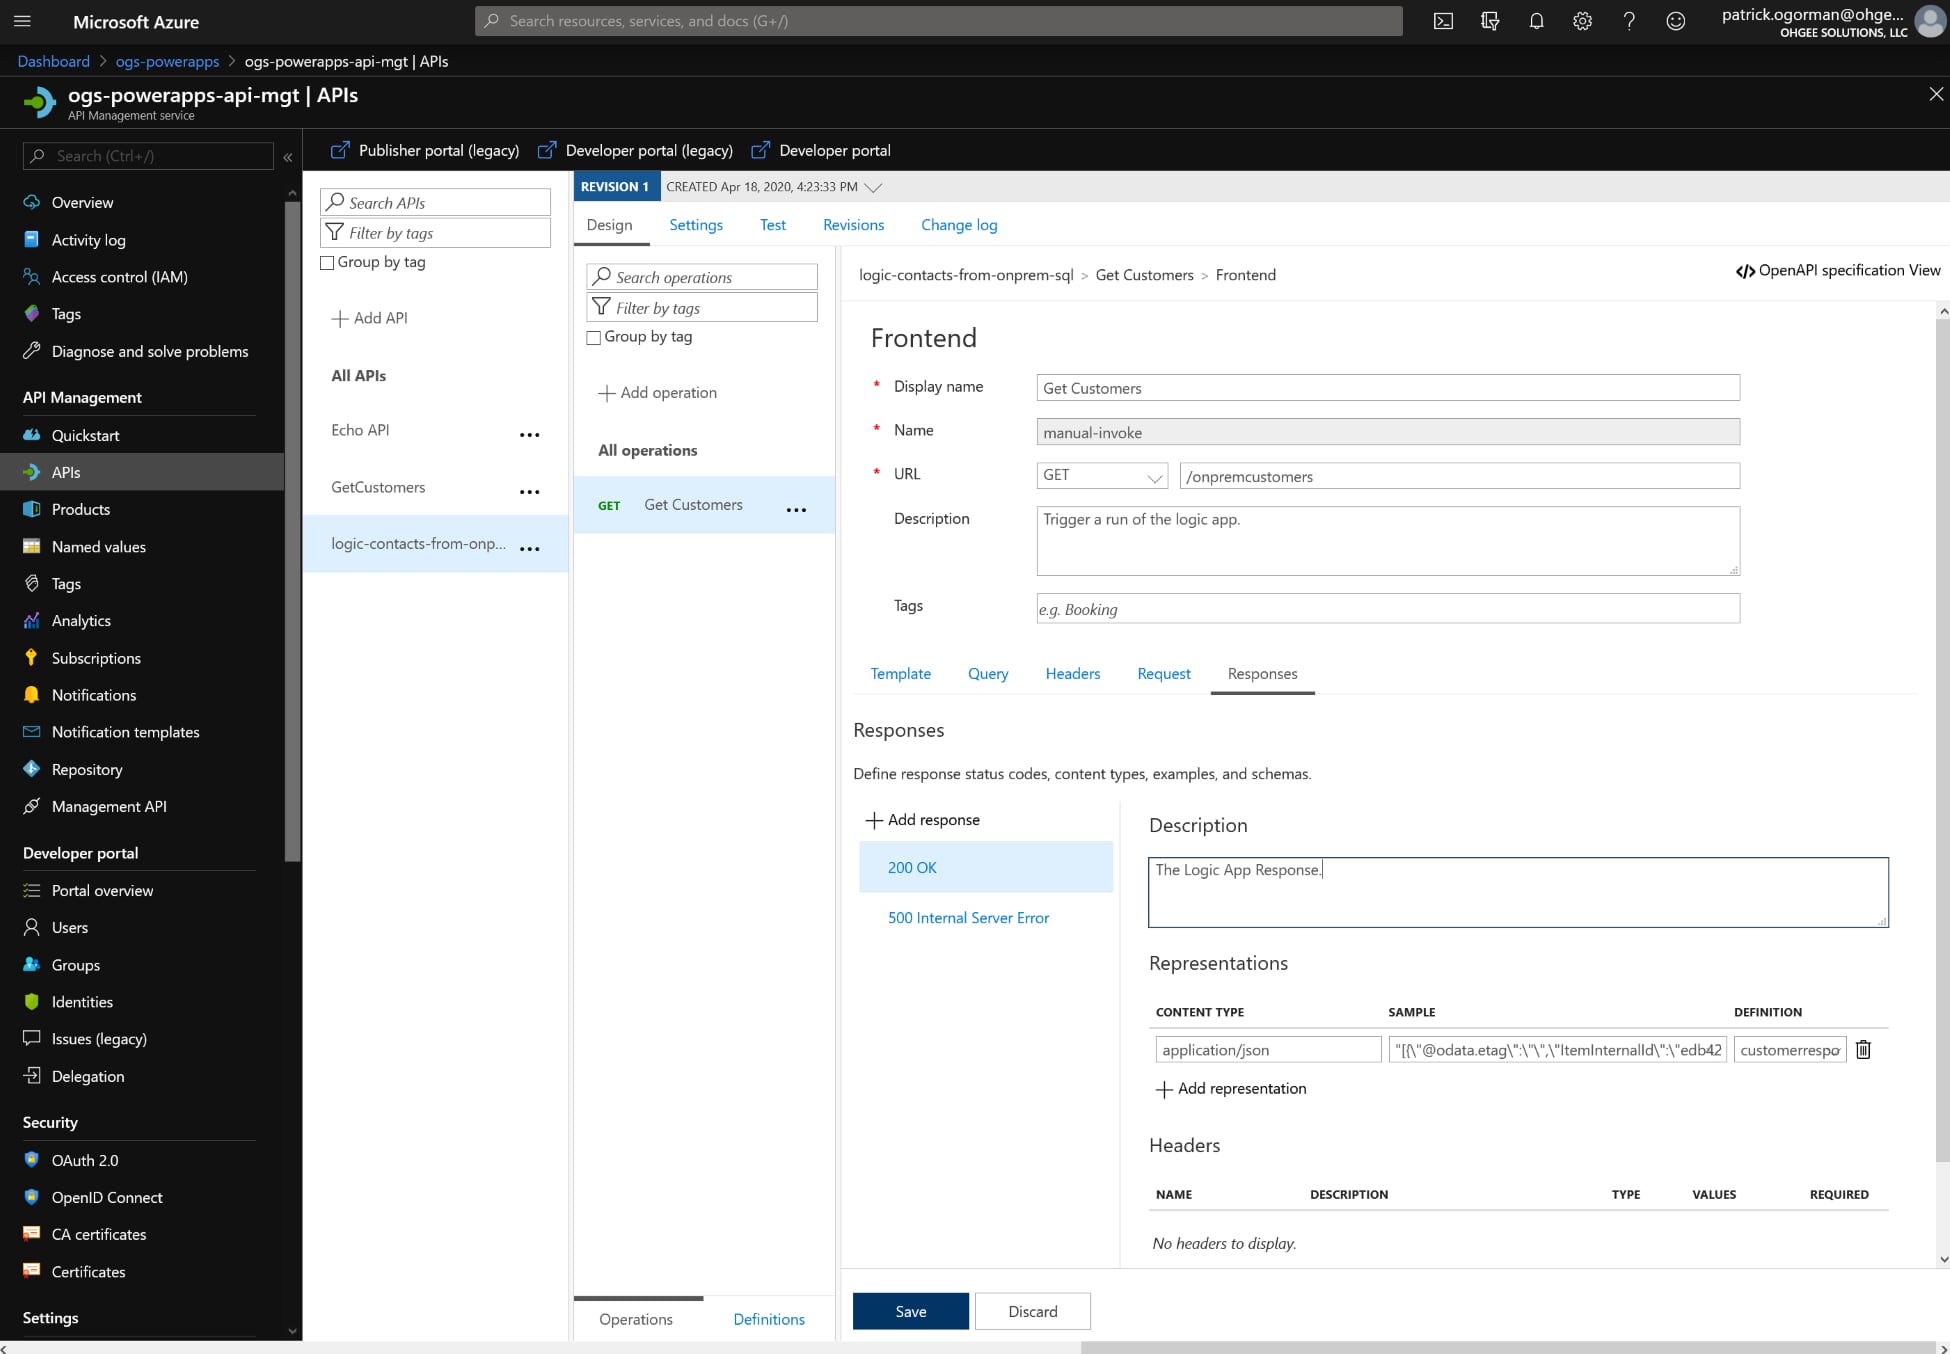
- On the Responses tab, select the 200 OK response that should already be there. Add the details for an application/json representation using the sample data output from the Logic App created in the previous exercise. I also provided a definition of “customerresponse”.
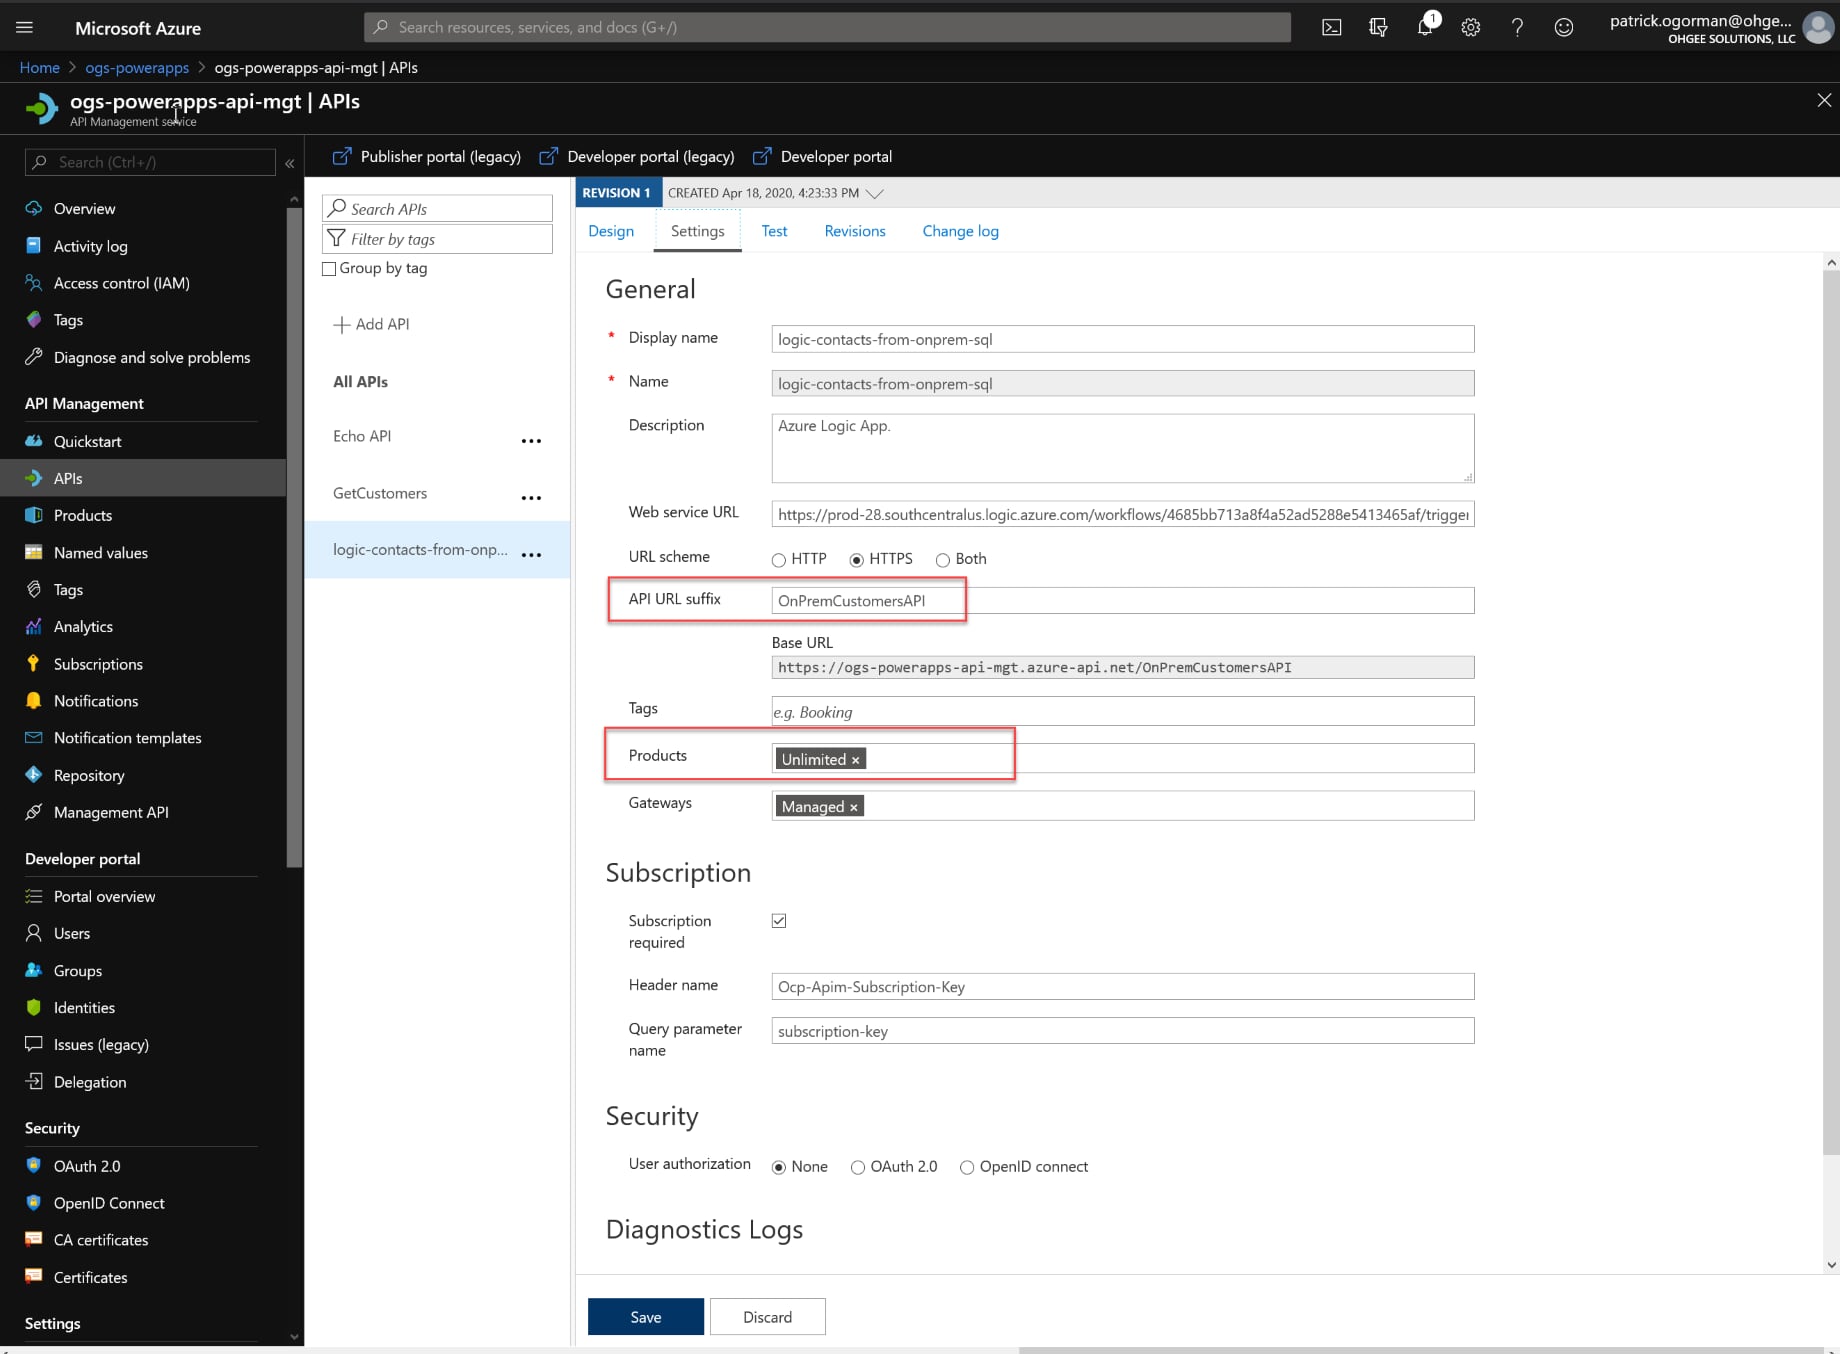
- On the Settings tab, add an API URL suffix, select a Product, and click save. You will want to make note of the Product you select. I am using “Unlimited” in my example. Later, when providing an API key for a custom connector, you’ll need to remember which product your API is using.
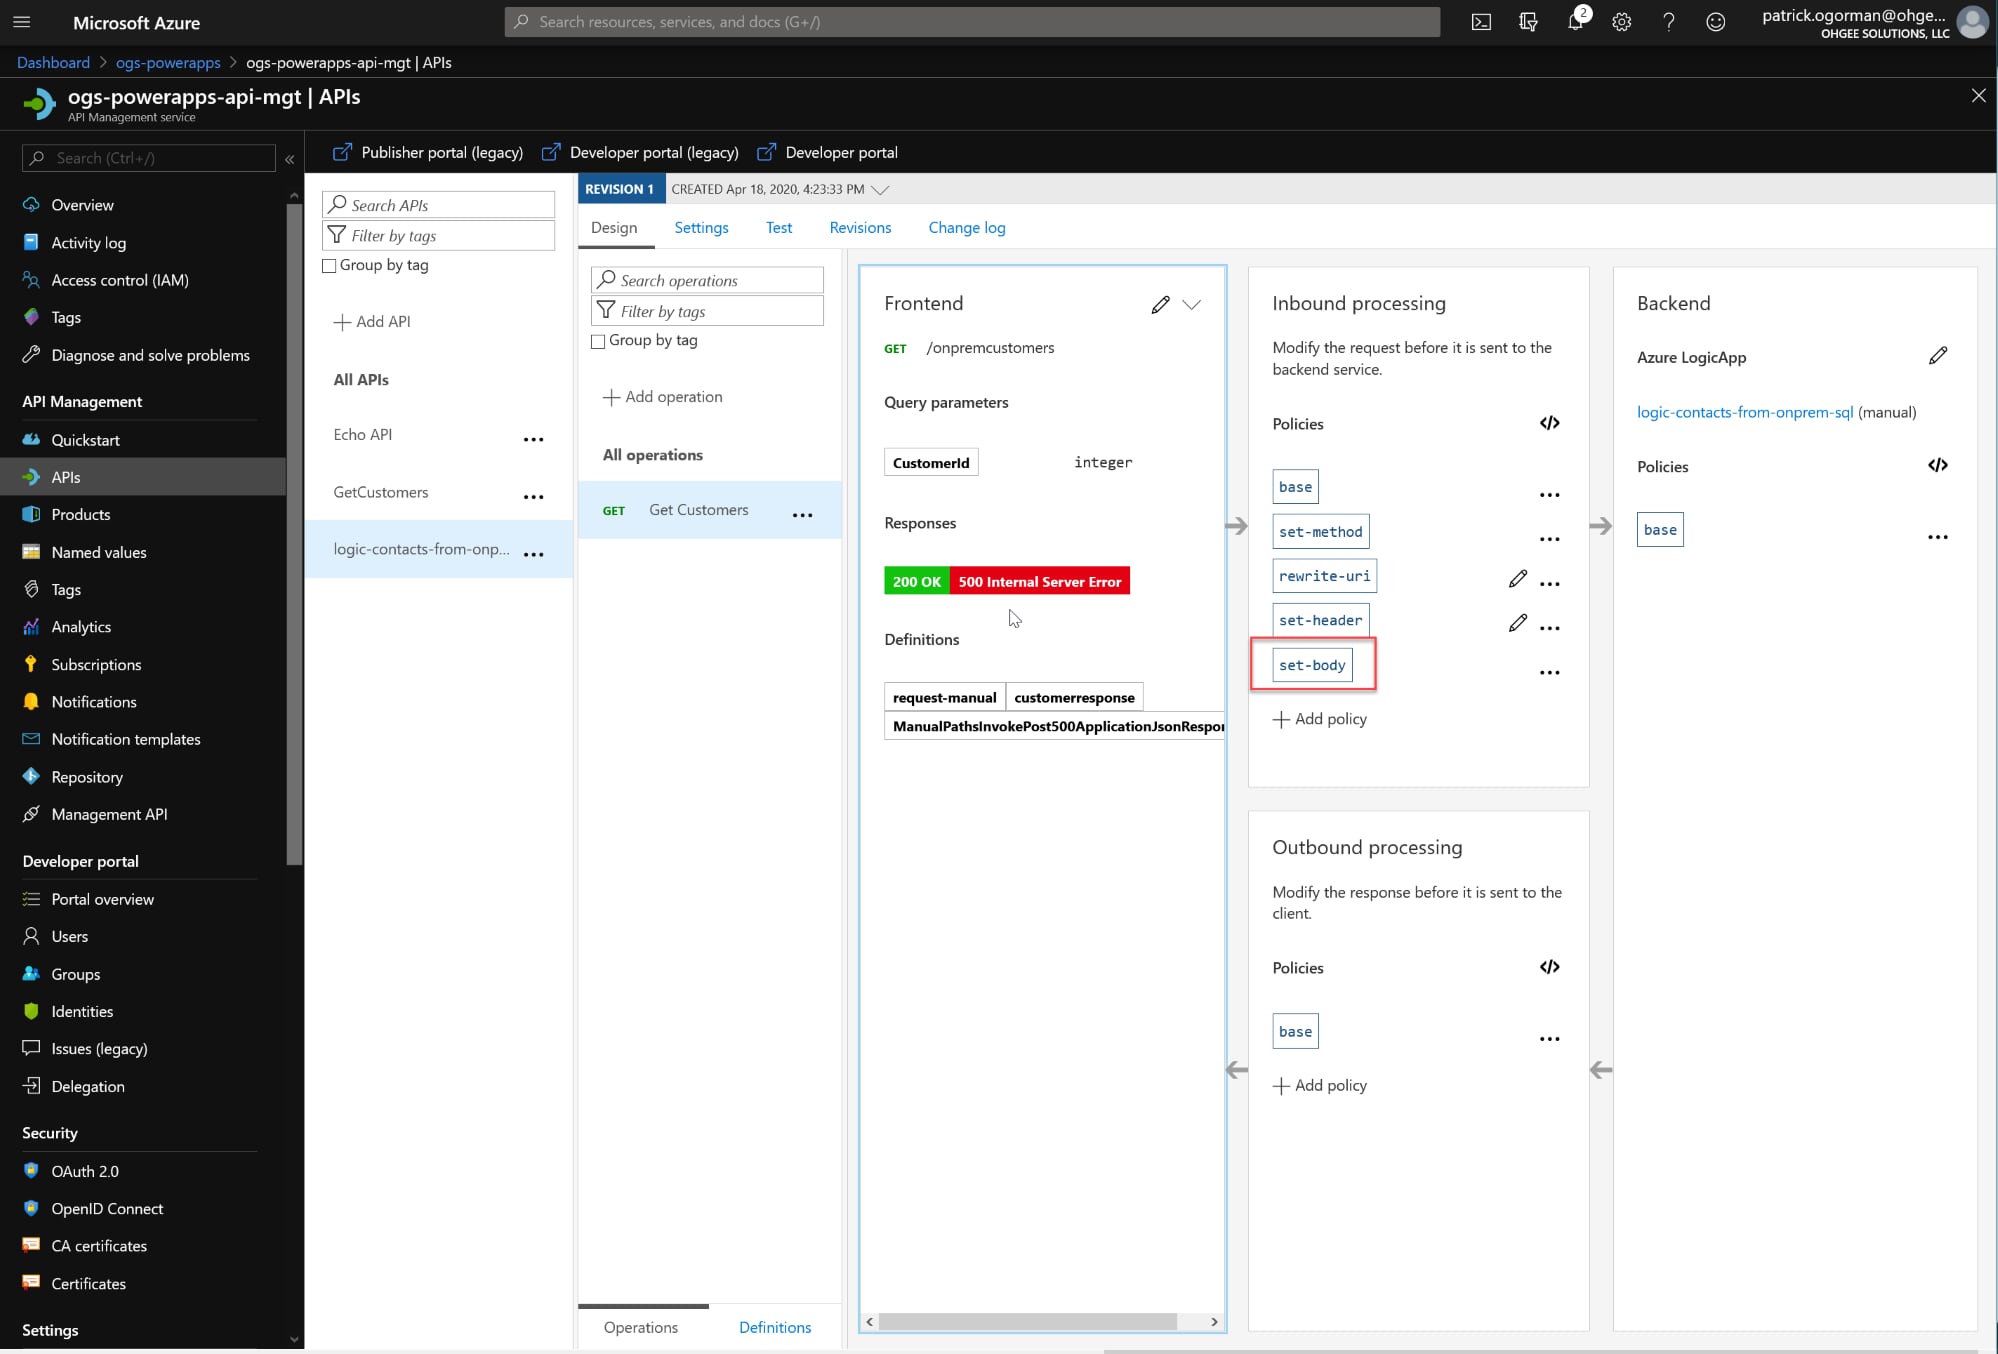
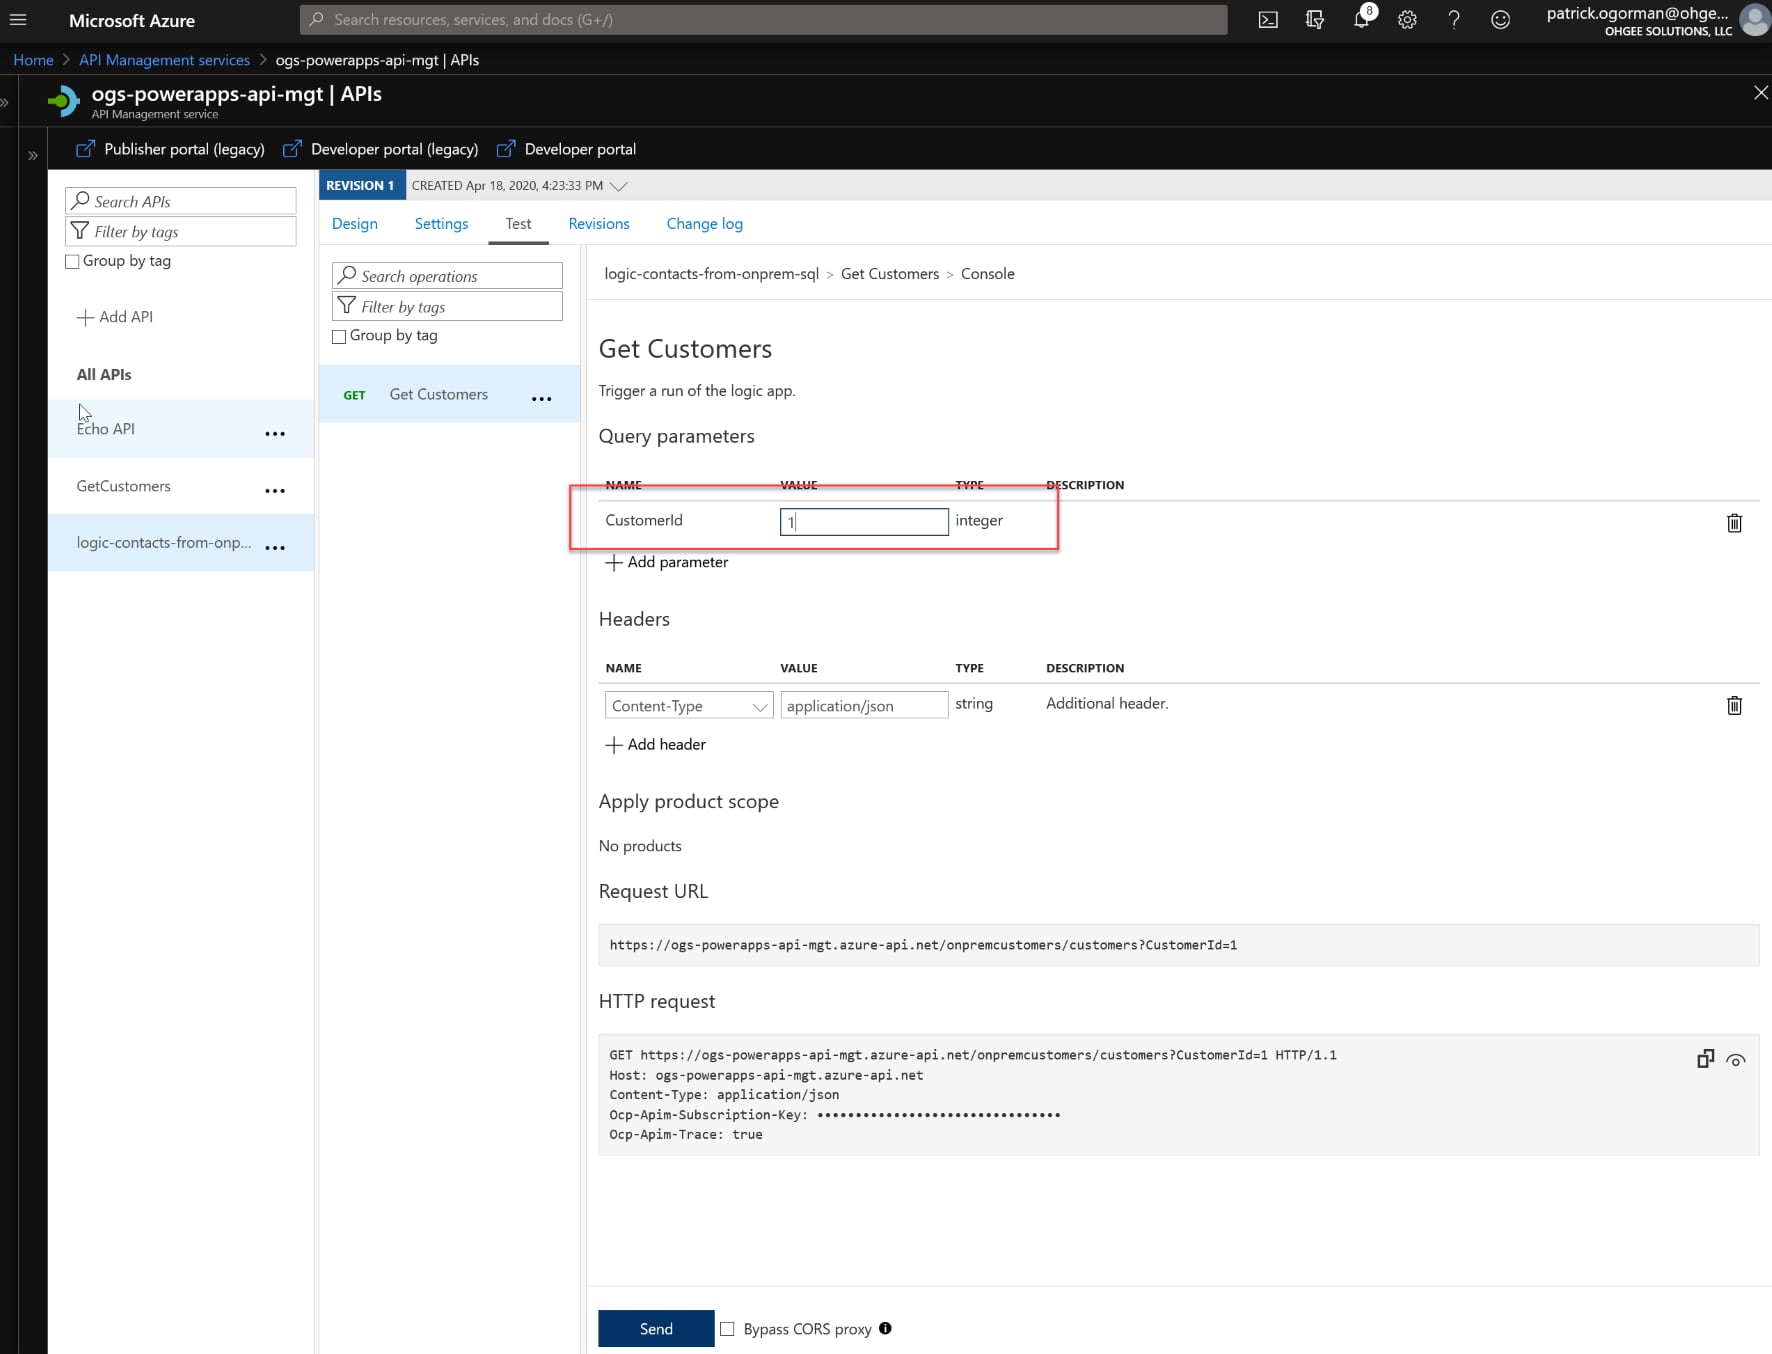
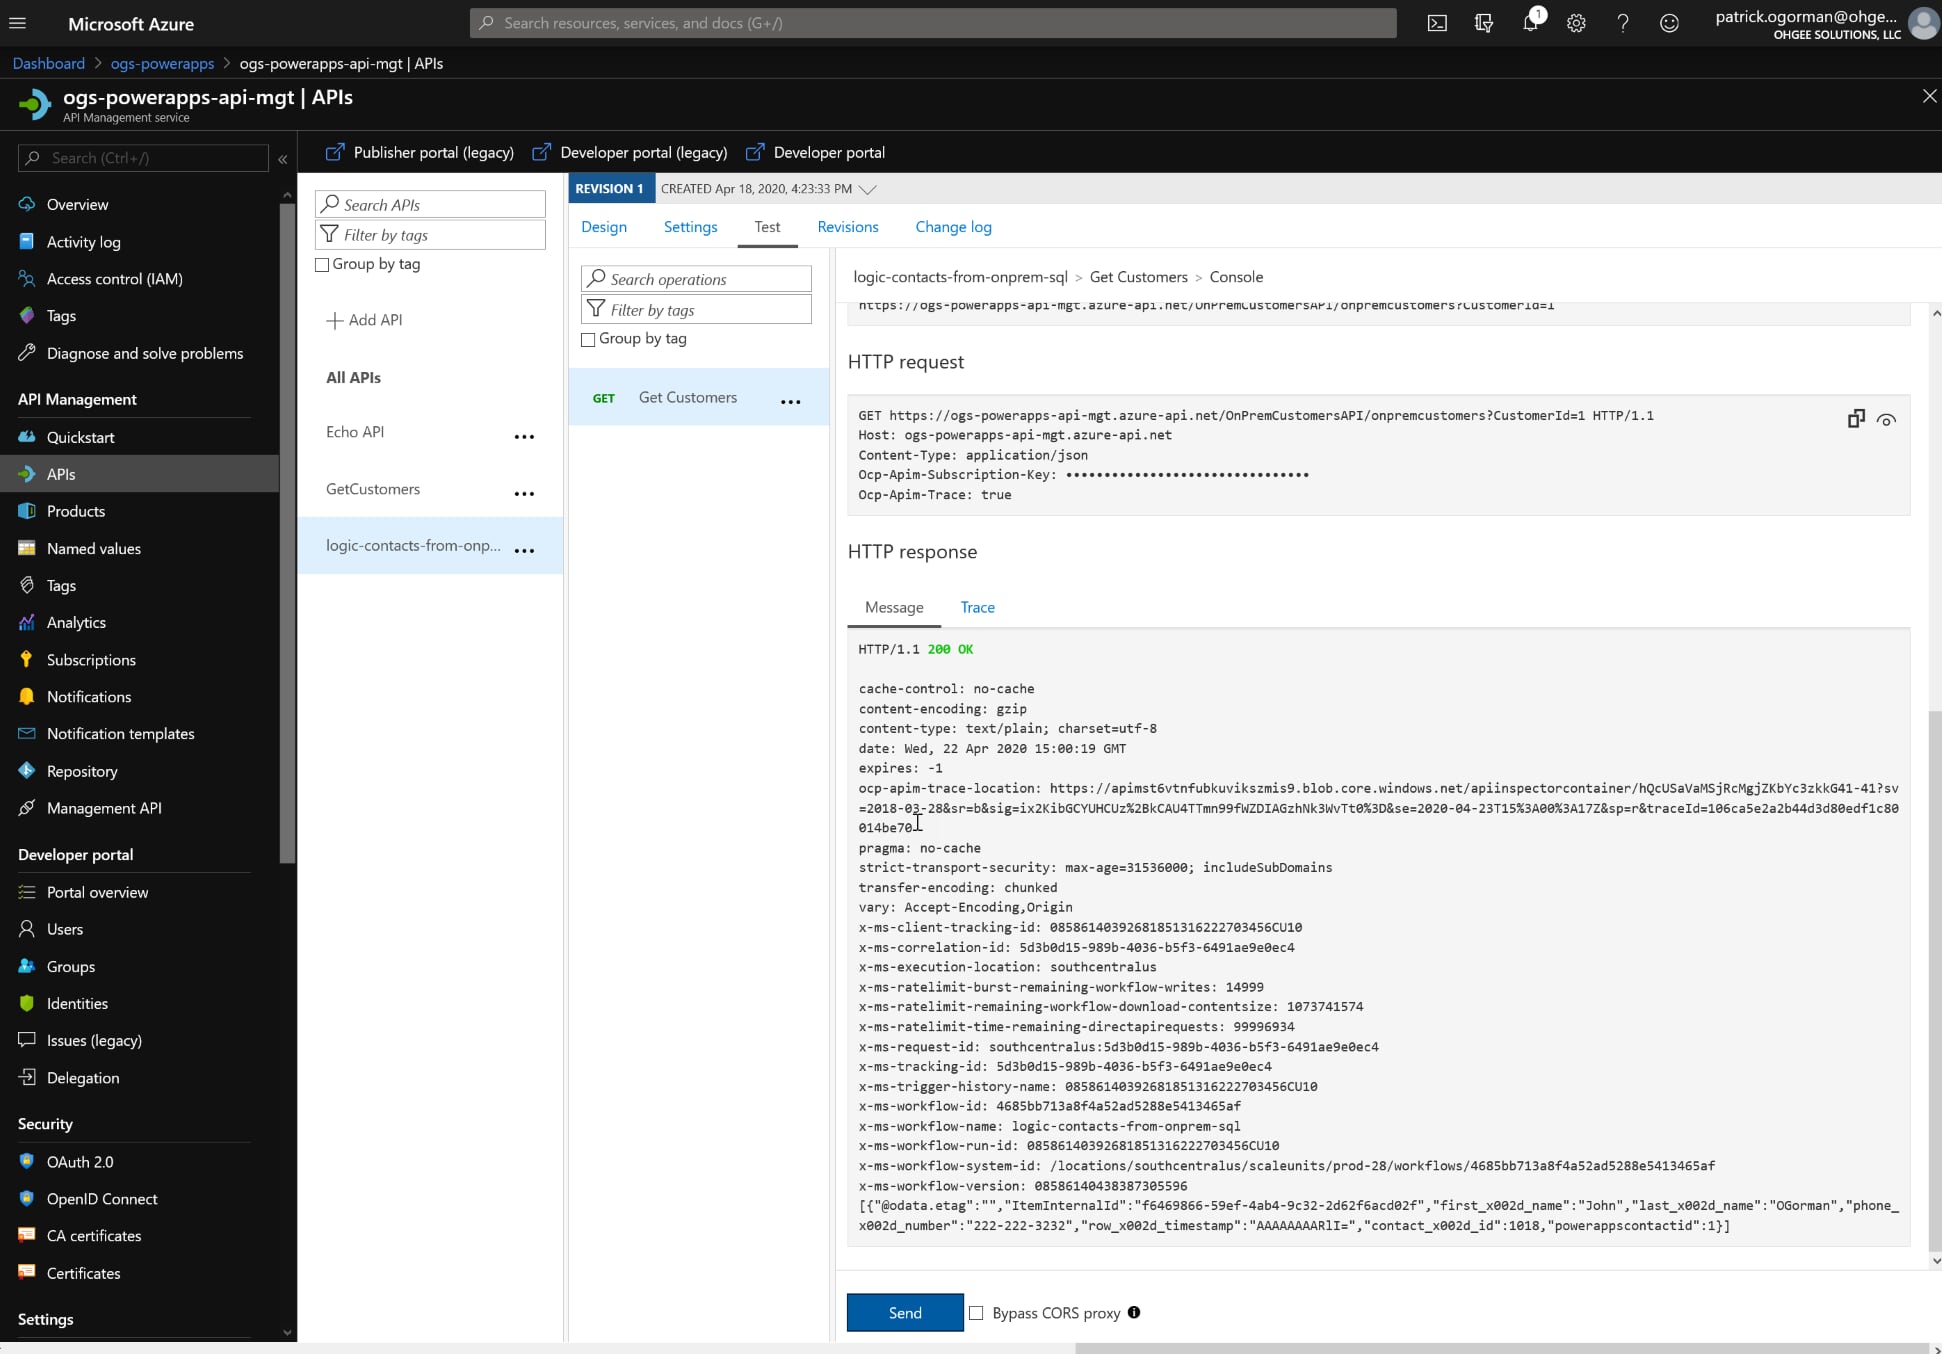
- Now we’re ready to test this out. On the Test tab, enter a value for the Customer Id parameter and click Send. If all goes well you should get a 200 response back with, hopefully, some data.
Power Apps Custom Connector
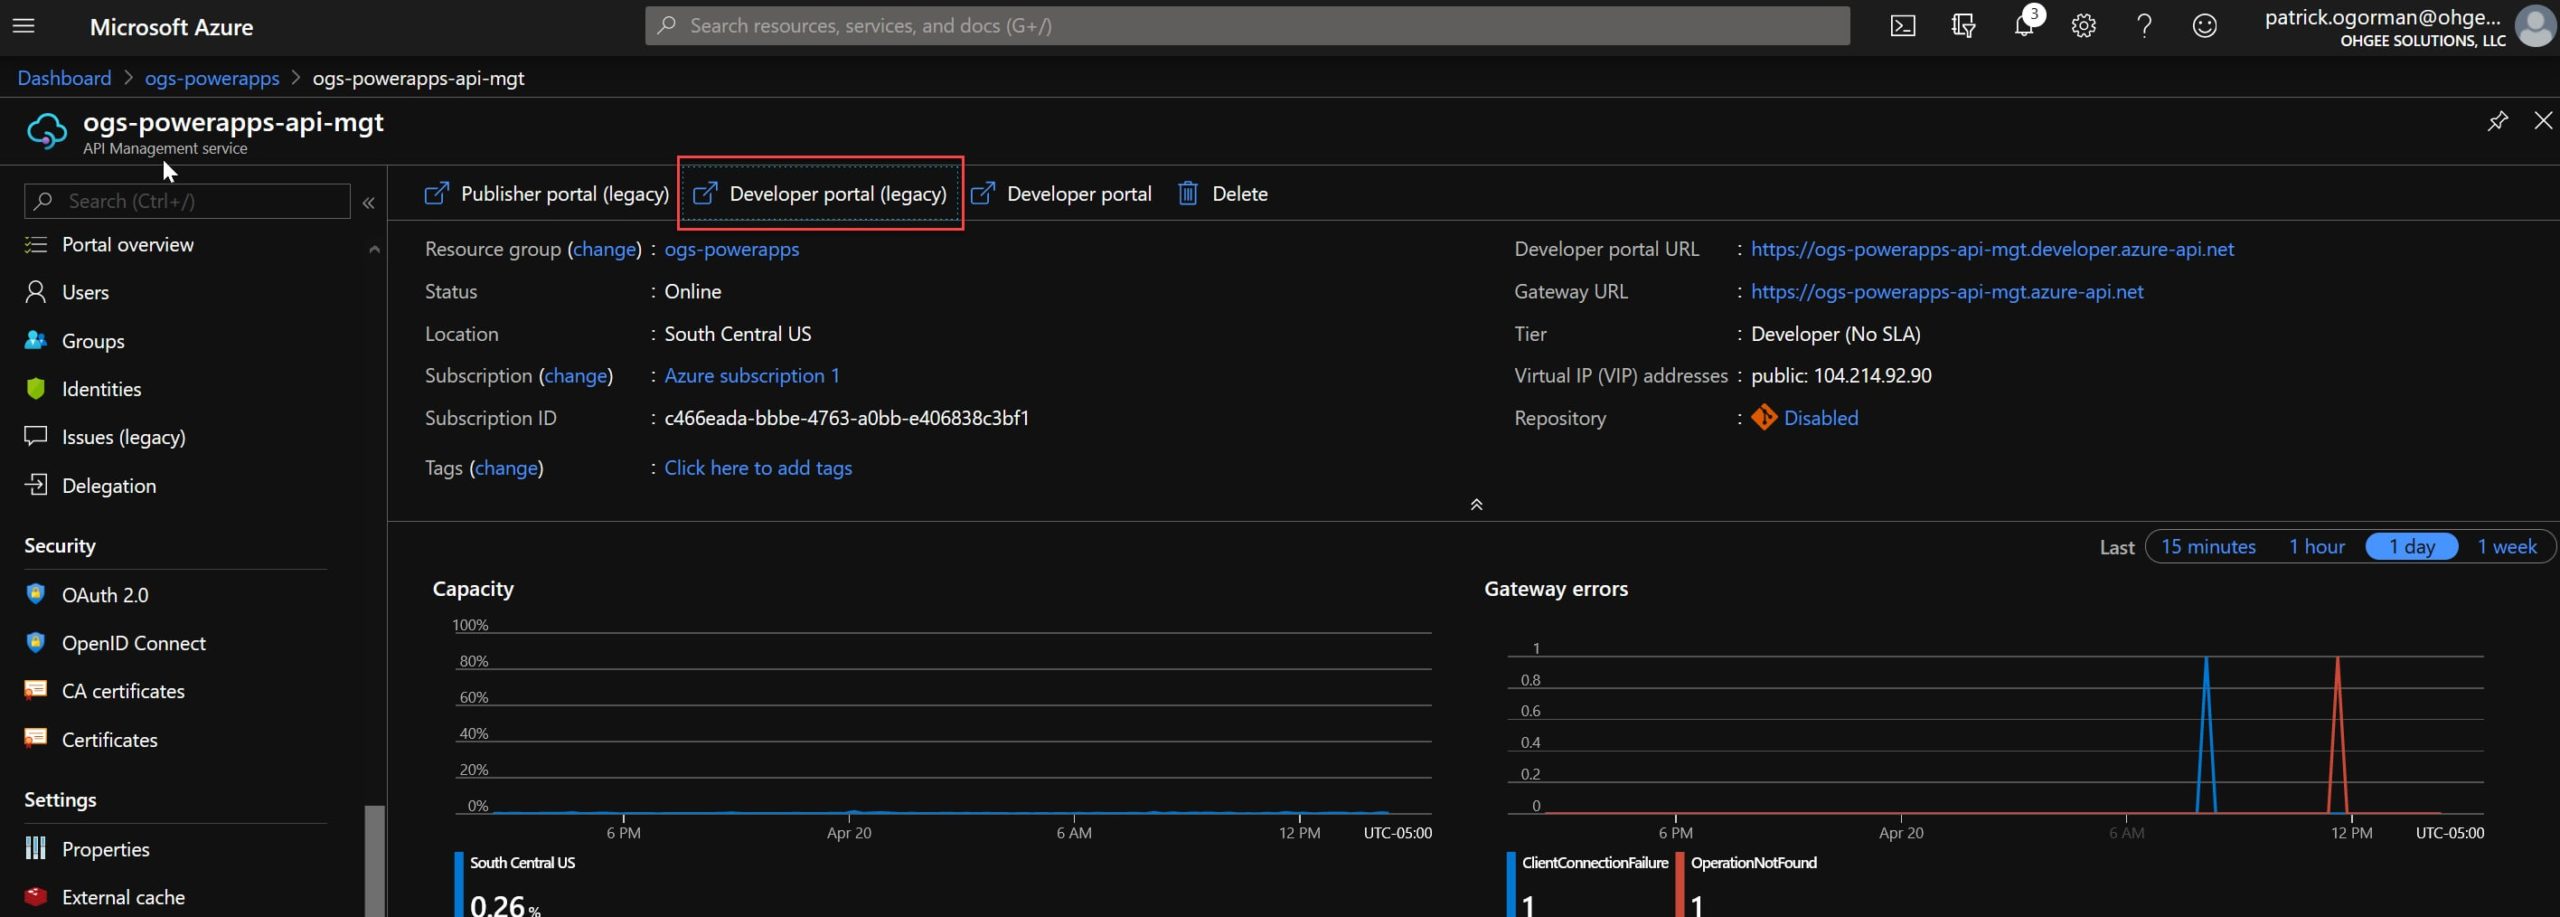
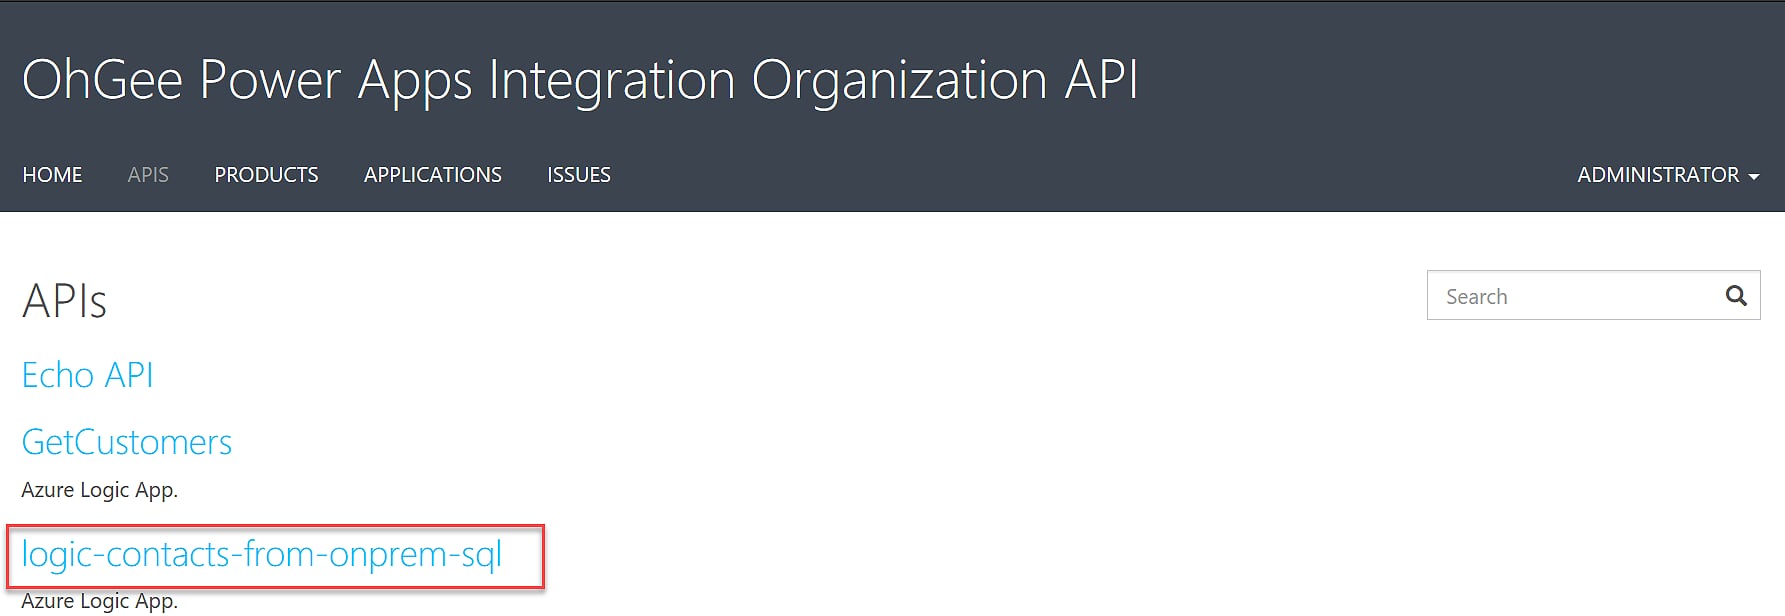
- From the Azure API Management Overview blade, open the Developer portal (legacy). At the time of this writing, the new Developer portal was too buggy to use.
- Click on the API we just created.
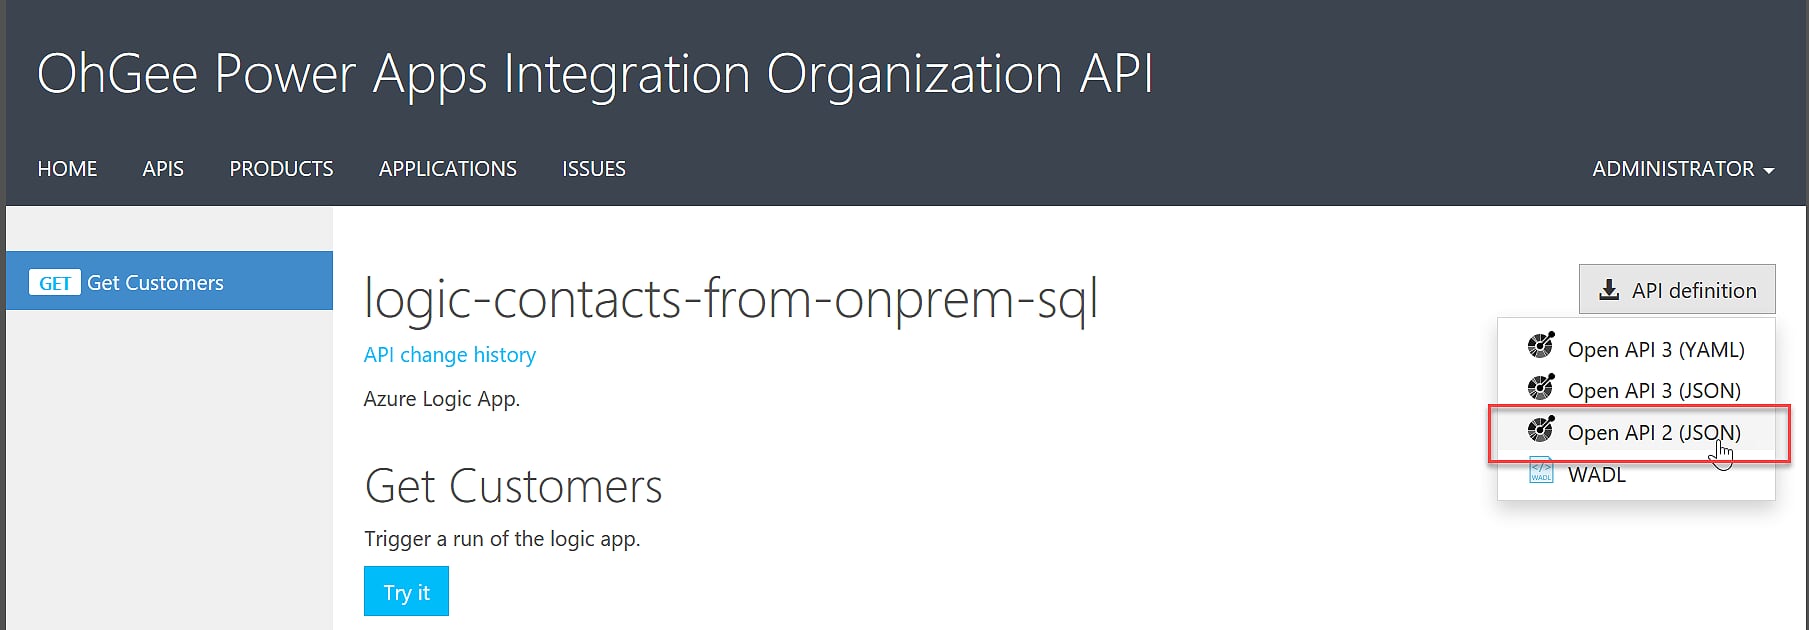
- Using the API definition button, download/copy and save the Open API 2 (JSON) file.
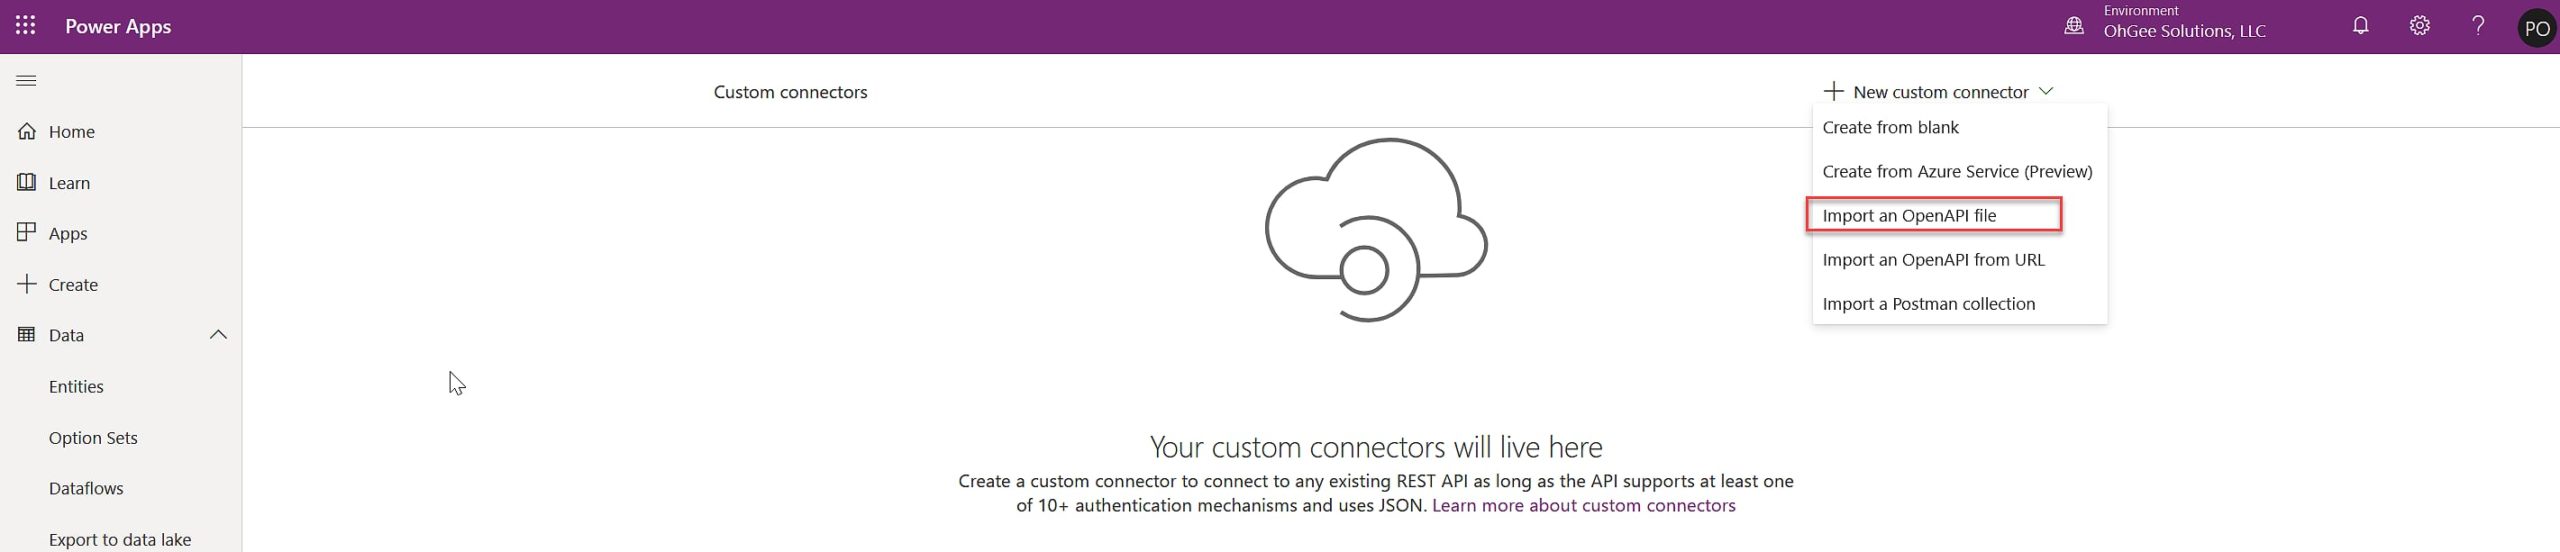
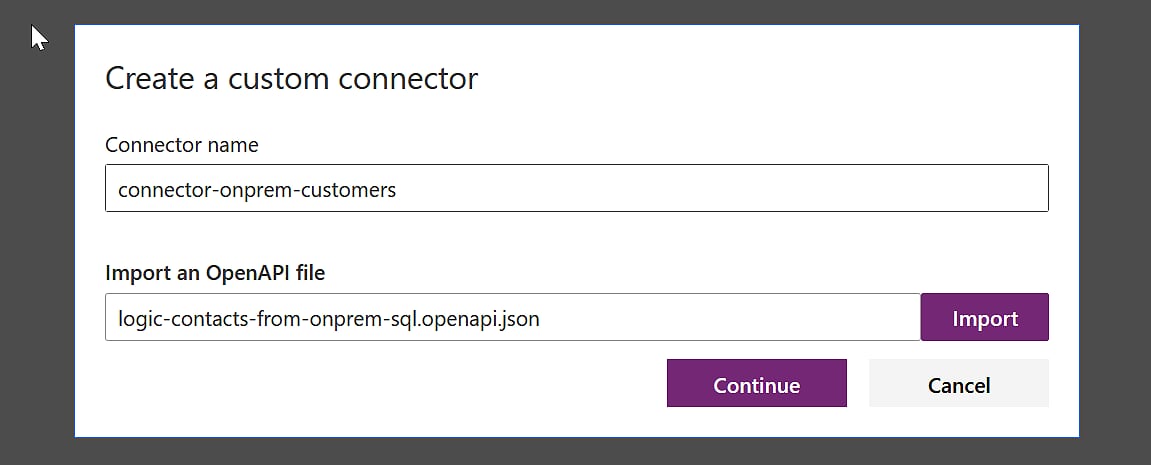
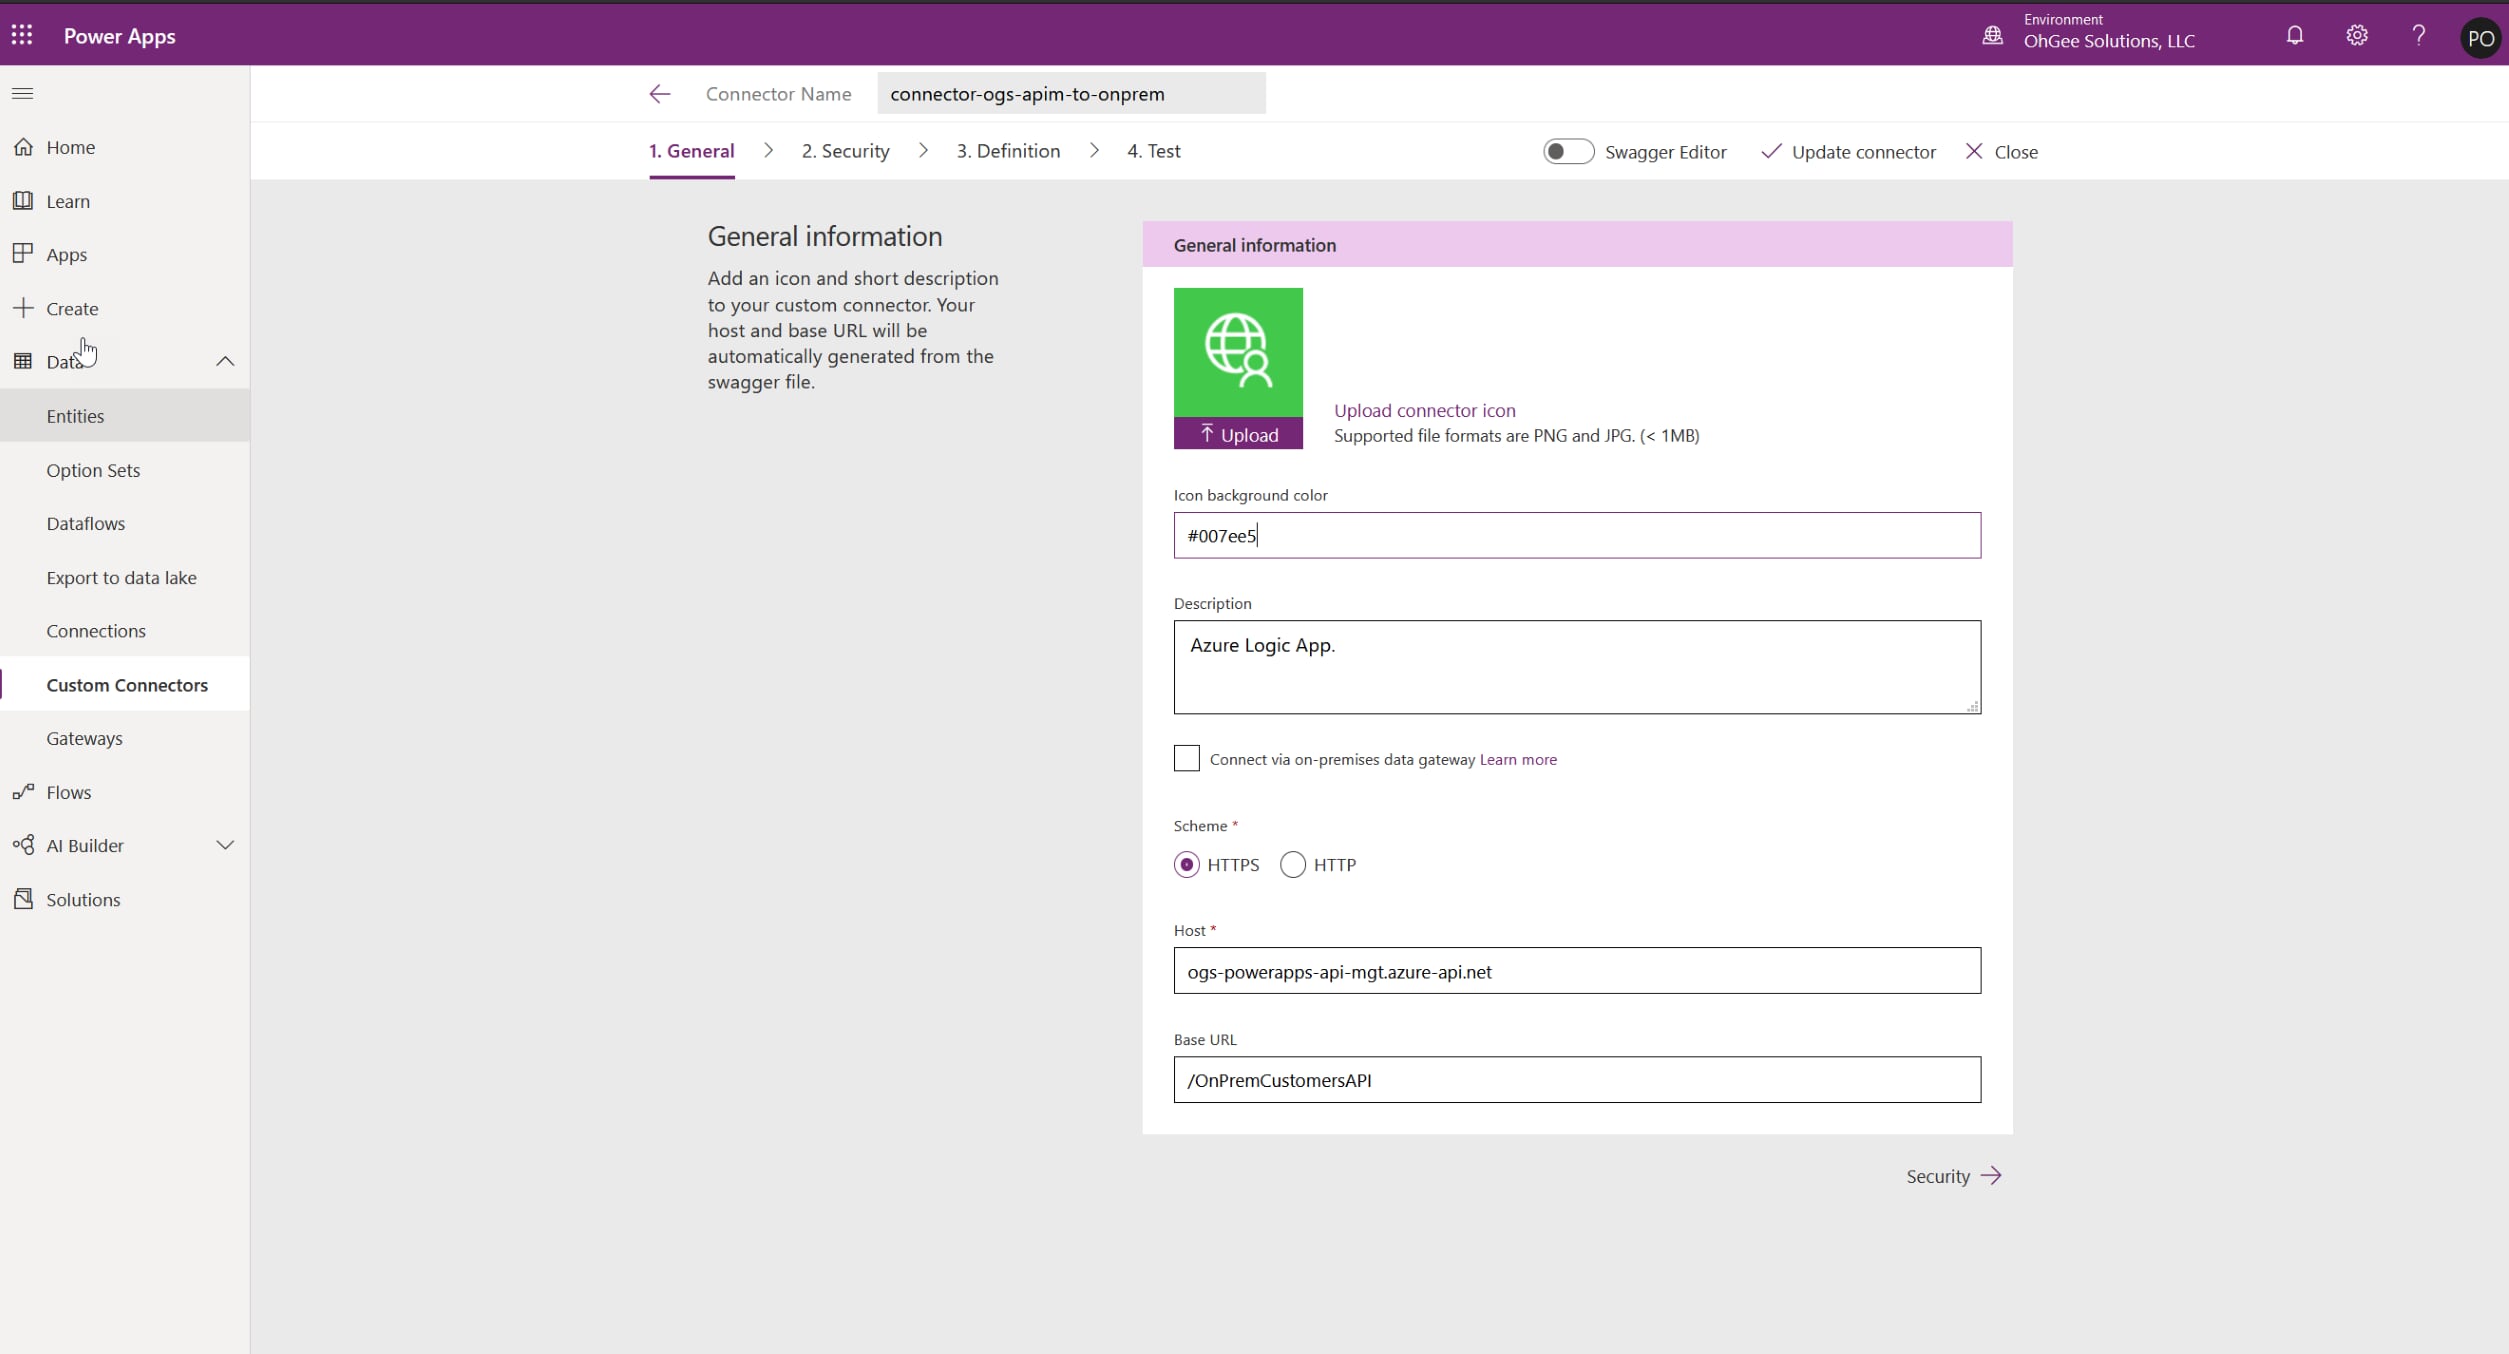
- In Power Apps, go to Data Custom Connectors New Custom Connector Import an OpenAPI file. Import the downloaded JSON file from the previous step, provide a name for your connector and click Continue.
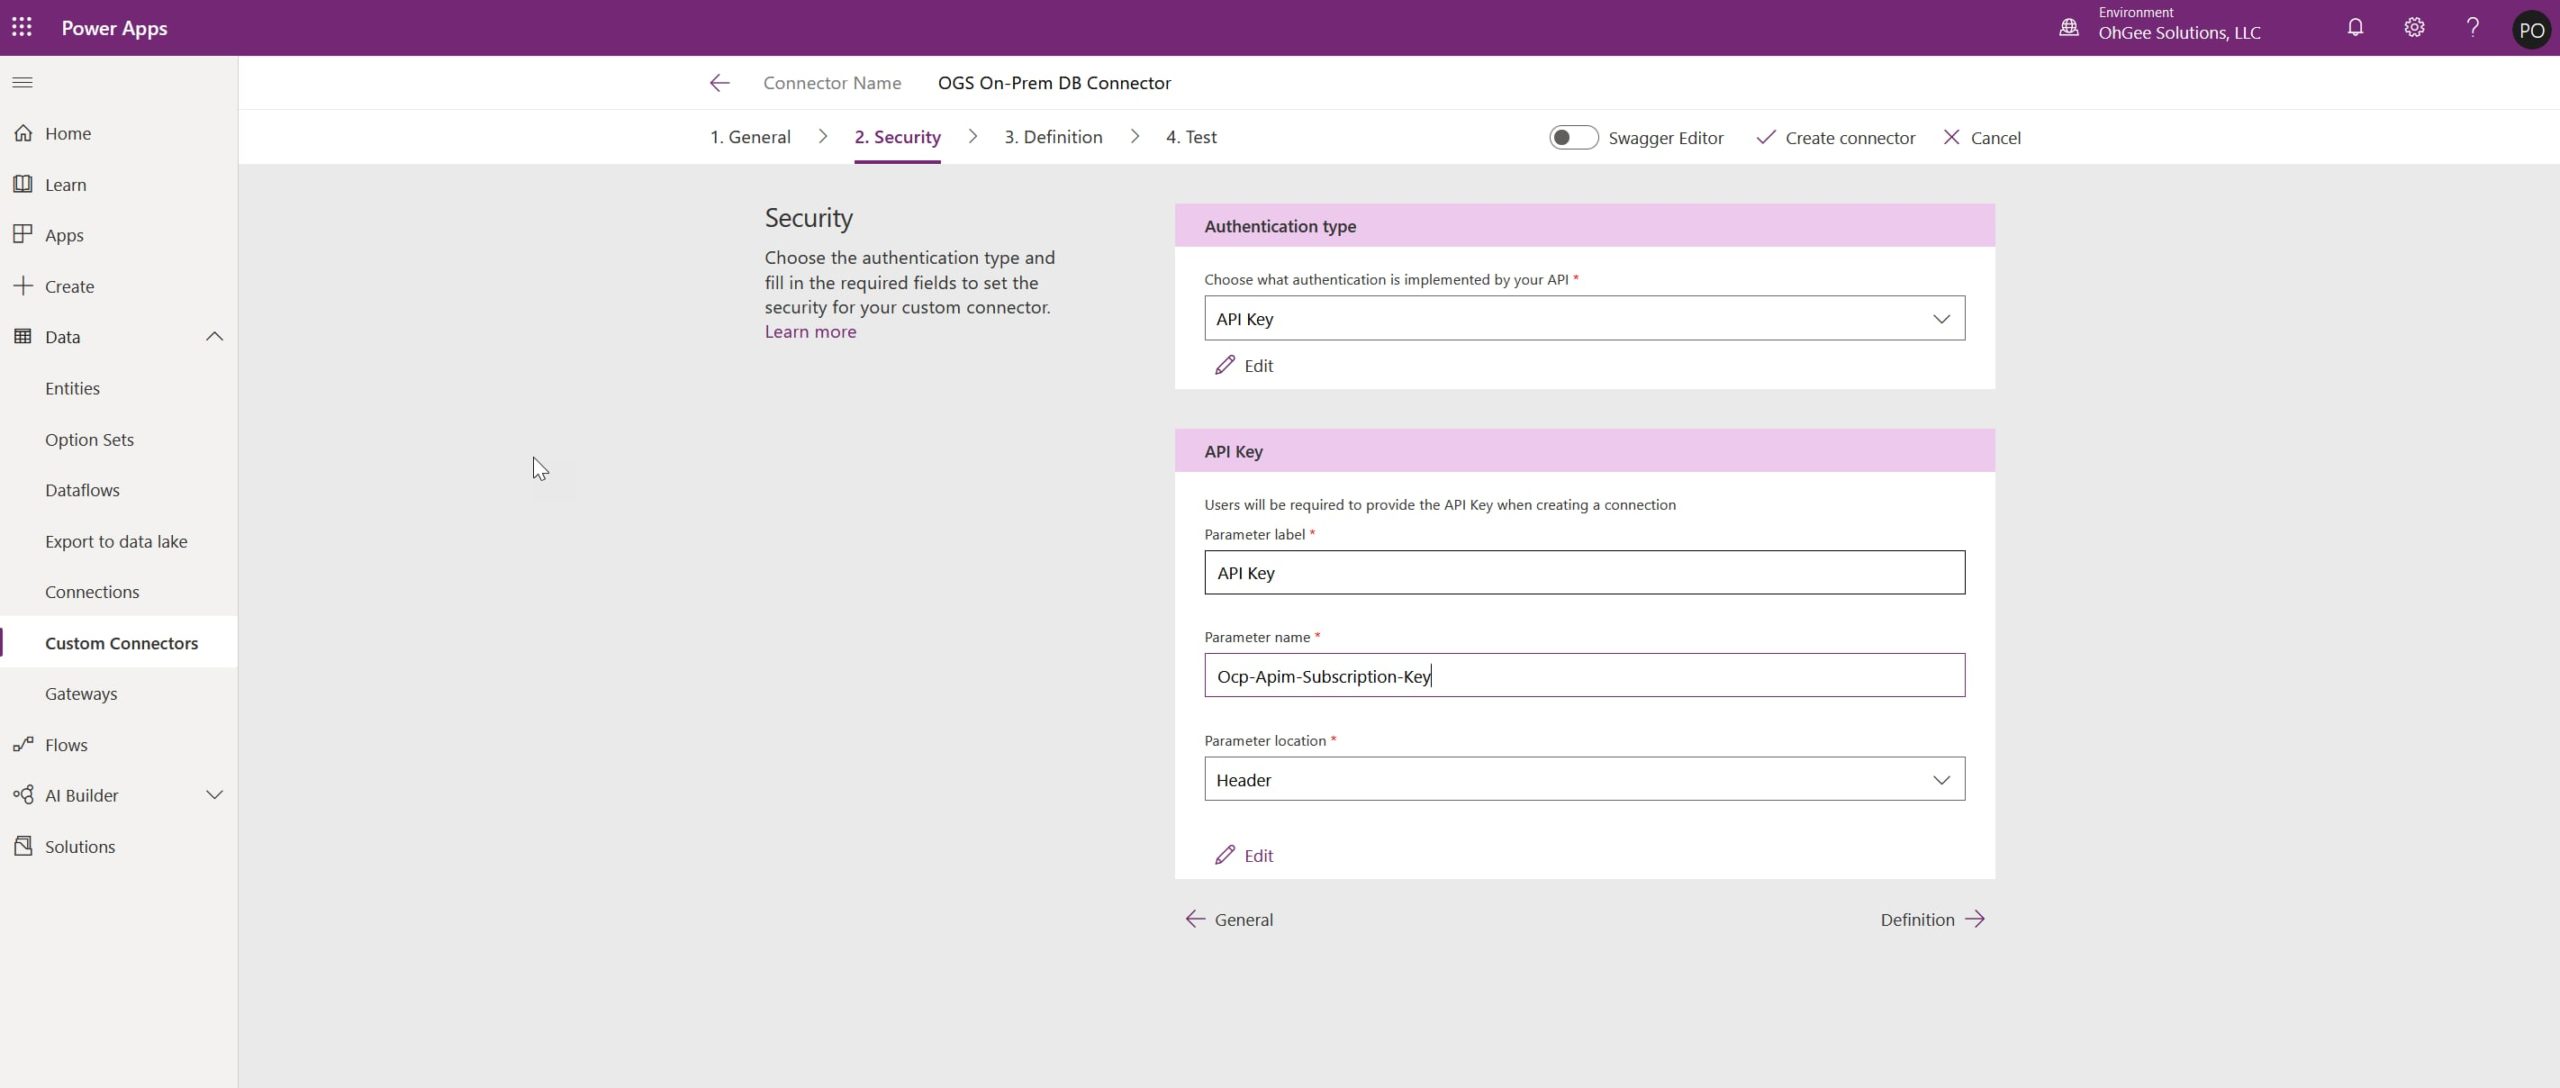
- Click through the General and Security tabs and make sure they match what you’re expecting (see screenshots).
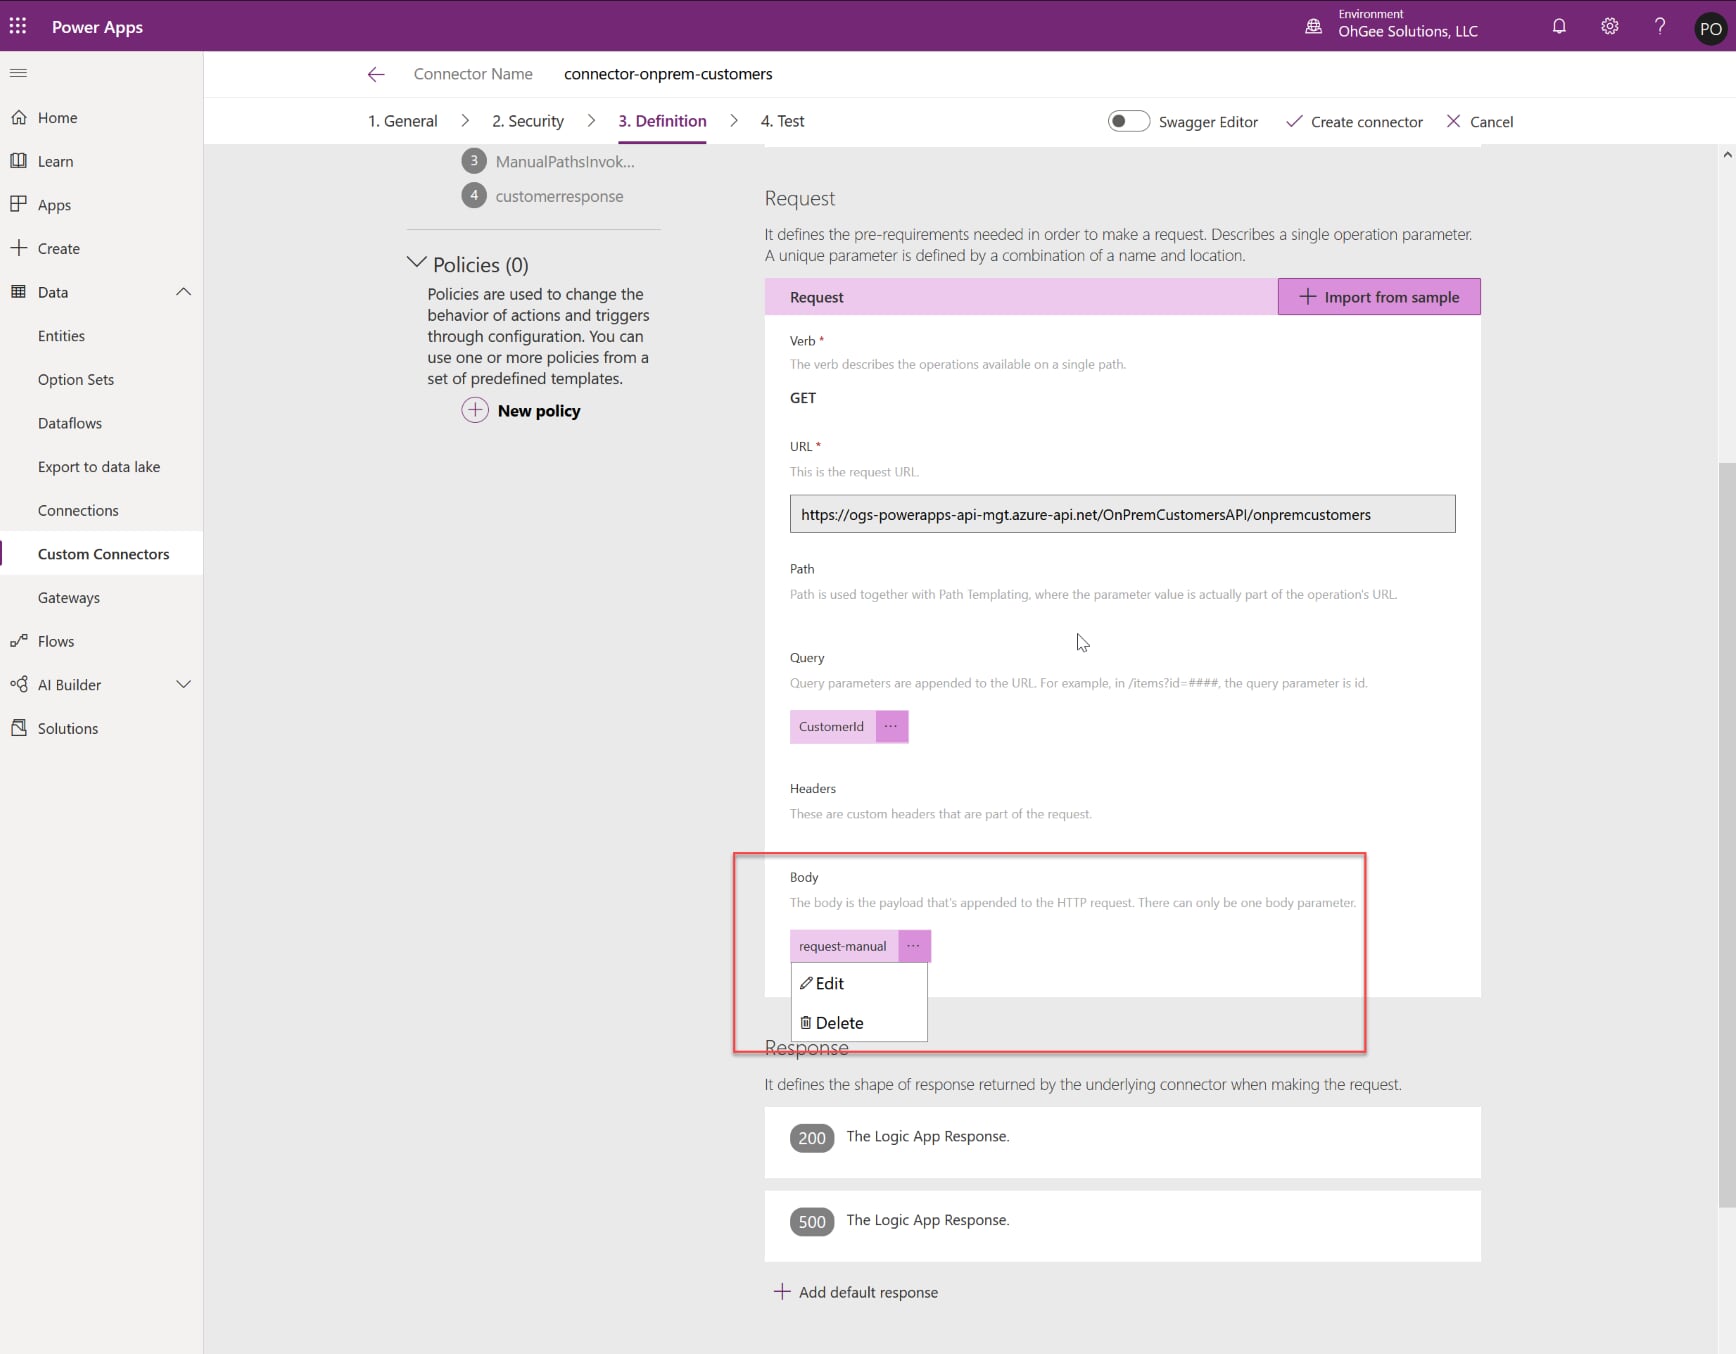
- On the Definition tab, if you see a parameter in the Body area, you can delete it. Then click Create connector at the top.
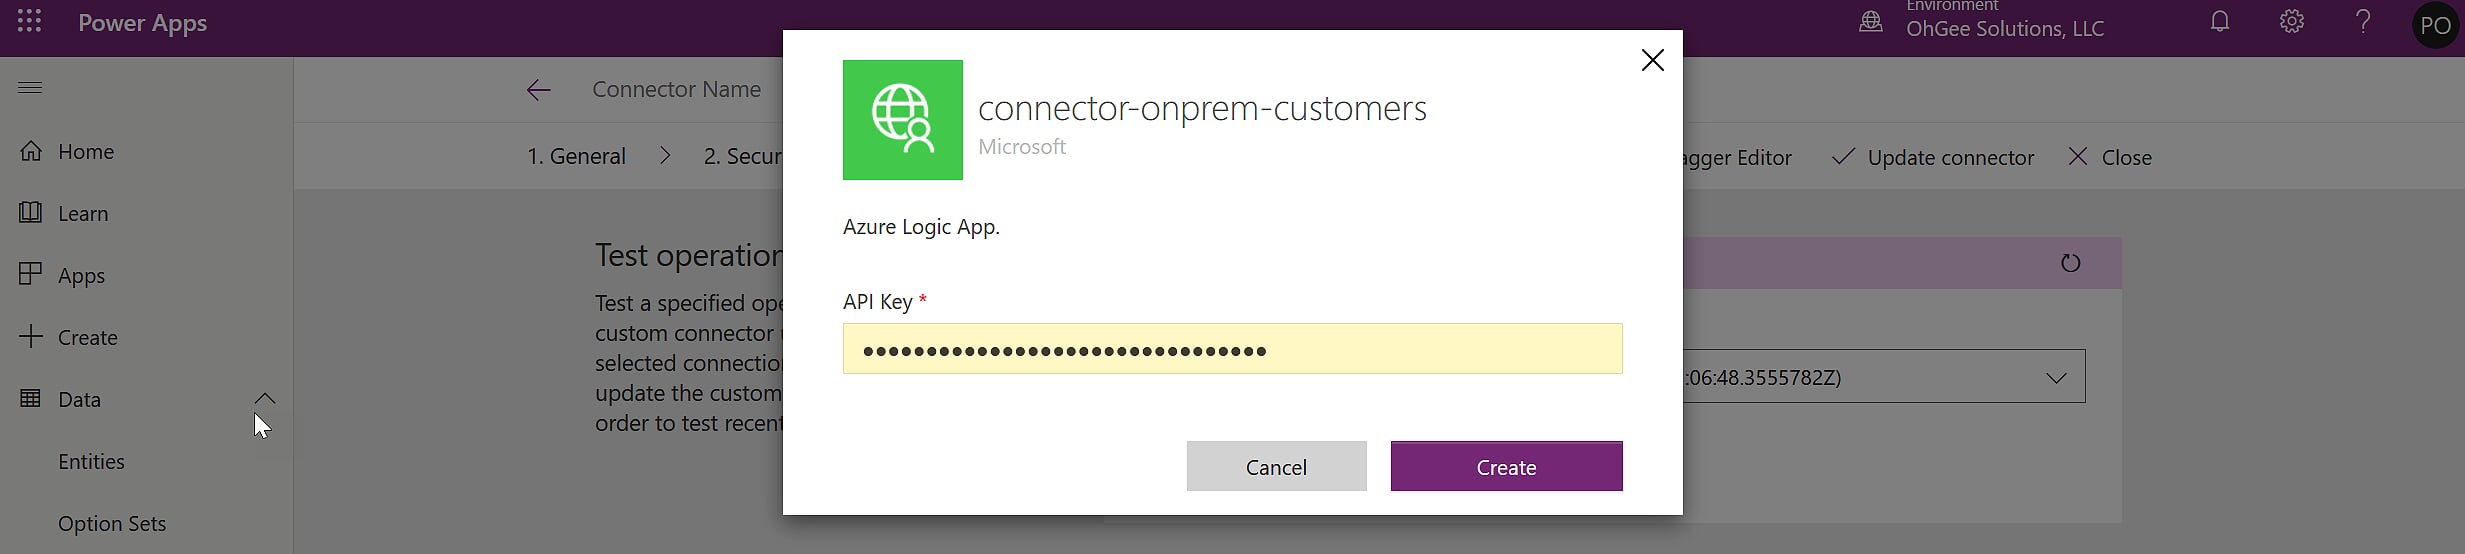
- On the Test tab, you’ll first need to create a new Connection. You will need the API key for the subscription you used in the APIM. In my case, I used “Unlimited”. (Click the ellipses to the right of the subscription and select Hide/Show Keys to see the key and copy it.)
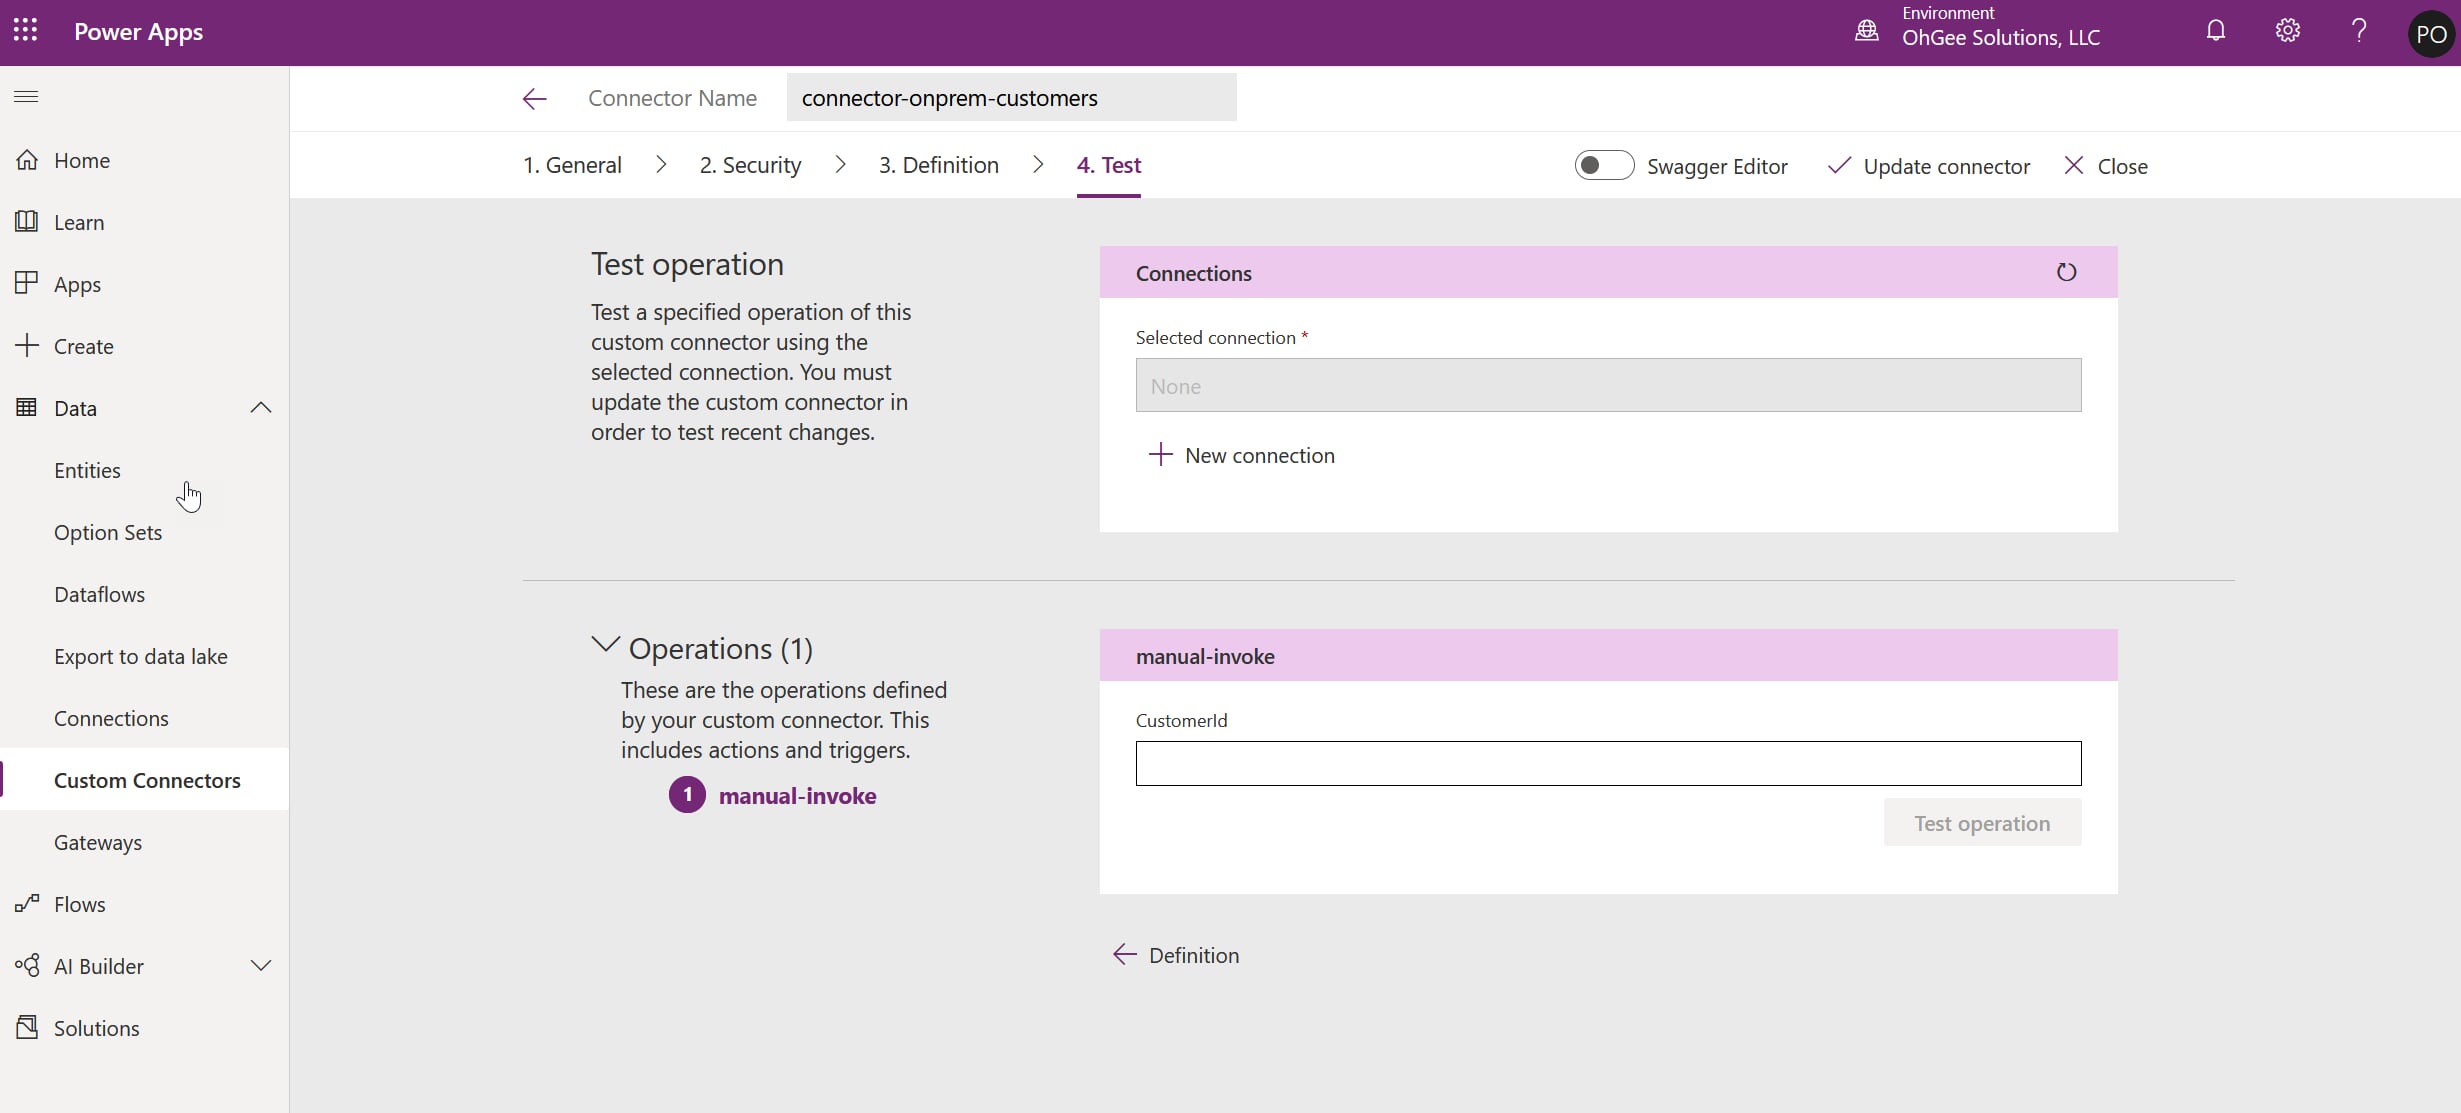


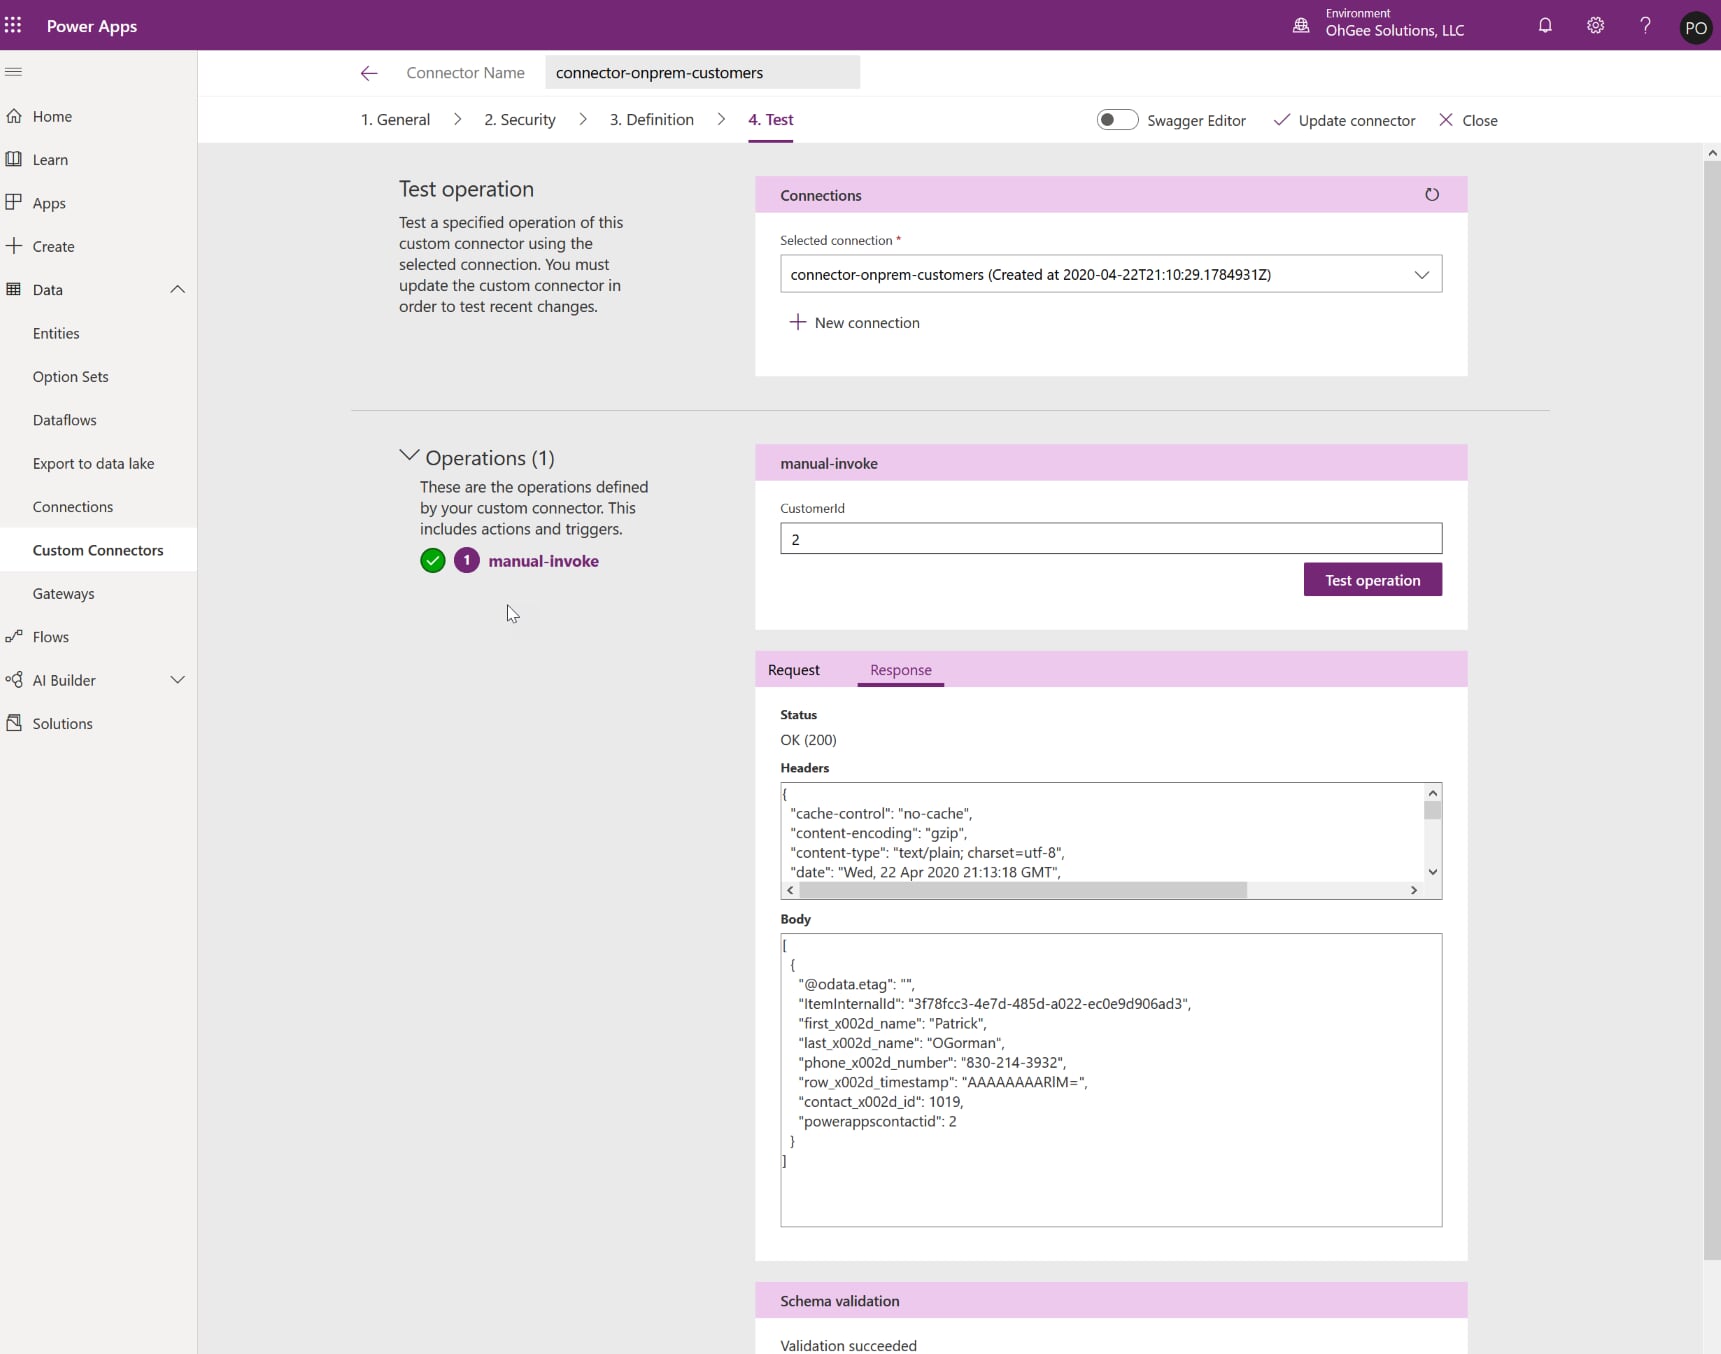
- Navigate back to the Custom Connector – Test tab and test out your Custom Connector.

Conclusion
I hope this was helpful in demonstrating just how quickly you can better secure your Azure Logic Apps with Azure API Management, as well as how quickly you can spin up a custom connector that can then be distributed and used by other apps and Flows across your organization to connect to the Logic App through the new API.


