


This blog series is for anyone trying to learn how to use the Power Platform. Readers should know software development fundamentals. This blog begins by covering how to create a base Canvas App from an existing table in the Microsoft Dataverse. It reviews all the screens, forms, and changes necessary to make the user interface work as defined in the requirements. By the end of this blog, a fully functioning app will be ready for data entry.
The blog series assumed the following:
- You have a Power Apps tenant with administrative privileges
- You have knowledge of software development fundamentals
- You have completed Part One of this series
Creating the Canvas App
In Part One of this series, I defined our home inventory application, its database, and how its user interface (UI) would look. I also created the underlying tables for our application. With a data source in place, I can create a Canvas App connected to the Microsoft Dataverse. Making and table-based canvas app saves time by creating the base screens. It is also valuable for reverse engineering to understand how to customize the app on your own.
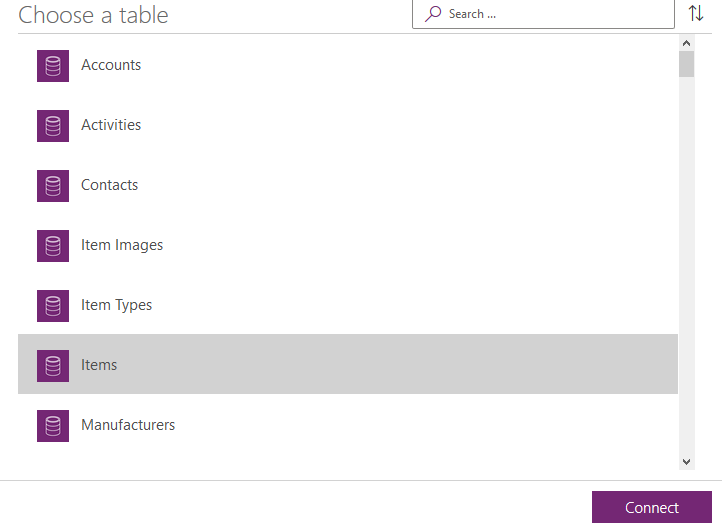
When prompted, use the Items table as this is the focal point of the application.
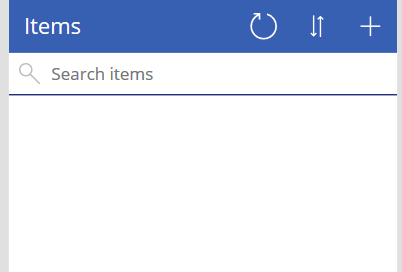
This will create a basic Canvas App; the main screen can search for items (there are none at this time of course)
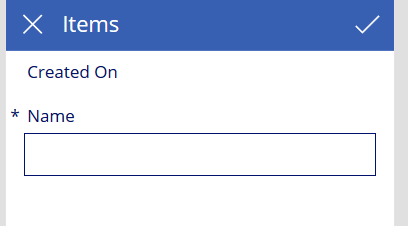
Clicking the + opens a form to create a new record; at this time, only the Name column is provided.
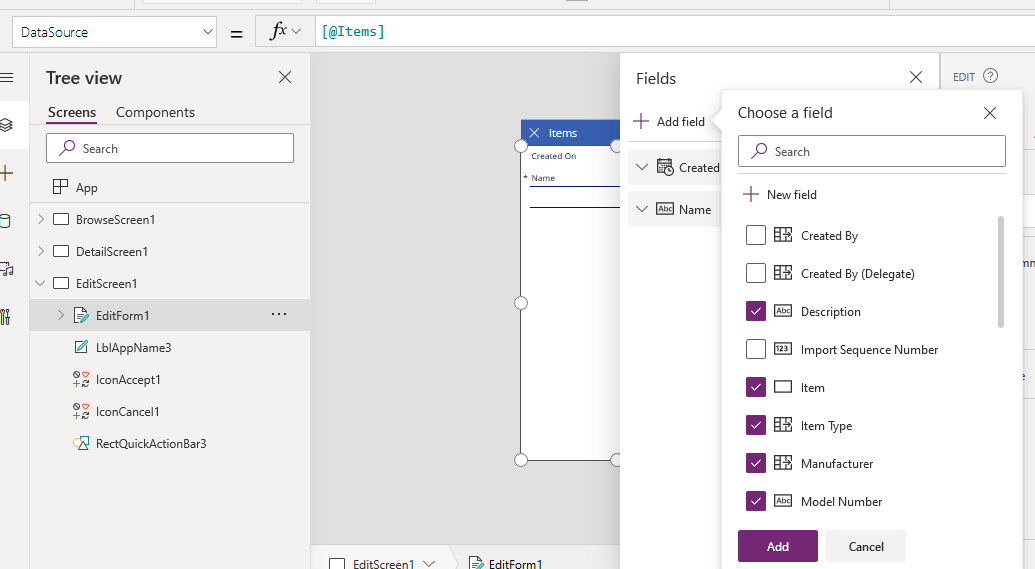
Expand the EditScreen1 and Select the EditForm1.
Next, add the custom columns that were created in the Microsoft Dataverse to EditForm1.
Pressing the Play button and then clicking + opens the edit form below. The only problem is there are no Item Types, Locations, or Manufacturers yet.

Creating the Lookup Forms
Near the top left of the window, click on New screen. Choose Form as the type.
On the newly created screen, click on the EditForm element created. On the right side of the screen, select Item Types for the Data source. Click on the LblAppName created and change the Title Property from [Title] to Item Types. Repeat this with Manufacturers and Locations.
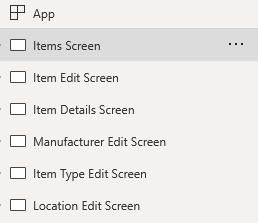
Take few minutes to rename the screen and its elements following the Power Apps Canvas App Accessibility Guidelines and the PowerApps Canvas App Coding Standards and Guidelines. This is important for many reasons; for example, screen readers will read these values aloud, and “EditScreen1” would not be valuable to the end-user. Following these guidelines, I have renamed all screens, forms, and controls within the app. For example, these are the names of the screens that I will be using:
Be sure to save if you have not already; click File and then Save (or CTRL+S).
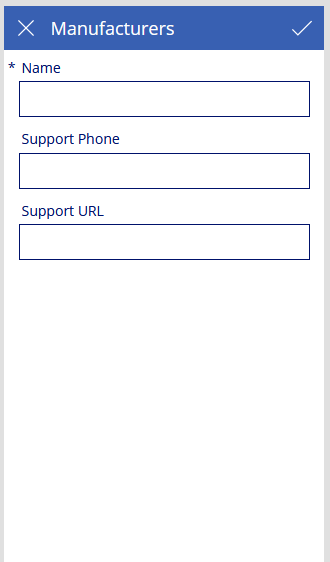
Manufactures Lookup Form
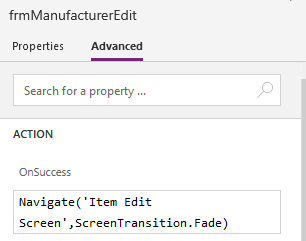
Expand the Manufacturer Edit Screen, select the frmManufacturer, click Edit Fields, and then add the columns Support Phone and Support URL. Delete the Created-On column if desired.
Click the Advanced tab for the OnSuccess action, enter
Navigate(‘Item Edit Screen,’ ScreenTransition.Fade)
Note: This tells the form to navigate back to the Item Edit Screen when this form is complete. For more information, see Back and Navigate functions in Power Apps.
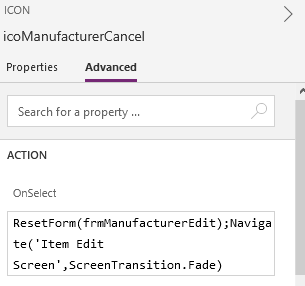
Select the cancel icon (X) and change the OnSelect function to:
ResetForm(frmManufacturerEdit);Navigate(‘Item Edit Screen’,ScreenTransition.Fade)
Note: This tells the form to clear its columns and navigate back to the Item Edit Screen. For more information, see Reset function in Power Apps and Back and Navigate functions in Power Apps.
If necessary, rearrange elements; the form should look something like this:
Locations Lookup Form
Since the Location table only has the Name column, there is no need to add any columns to it; however, I need to repeat the same steps from the Manufacturers form.
Select the frmLocationEdit and update the OnSuccess action to:
Navigate(‘Item Edit Screen’,ScreenTransition.Fade)
Note: This tells the form to navigate back to the Item Edit Screen when this form is complete.
Select the cancel icon (X) and change the OnSelect function to:
ResetForm(frmLocationEdit);Navigate(‘Item Edit Screen’,ScreenTransition.Fade)
Item Type Lookup Form
Since the Item Type table only has the Name column, there is no need to add any columns to it; however, I need to repeat the same steps from the Manufacturers form.
Select the frmItemTypeEdit and update the OnSuccess action to:
Navigate(‘Item Edit Screen’,ScreenTransition.Fade)
Select the cancel icon (X) and change the OnSelect function to:
ResetForm(frmItemTypeEdit);Navigate(‘Item Edit Screen’,ScreenTransition.Fade)
Completing the Form
Select the frmItemEdit and update the OnSuccess action to:
Navigate(‘Items Screen’,ScreenTransition.Fade)
Select the cancel icon (X) and change the OnSelect function to:
ResetForm(frmItemEdit);Navigate(‘Items Screen’,ScreenTransition.Fade)
Select the Item Type field (make sure the field is selected, not the Card). Change the Width function to:
(Parent.Width - 60)*.8
Repeat this for Manufacturer and Location fields.
Creating the Add Buttons
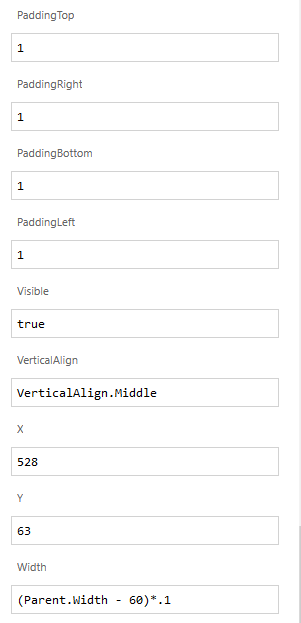
Now I will add the buttons to open the necessary to create a new Item Type, Location, and Manufacturer from the Item form. I will be selecting the data card for Item Type, Location, and Manufacturer and adding a button to it during this process. Any property not mentioned will use the default value. Each of the three buttons shares these properties:
- Width: (Parent.Width – 60)*.1
- Text: “+”
- Size: 48
- All Padding Properties: 1
- All Radius Properties: 0
- Position: 528,63
Select the Item Type card, click on the + button on the far left, expand Popular and select Button. Select the new button, set the shared properties, and then set OnSelect:
NewForm(frmItemTypeEdit);Navigate(‘Item Type Edit Screen’, ScreenTransition.None)
For more information, see EditForm, NewForm, SubmitForm, ResetForm, and ViewForm functions in Power Apps.

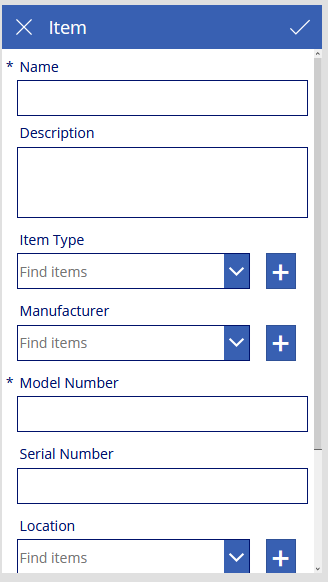
Select the Manufacturer card, click on the + button on the far left, expand Popular and select Button. Select the new button, set the shared properties, and then set OnSelect:
NewForm(frmManufacturerEdit);Navigate(‘Manufacturer Edit Screen’, ScreenTransition.None)
Select the Location card, click on the + button on the far left, expand Popular and select Button. Select the new button, set the shared properties, and then set OnSelect:
NewForm(frmLocationEdit);Navigate(‘Location Edit Screen’, ScreenTransition.None)
The form should look something like this:
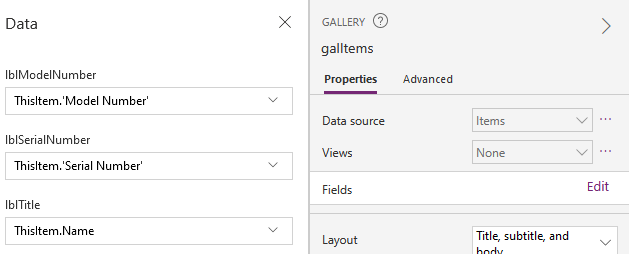
Items Screen
Expand the Items Screen and then select the galItems. Notice that the Layout property is Title, subtitle, and body. Now, click on Edit by the Fields property. I want to change ours to Serial Number for lblSerialNumber, Model for lblModel.
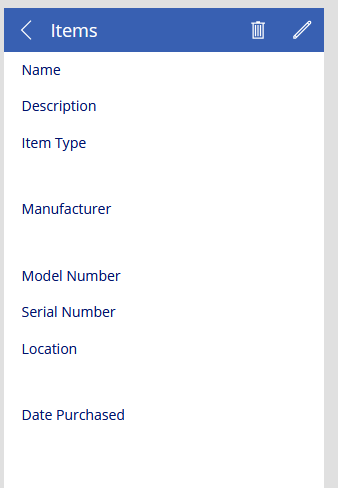
Item Details Screen
The last thing that I need to do is complete the Item Details Screen to show a read-only version of the Item record.
Expand the Item Details Screen and select the frmItemDetails. Click on Edit Fields and add the custom fields created in Microsoft Dataverse.

Next, rearrange the field to match our edit form. Delete the Created-On field if desired.
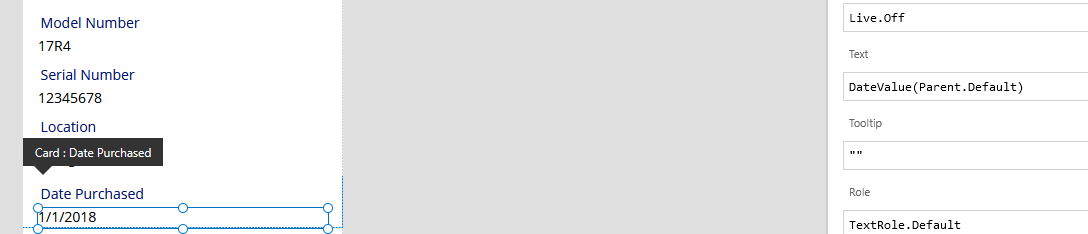
Click on the Date Purchased value, click Advanced, and Unlock. Change the Text value to:
DateValue(Parent.Default)
This will hide the time as it is not relative. For more information, see DateValue, TimeValue, and DateTimeValue functions in Power Apps.
Testing the User Interface
Now, I can test out the implementation:
Next Steps
With our base UI in place, I can enter data; however, there are a couple of final touches that need to be completed. In part three of the series, I will be adding the ability to add item images and barcode scanning.

