This blog series is for anyone trying to learn how to use the Power Platform. Readers should know software development fundamentals. This post builds on the first two parts by adding smartphone camera capabilities to the interface. It starts by covering how to add an Image field to the Item form. Next, it illustrates how to implement bar code readers in the app. Last, a demonstration of the capabilities is performed with screen captures from the smartphone.
The blog series assumed the following:
- You have a Power Apps tenant with administrative privileges
- You know software development fundamentals
- You have completed Part One of this series
- You have completed Part Two of this series
Adding the Item Image to the User Interface
When we created the Item table in the Microsoft Dataverse, we included an Image column. Now that we are ready to start using the phone, we can add this to the interface.
Expand the Item Edit Screen and Select the frmItemEdit. Click Edit Fields and select the Image field.
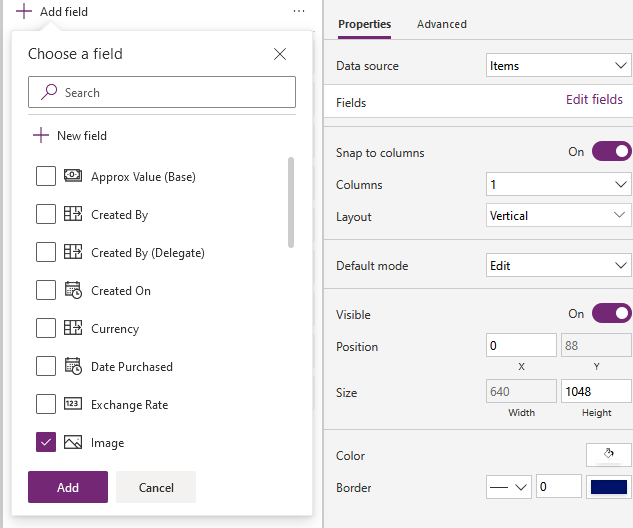
Reposition the Image field on the form if necessary.
Adding the Bar Code Scanner to the User Interface
Some updates need to be made to add the bar code readers to the interface to edit the form.
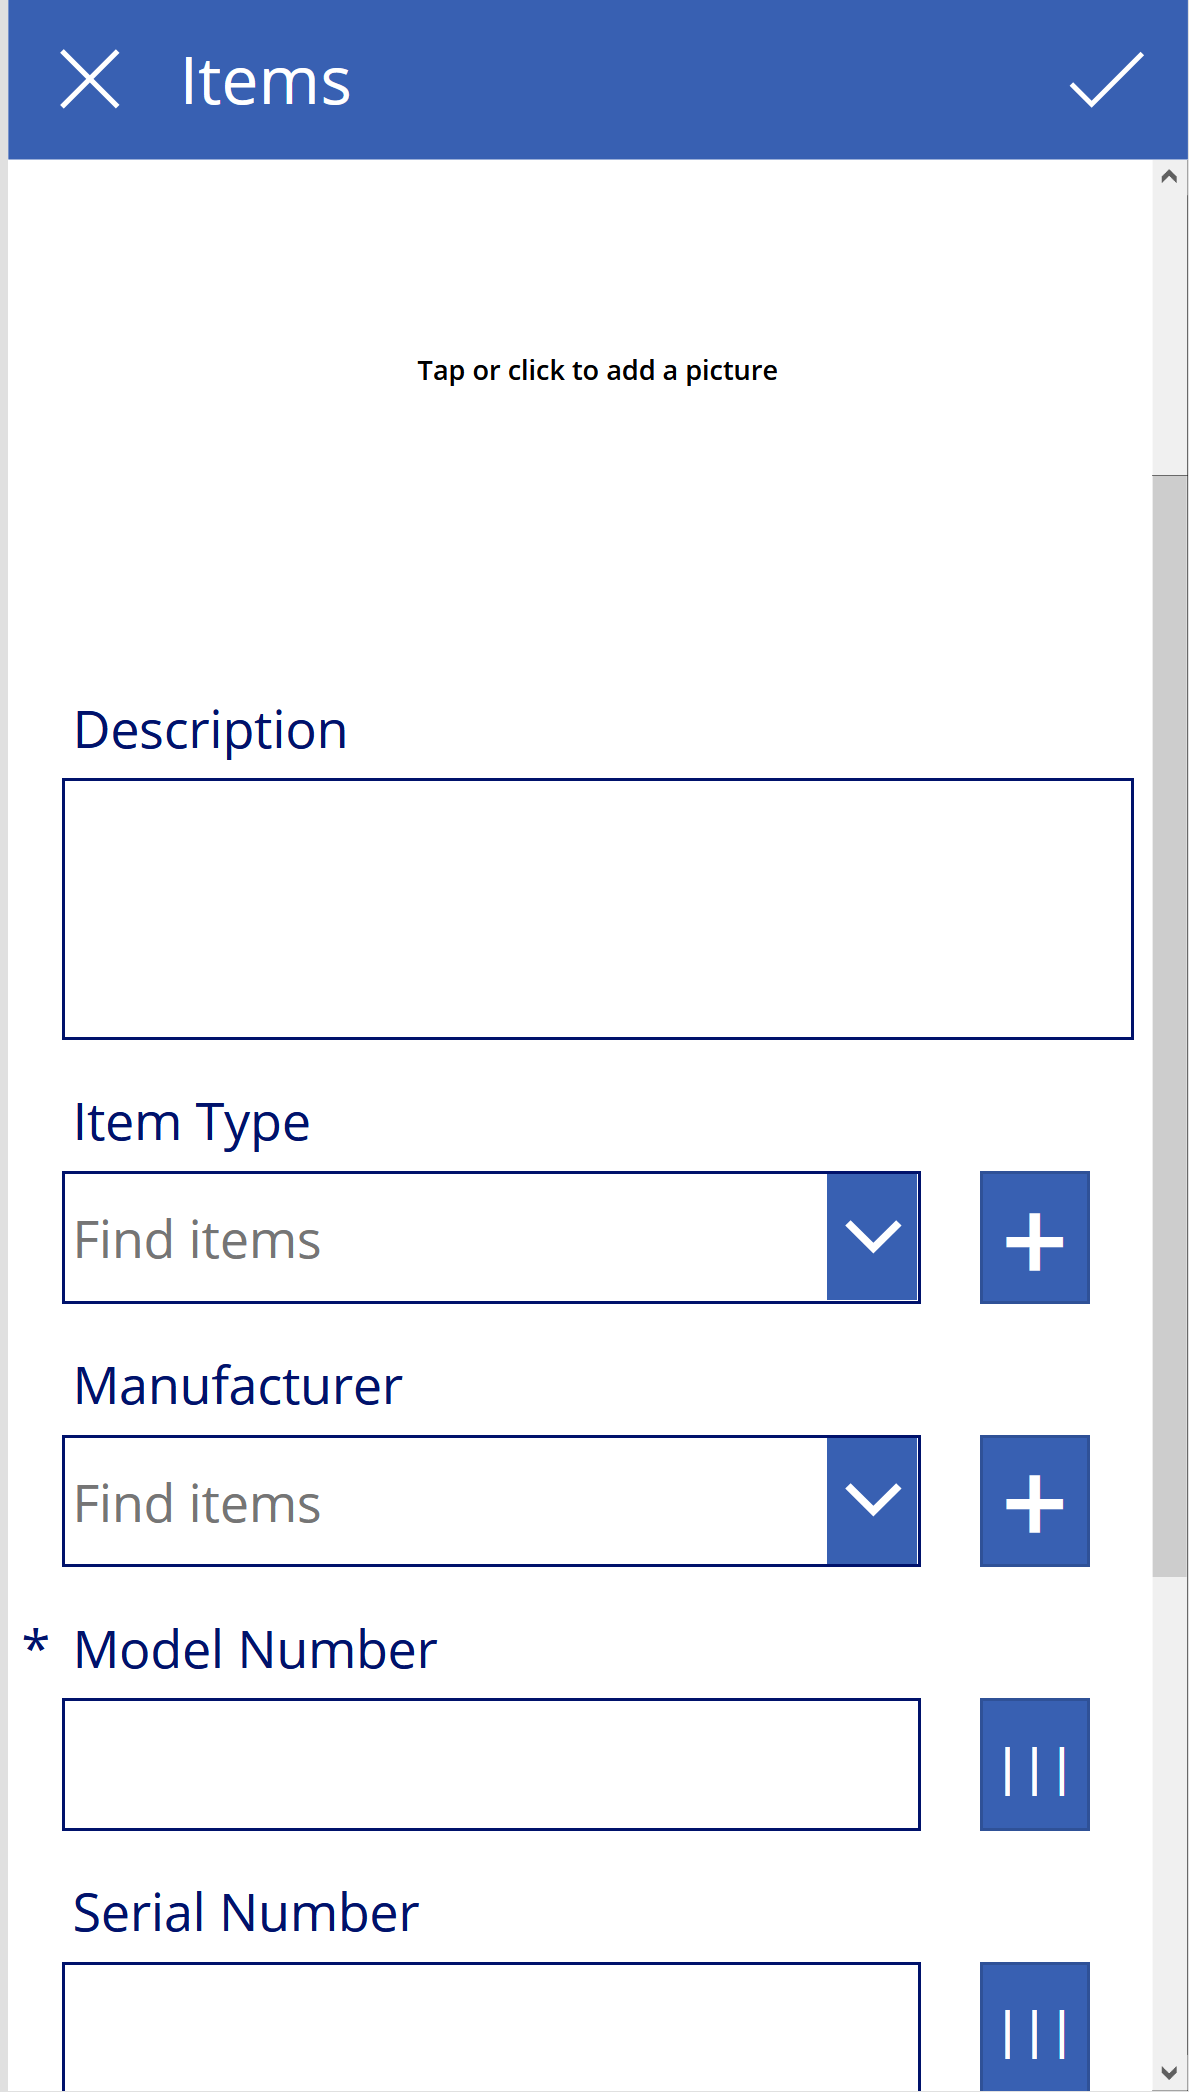
Model Number field
Select the Model Number field (make sure the field is selected, not the Card). Change the Width function to:
(Parent.Width - 60)*.8
Set the Default to:
If(IsBlank(modelScanValue),Parent.Default,modelScanValue)
Note: sets the value to modelScanValue if not empty otherwise to its value. The formula will have an error until the steps below are complete. For more information, see If and Switch functions in Power Apps and Blank, Coalesce, IsBlank, and IsEmpty functions in Power Apps.
Serial Number field
Select the Serial Number field (make sure the field is selected, not the Card). Change the Width function to:
(Parent.Width - 60)*.8
Set the Default to:
If(IsBlank(serialScanValue),Parent.Default,serialScanValue)
Cancel Button
Select the cancel icon (X) and change the OnSelect function to:
ResetForm(ItemEditForm);Navigate(ItemsScreen,ScreenTransition.Fade);Set(modelScanValue,"");Set(serialScanValue,"");
Barcode Scanner Options
Select the Model Number Card, click on the + button on the far left, expand Media and select Barcode Scanner
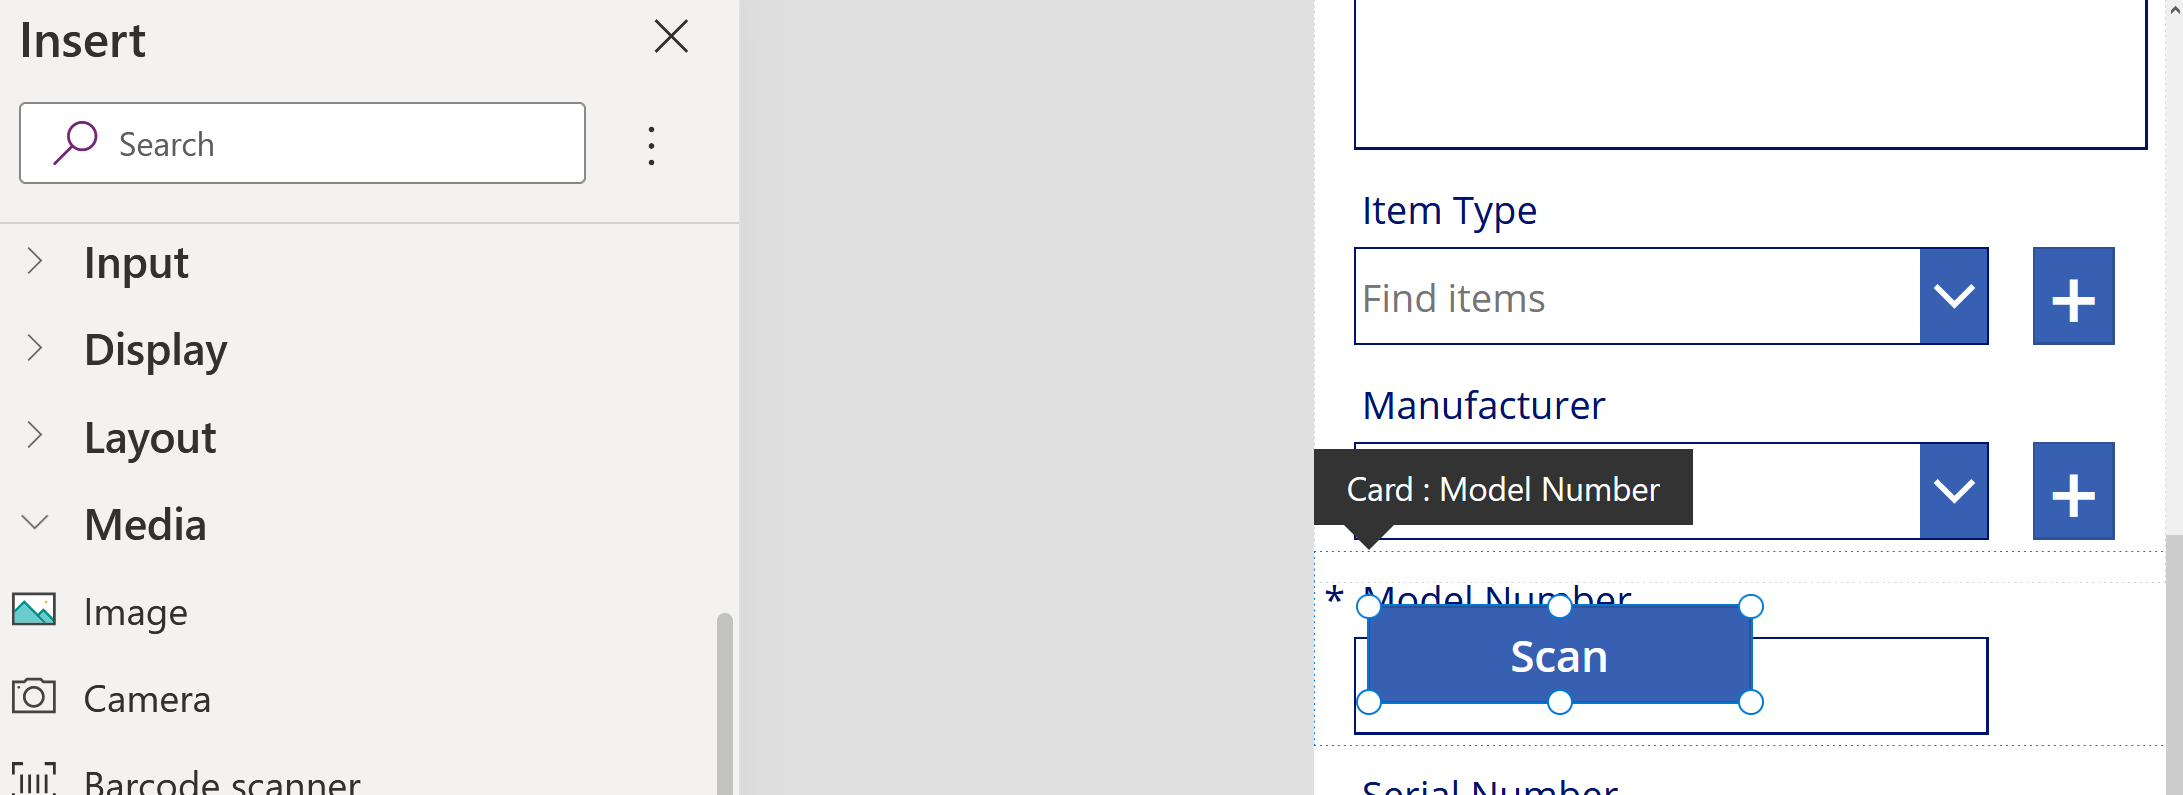
Select the new button and set the following properties:
- Text: “|||”(Note: I chose three pipes because it kind of resembles a barcode and is small enough to fit)
- Width: (Parent.Width – 60)*.1
- Size: 20
- All Padding Properties: 1
- All Radius Properties: 0
- Position: 528,63
OnScan:
Set(modelScanValue, barcodeModelNumber.Value)
Note: sets variable modelScanValue to the value. For more information, see the Set function in Power Apps.
Rename the barcode scanner to barcodeModelNumber
Select the Serial Number Card, click on the + button on the far left, expand Media and select Barcode Scanner.
Select the new button and set the following properties:
- Text: “|||”
- Width: (Parent.Width – 60)*.1
- Size: 20
- All Padding Properties: 1
- All Radius Properties: 0
- Position: 528,63
OnScan:
Set(serialScanValue, barcodeSerialNumber.Value)
Note: sets variable serialScanValue to the value.
Rename the barcode scanner to barcodeSerialNumber
Review
Several changes have been made to the app, so let us review what has changed:
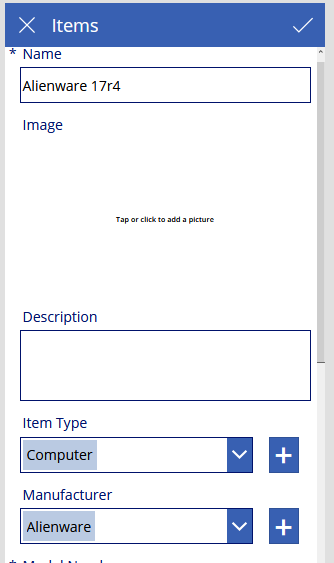
- We added the Image field to the Item interface to add a photo of the item to the record.
- We added two new barcode scanner buttons and positioned them to match other interface elements
- Each barcode button stores its scanned value into its corresponding variable
- The Model Number and Serial Number fields will use its corresponding variable as its value if available; otherwise, it uses the default.

Camera Enhancements in Action
In this walkthrough, I will be using my phone for data entry. We must first File > Save and then Publish the app. I have downloaded the Power Apps mobile app to my phone and logged in with my credentials. For this example, I will be using a stick of Samsung memory. While no one would likely record a single stick of memory in a home inventory app, it is a useful example.|
Next Steps
With our user interface complete, we can start adding real data into the system. In part four of this series, we will begin working on the Admin web interface to edit all data and export capabilities.
POWER PLATFORM ADOPTION FRAMEWORK
Discover the start to finish approach to adopting Power Platform at scale to transform your business in the cloud with our free whitepaper.