You’ve had a sip of the NuGet Kool-Aid, picked your jaw up off the ground after seamlessly installing your favorite Open Source project, and now you’re diving head first into NuGet as your team’s dependency management tool of choice. Private NuGet repository is in place, Package Restore is enabled and new packages are being published automagically from your builds.
DLL-hell is behind you right? Not so fast. This never-ending saga has reemerged as NuGet-hell.
Managing your dependencies requires discipline and conscious decision making regardless of the tools you choose. Don’t leave the building blocks of your applications to chance.
But how do you get the information necessary to make these decisions?
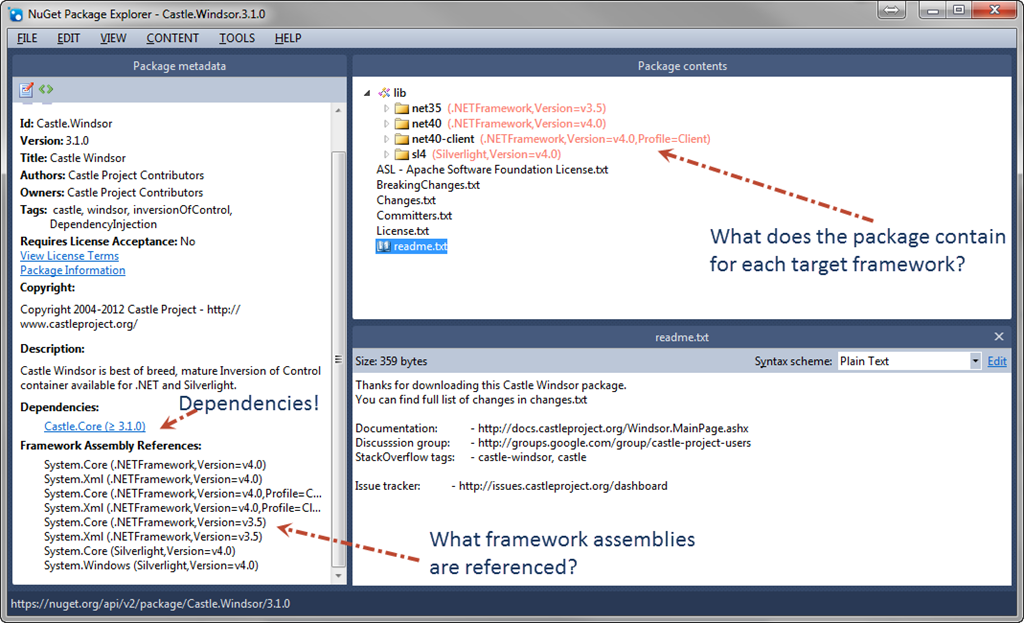
Creating scrap projects to install a NuGet package so you can review its contents is overkill. We all know a NuGet package file is simply a .zip, but even that can be tedious. You might not mind using the command line to install a package in a temp directory, but there is an easier way. NuGet Package Explorer will help you explore remote packages to determine what dependencies they take, their contents and which framework versions are supported.
Here is a quick step-by-step guide to getting started with NuGet Package Explorer:
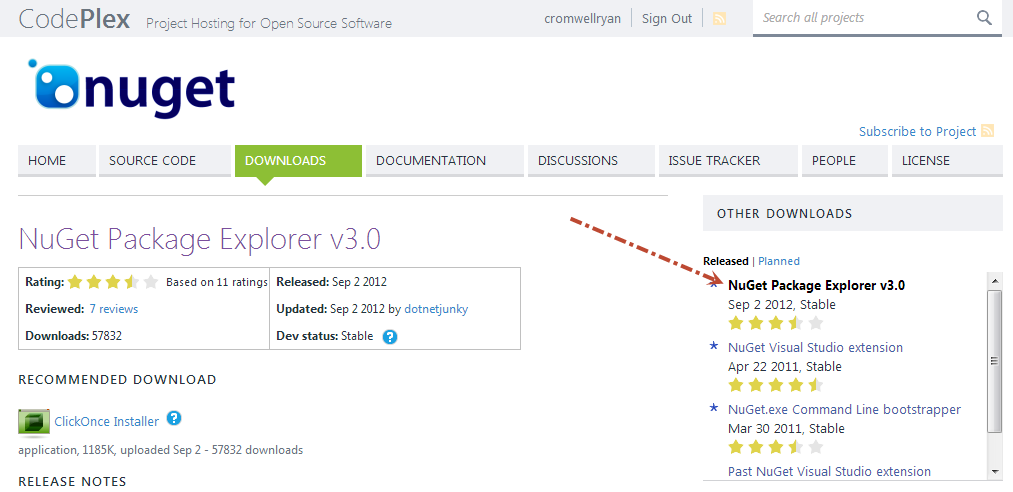
Step 1: Install Package Explorer
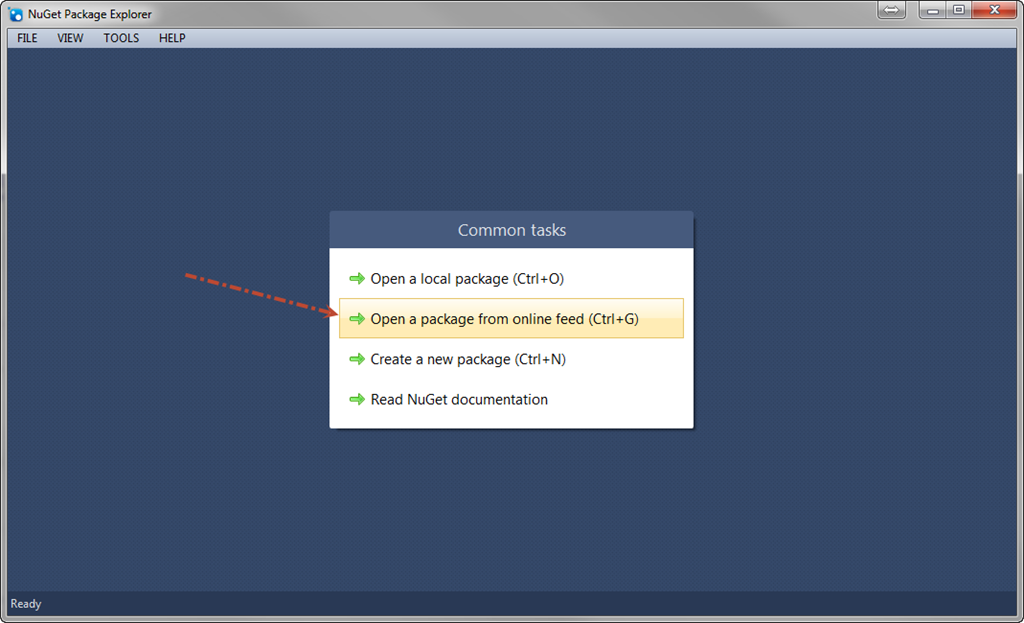
Step 2: Open Package from online feed
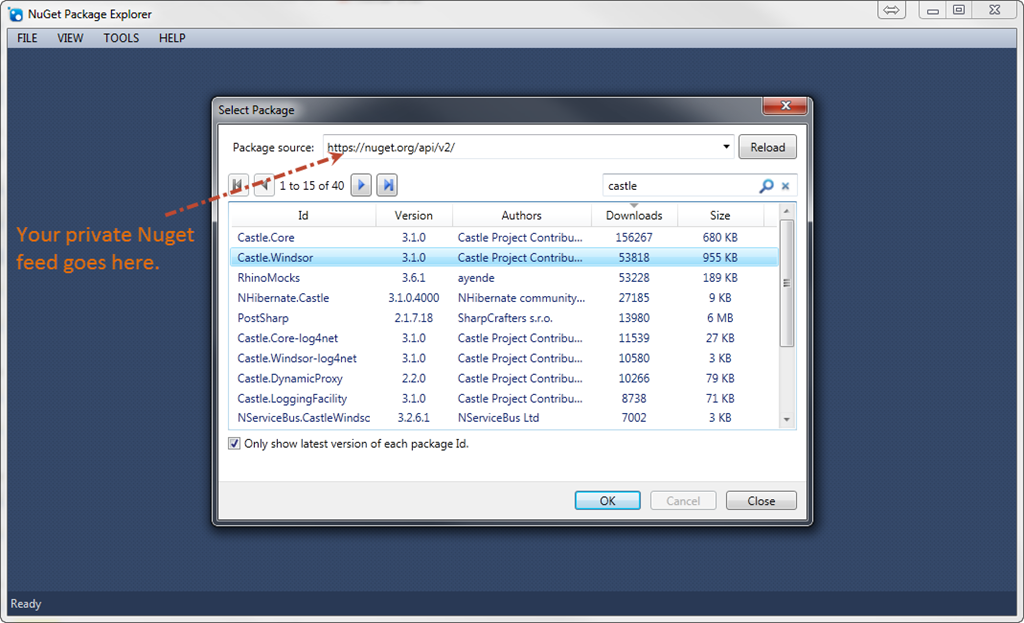
Step 3: Select a Package
Step 4: Bask in the glory