![]() Have you ever worked on a project that seemed to eat any memory available? If so, chances are you have encountered a memory leak. Memory leaks in SharePoint are very common. For example, using instances of
Have you ever worked on a project that seemed to eat any memory available? If so, chances are you have encountered a memory leak. Memory leaks in SharePoint are very common. For example, using instances of SPLimitedWebPartManager can be a cause of memory leaks. Why? Turns out that SPLimitedWebPartManager instances instantiate their own SPWeb object, but don’t properly dispose of them: a bug in the SharePoint 2010 SDK. It seems that one of the only ways to discover this ghost memory leak is in production. Or a little utility, built by Microsoft, called SPDisposeCheck.
You can run SPDisposeCheck in the command line, but I thought it would be nice to integrate it into a project. These are the steps to integrate SPDisposeCheck into a build:
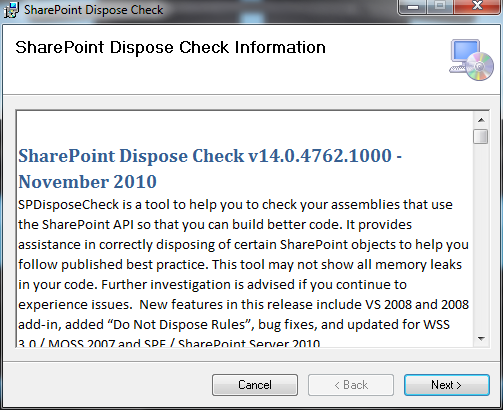
Download the latest version of the tool here and run the installer.
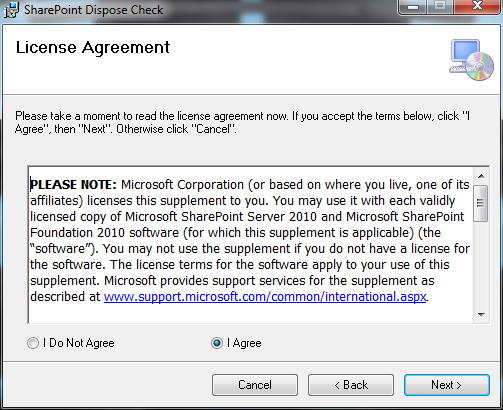
Agree to the EULA and click the ‘Next’ button.
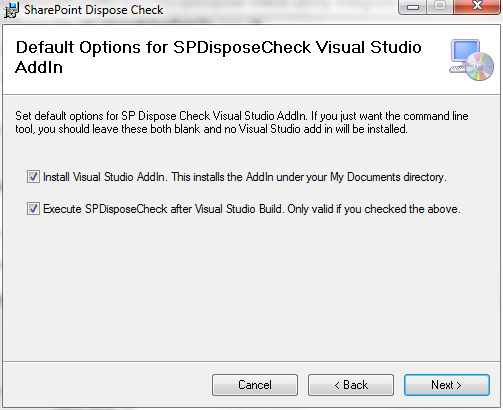
Check the boxes labeled ‘Install Visual Studio AddIn’ and ‘Execute SPDisposeCheck after Visual Studio Build’ and click the ‘Next’ button.
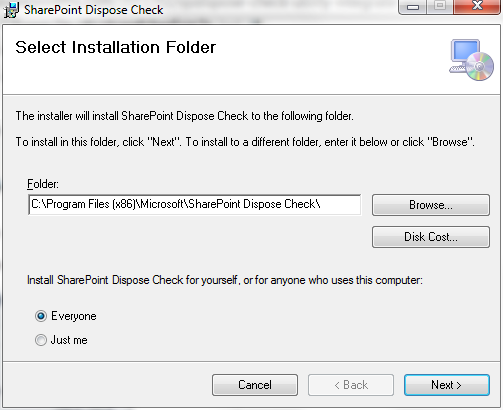
Leave the installation directory set to its default path and click the ‘Next’ button.
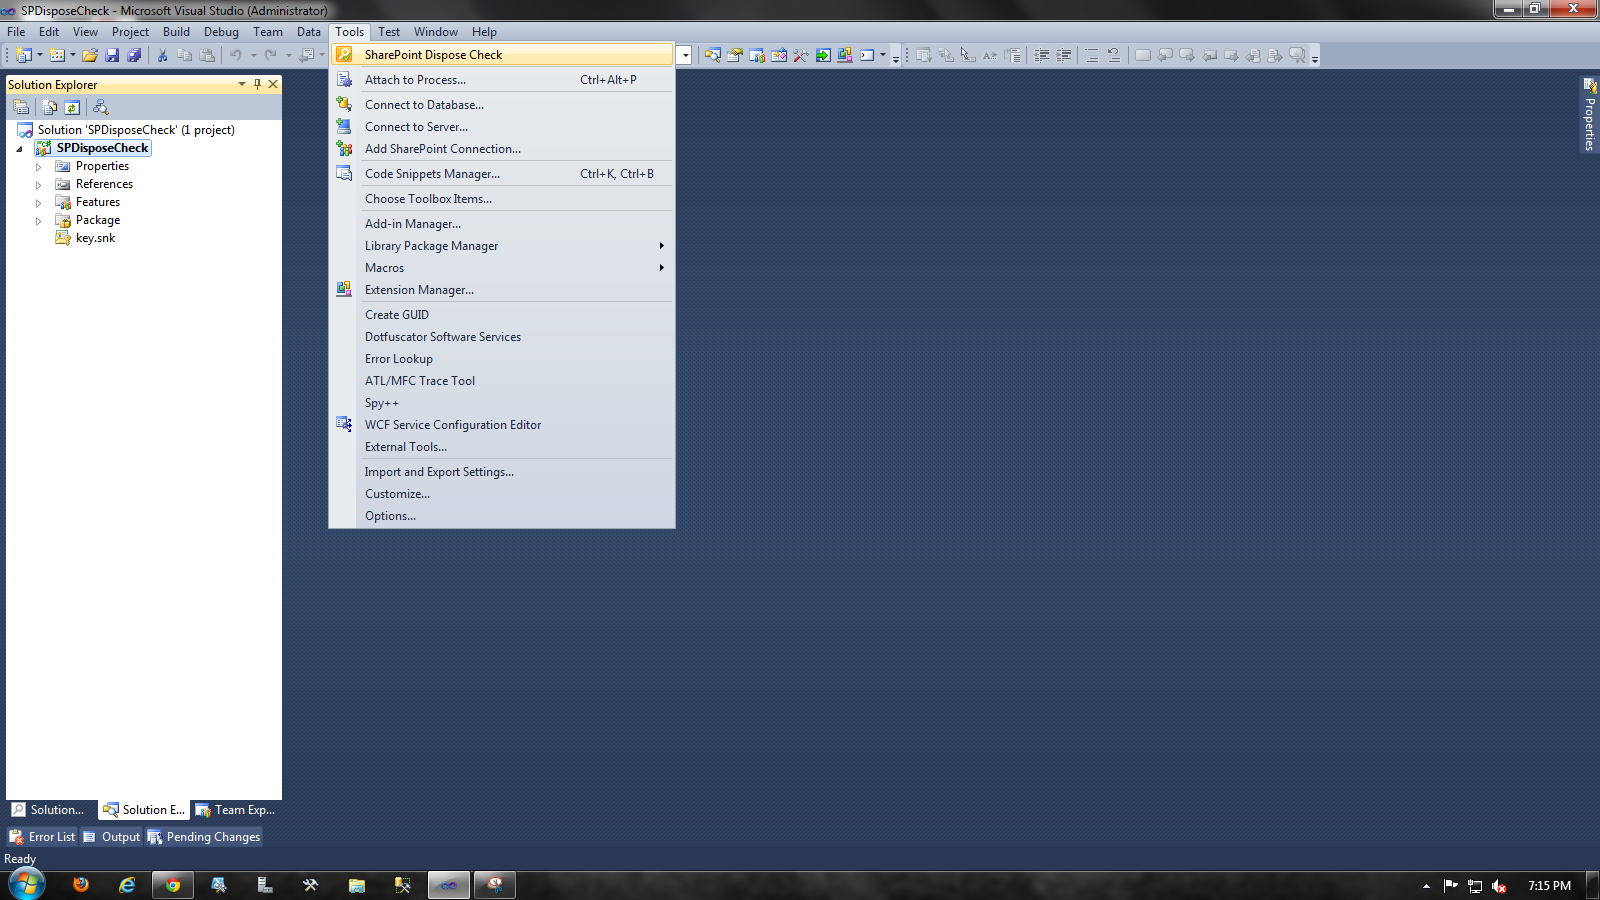
Once the installation is complete, close the installer and open Visual Studio 2010. The tool should be located in the ‘Tools’ menu in Visual Studio 2010.
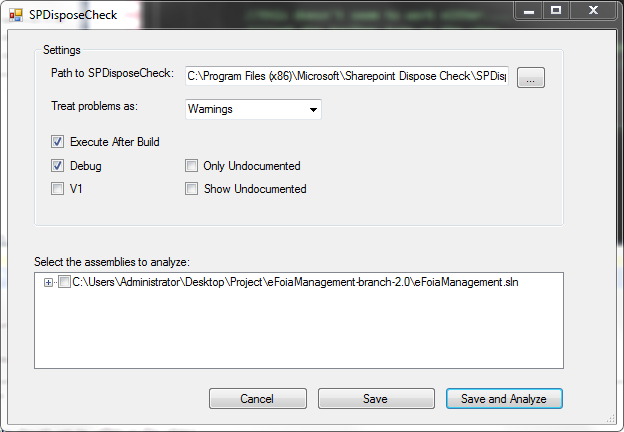
Select the option to treat problems as warnings and check the box labeled ‘Execute After Build.’ Select the assemblies you would like SPDisposeChecker to check, then save the settings and close the window.
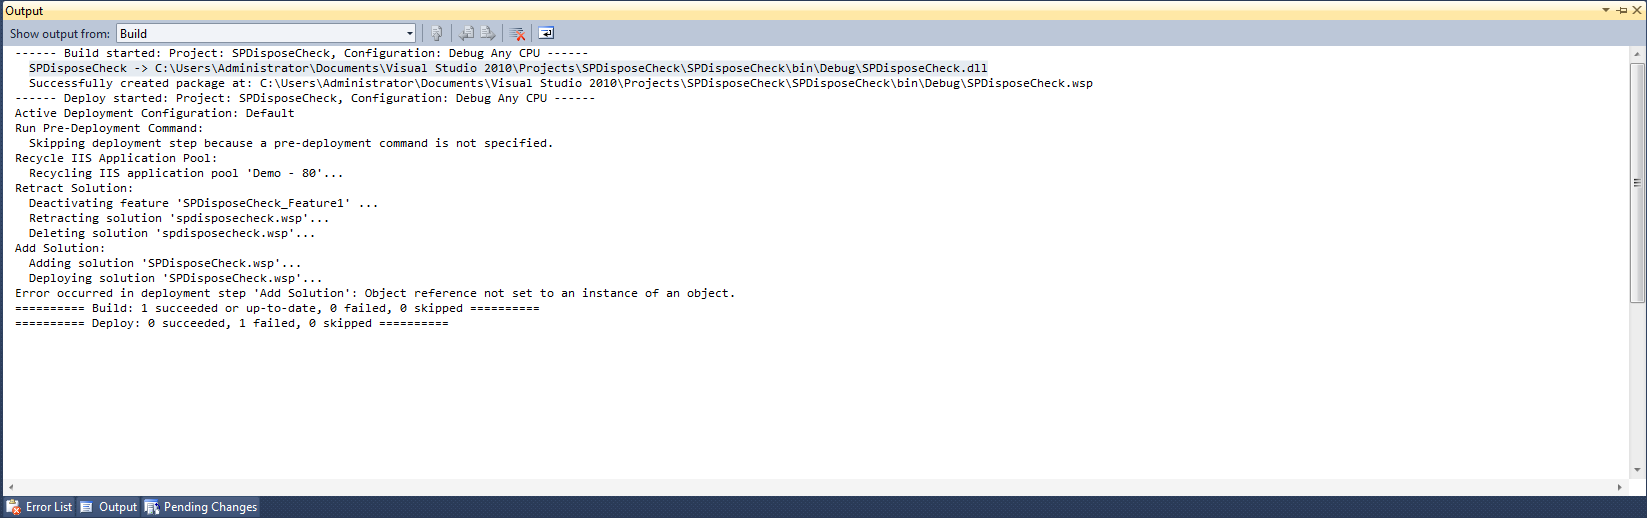
To make sure SPDisposeCheck is running when you build your project, open the output window (In the menu bar click View -> Output) to and look for the line SPDisposeCheck -> PathToYourProject\bin\Debug\SPDisposeCheck.dll
Now, whenever you build your project, SPDisposeCheck will automatically check your project for undisposed objects.