This blog is a step-by-step walkthrough of building a fully functioning leave request app for any organization with a vacation, sick leave, military leave, bereavement leave, holidays, Jury Duty, and so on. This app will include a solution in the Common Data Service, a Model-Driven App, a Canvas App, and Power Automate. The Canvas App is for employees to submit a request. The Model-Driven App will be a back-office system used by admin or supervisors to check everyone’s requests. The Power Automate flow will trigger an approval email to the employee’s supervisor and an automated email to the employee once the supervisor has either approved or rejected the leave request.
The app’s flow will start with the employee using the Canvas App to submit a leave request form. Once that form is submitted, an email is sent to the supervisor, and, simultaneously, a new row is added to the Model-Driven App with the new leave request entry. Once the supervisor has approved or rejected the request, the employee will receive an email with the decision.
Pre-requisites
- A Microsoft PowerApps Trial Plan 2, this can be a Free Trial
- Ensure you are using an environment with a database
Common Data Service (CDS)
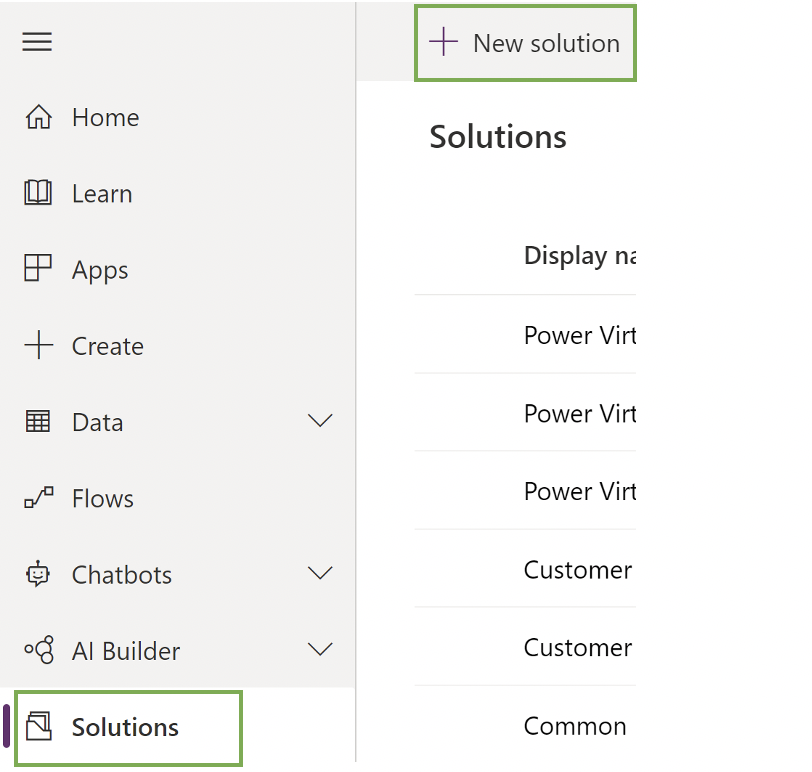
- Navigate to https://make.powerapps.com/
- Create a New Solution called “Leave Request Solution”
- Create a New Publisher called “Leave Request App”
- Create a New Publisher called “Leave Request App”
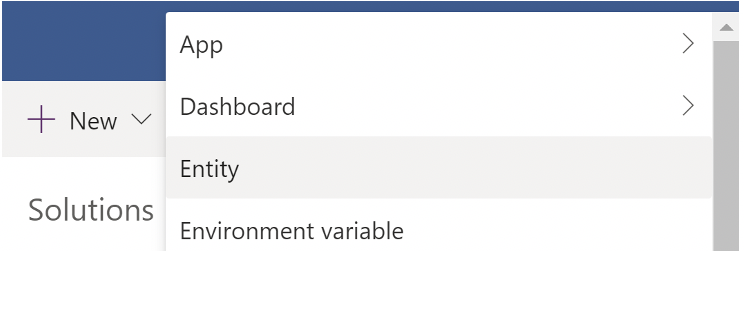
- Select New > Entity name it “Leave Request Entity” and Enable Attachments
- Select Add Fields
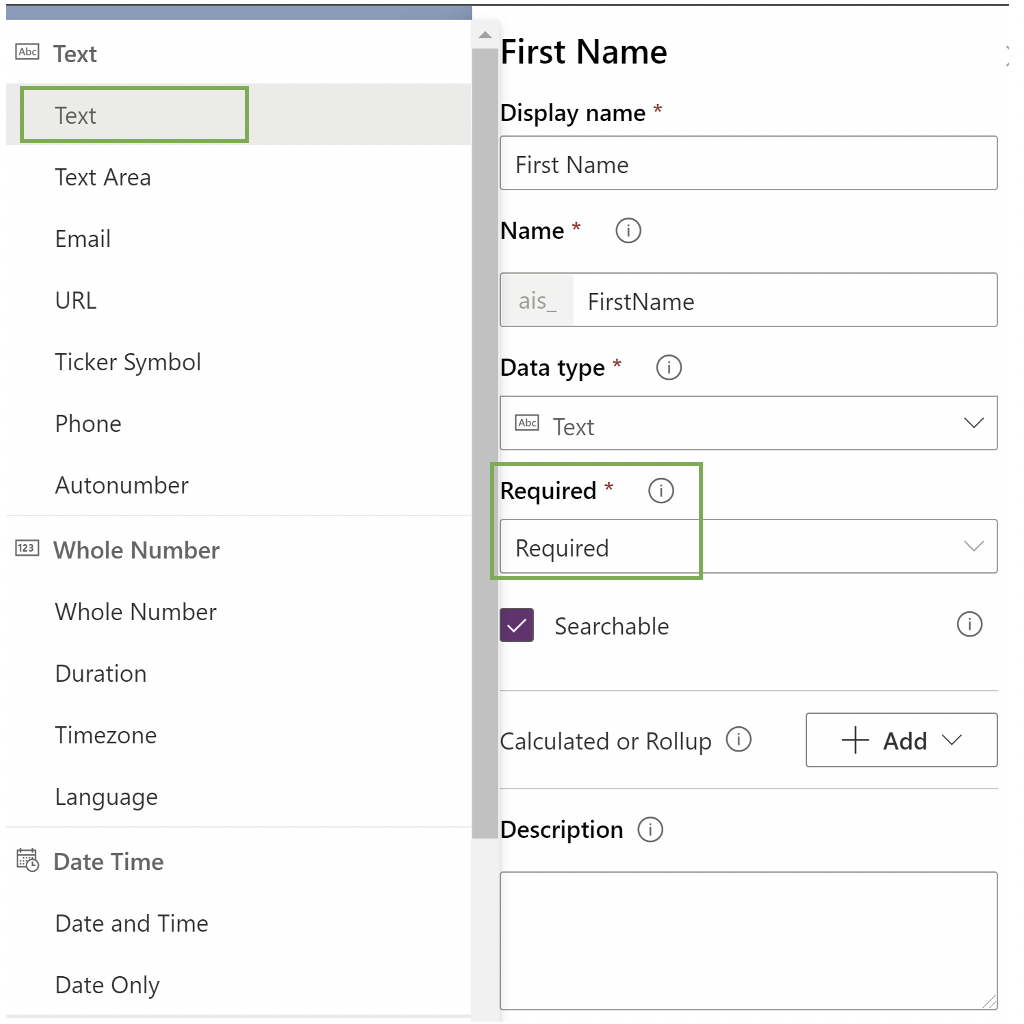
- Add Field: First name
- Data Type: Single Line Text
- Required
- Add Field: Last name
- Data Type: Single Line Text
- Required
- Add Field: Email
- Data Type: Email
- Required
- Add Field: Supervisor Email
- Data Type: Email
- Required
- Add Field: Start date
- Data Type: Date Only
- Required
- Add Field: End date
- Data Type: Date Only
- Required
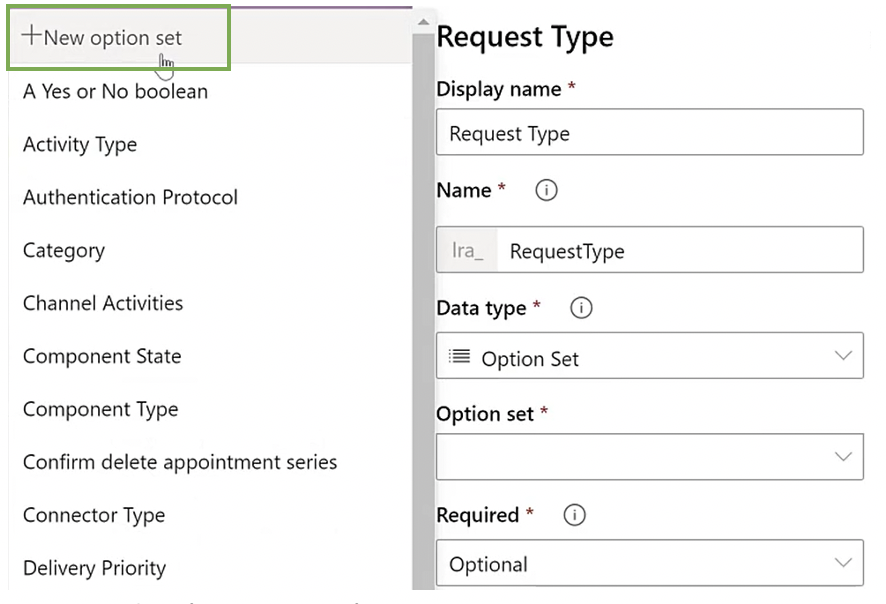
- Add Field: Request Type
- Data Type: Option Set
- Create New: “Request Type”
- Create New: “Request Type”
- New Option: Vacation Leave
- New Option: Sick Leave
- New Option: Military Leave
- New Option: Bereavement Leave
- New Option: Jury Duty
- Data Type: Option Set
- Add Field: Work Items
- Data Type: Multiline Text
- Required: Recommended
- SAVE ENTITY
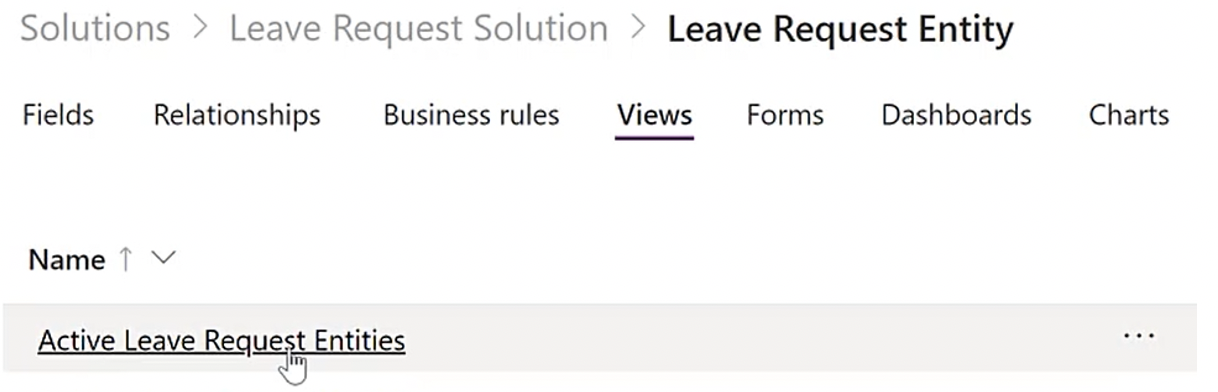
- Navigate to the Views tab
- Select Active Leave Request Entities
- Right-click on Created On Column > Remove
- Add Last Name by clicking the field on the left
- Add Email by dragging the field to the editor
- Add Start Date
- Add End Date

- Once your View looks like the above, click Save, Publish, then Back
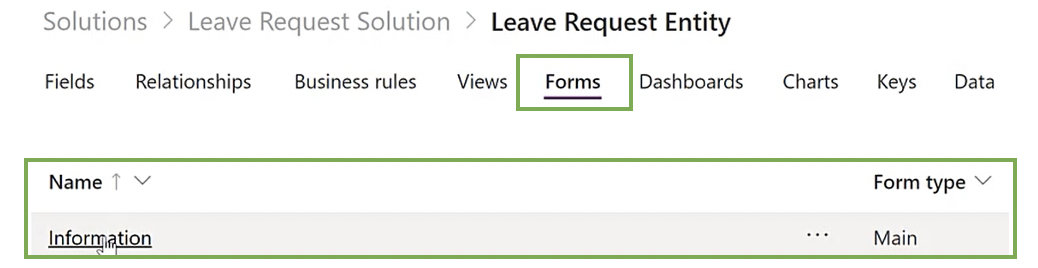
- Navigate to the Forms tab
- Click on the row with the Form type “Main”
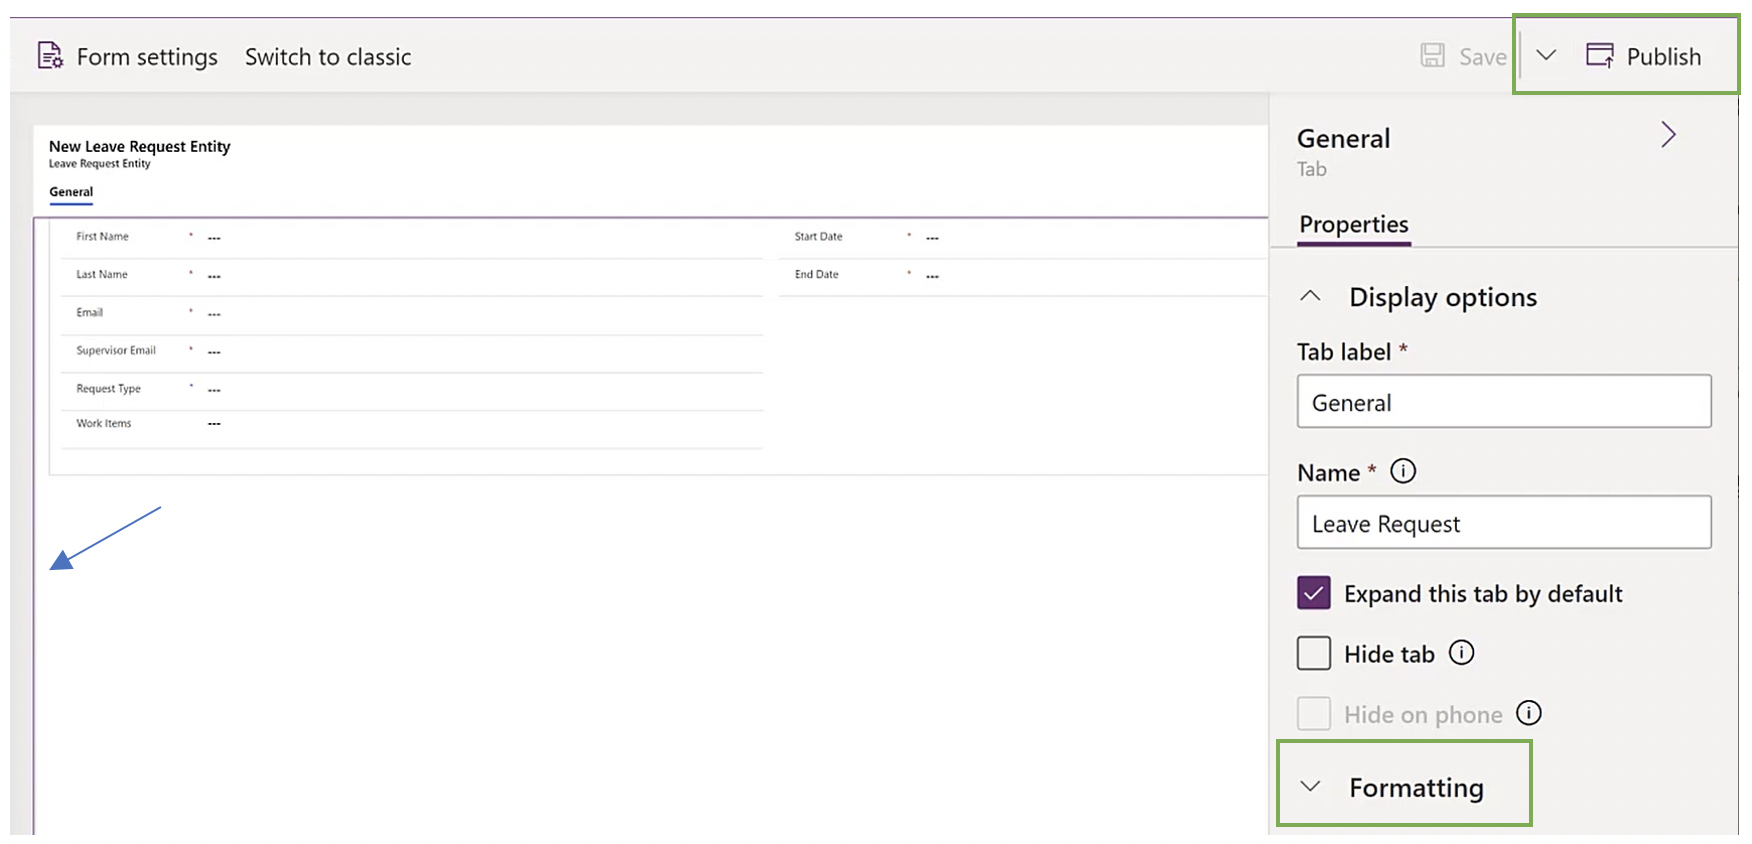
- Add all custom fields by clicking them directly on the left
- Select the section so that it is outlined in purple
- Click Formatting on the right, select 2 columns
- Click on the row with the Form type “Main”
- Once your Form looks like the above, select Save, Publish, then Back
Model-Driven App
- Navigate to the “Leave Request Solution”
- Select New > App > Model-Driven App
- Name it “Leave Request Back Office”
- Check “Use the existing solution to create the App”
- Select Next
- Select Solution: * “Leave Request Solution”
- Select Site Map to configure it
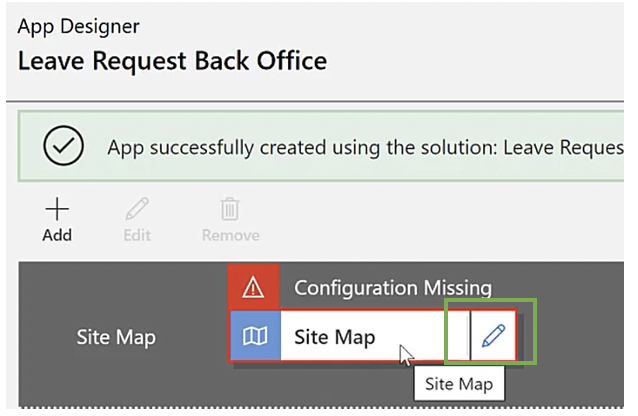
- Select the pencil next to New Subarea
- Select the “Leave Request Entity” from the dropdown on the right
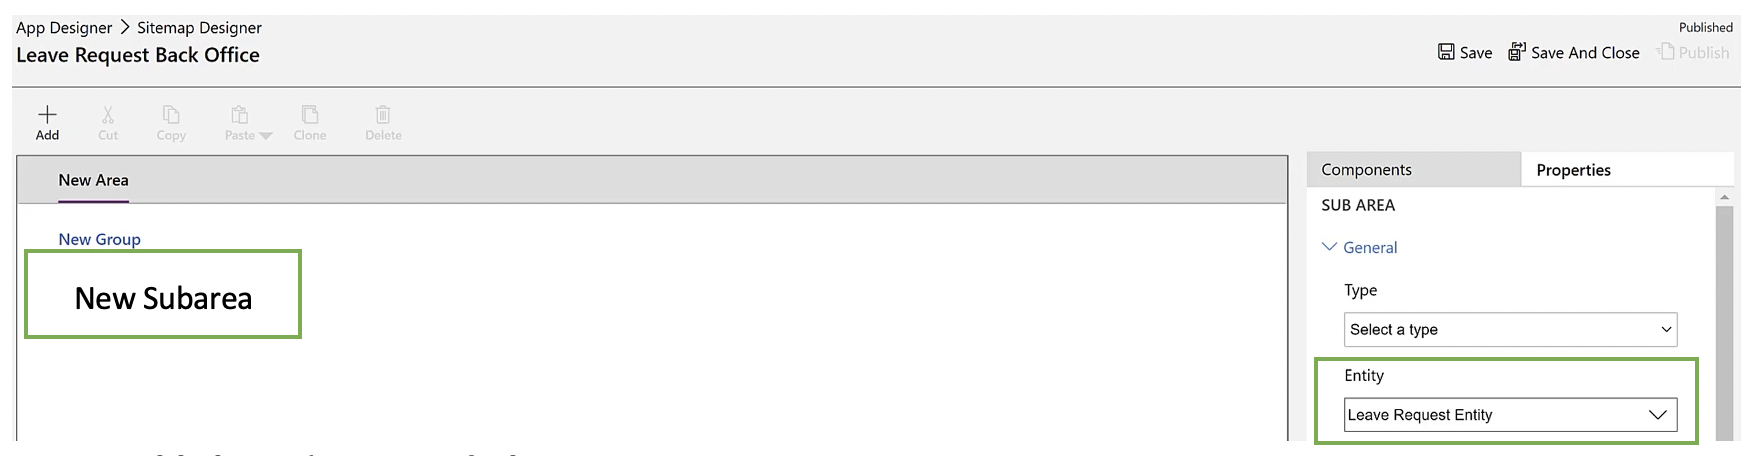
- Publish, and Save and Close
- In the App Designer view, select Publish then Play
- Select New
- Add test data
- Select Save & Close
Canvas App
- Navigate back to the “Leave Request Solution”
- Select New > App > Canvas App > Tablet form factor
- Select the Insert tab > Forms > Edit
- A box will appear in the editor, select Connect to data
- Select “Leave Request Entities” on the left
- Under Data source on the right, select “Leave Request Entities”
- Select Edit Fields
- Add the remaining fields in the popup modal
- Set Default mode to New
- Change name to “Leave Form”
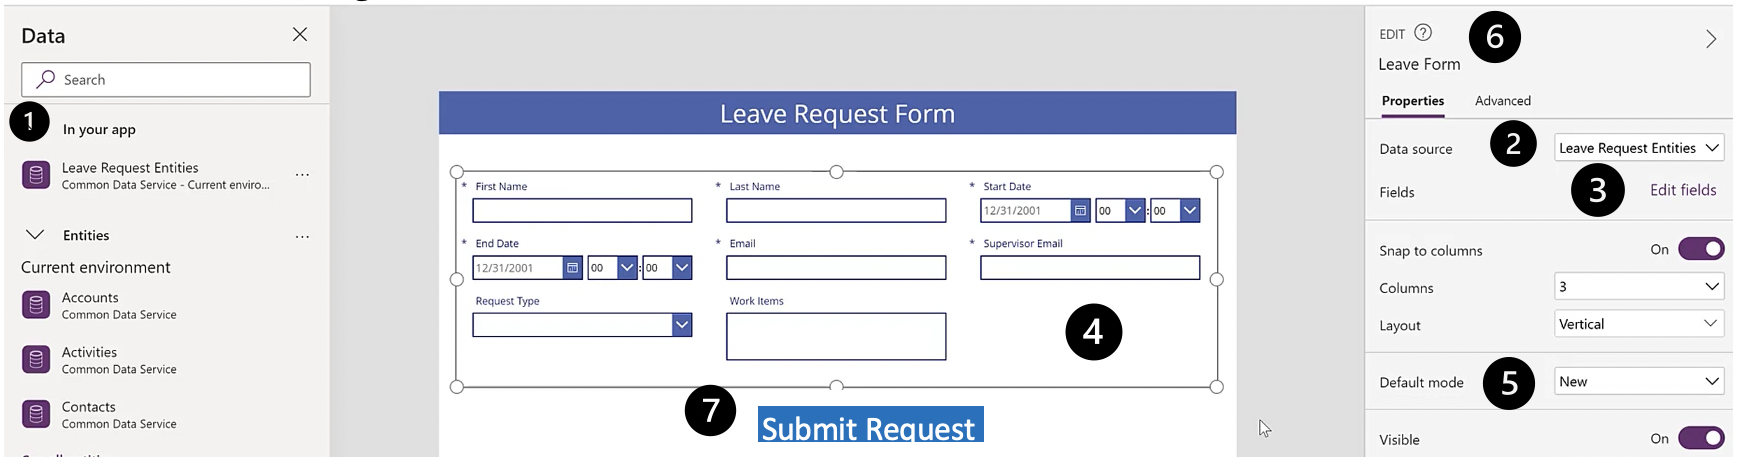
- Navigate to Insert tab > Button
- Select OnSelect from dropdown
- Type “SubmitForm(‘Leave Form’);Navigate(Screen2);” in the functions(fx) box

- Select Text from dropdown and type “Submit Request”
- Navigate to Insert tab > New Screen > Success
- Navigate to the File tab > Save > Publish > Play

- Add test data, select Submit, navigate back to the Model-Driven App to see the new entry
Power Automate
- Navigate back to the “Leave Request Solution”
- Select New > Flow
- In the search box type “When a record is created” and select the Common Data Service option
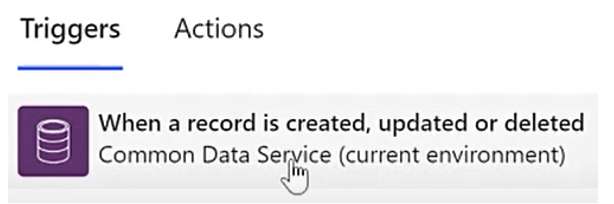
- Fill in the trigger box:
- Select New Step
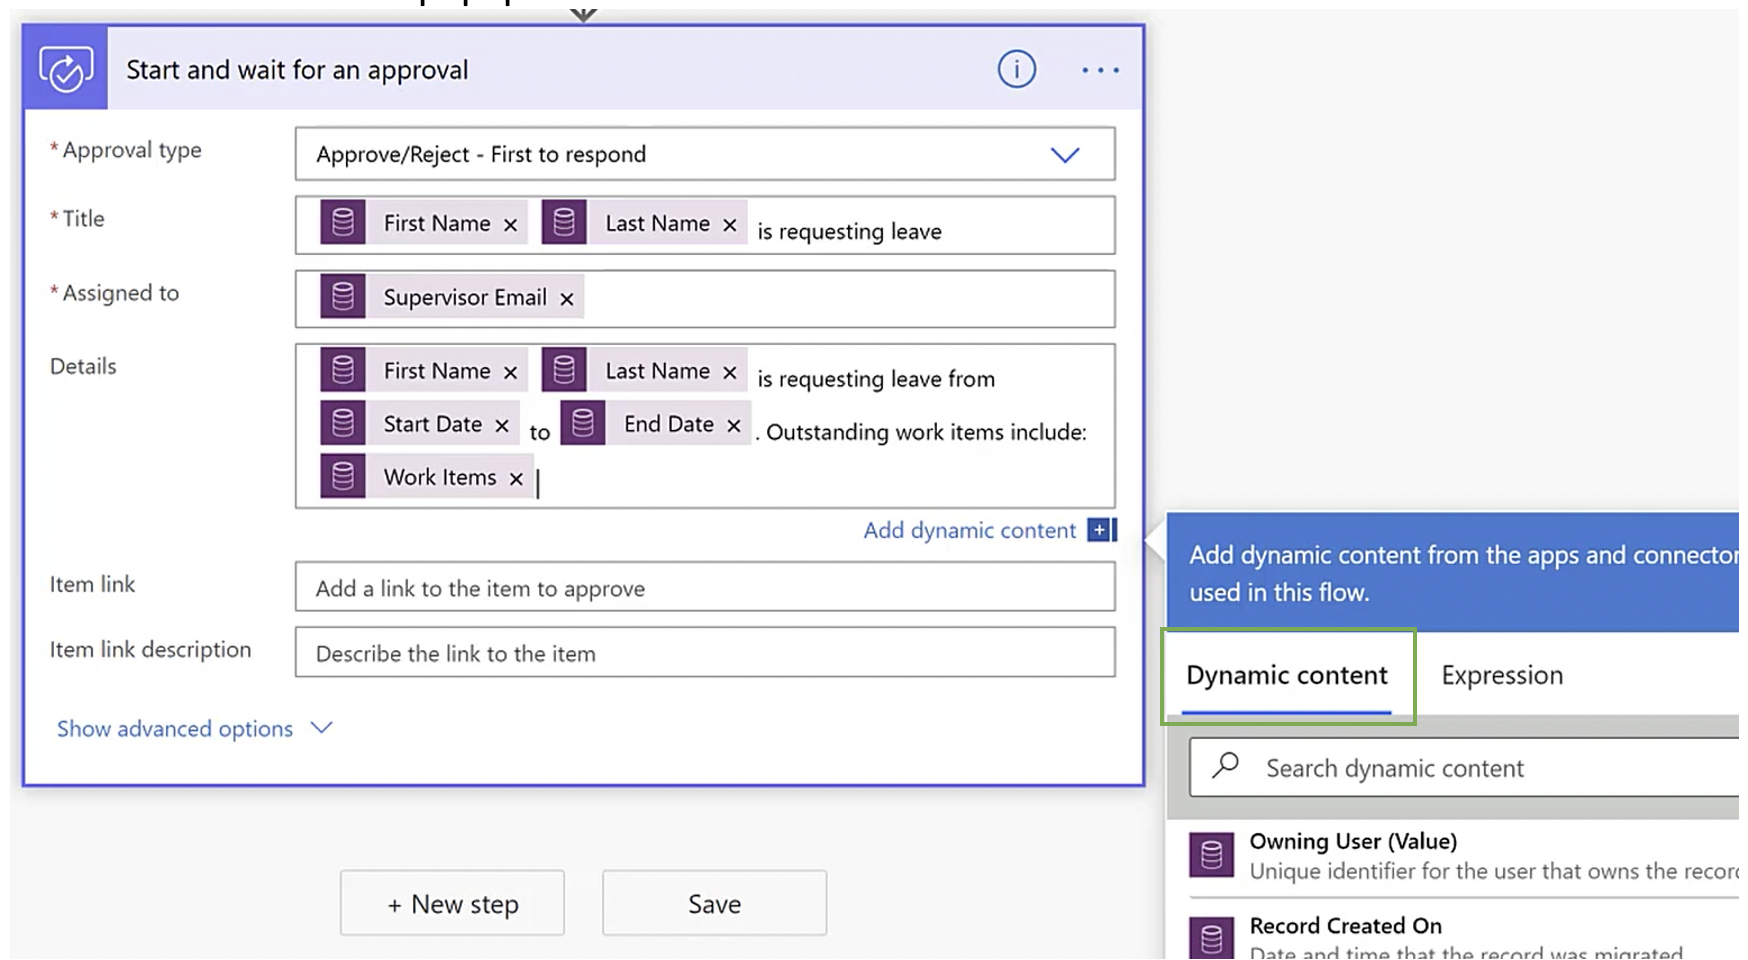
- Then the Choose an Action box, type “Start and wait for an approval” in the search box and select it
- Fill in the action box using the Dynamic Content box
- Click inside the input field and then select the correct dynamic field from the Dynamic Content popup box
- Click inside the input field and then select the correct dynamic field from the Dynamic Content popup box
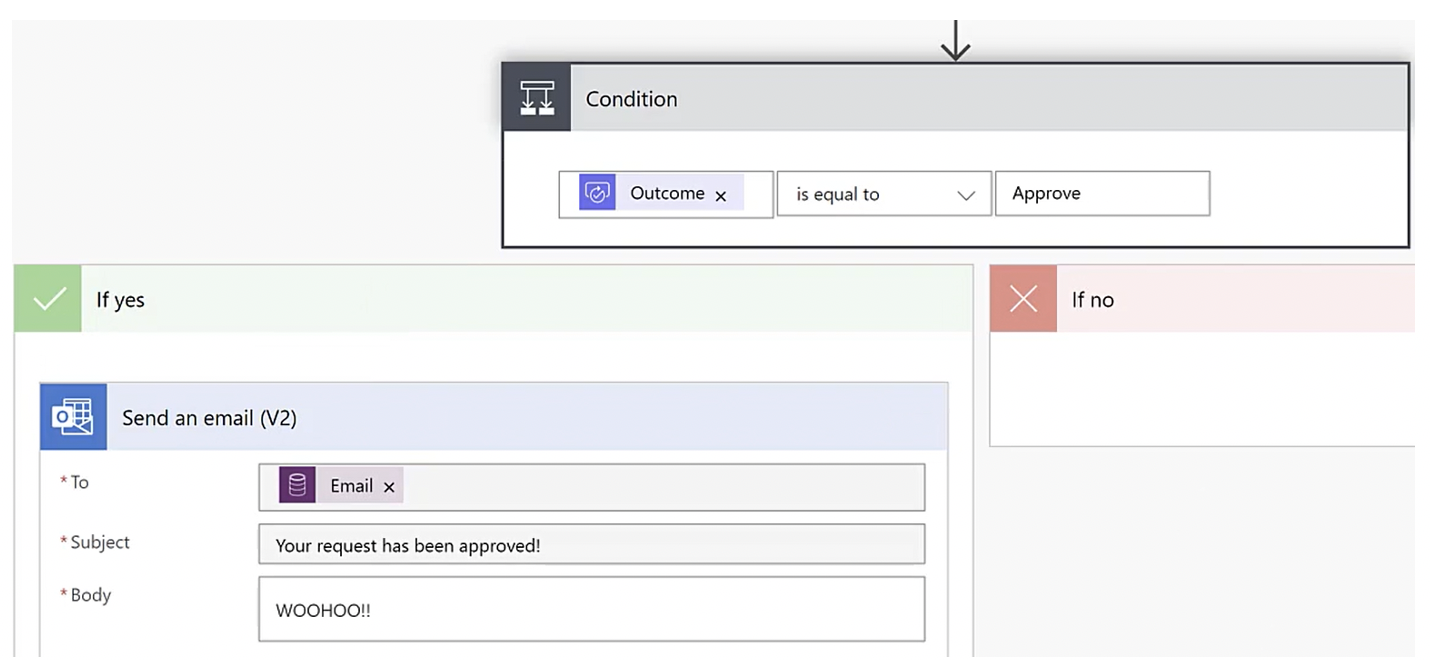
- Select New Step
- Select Condition
- Fill in the boxes:
- Select Save >Test > Check “I’ll perform the trigger action” > Select Save & Test
- Navigate to your Canvas App, select Play, add test data, and Submit Form
- You should see an approval email in the inbox you sent the supervisor email to, select Approve
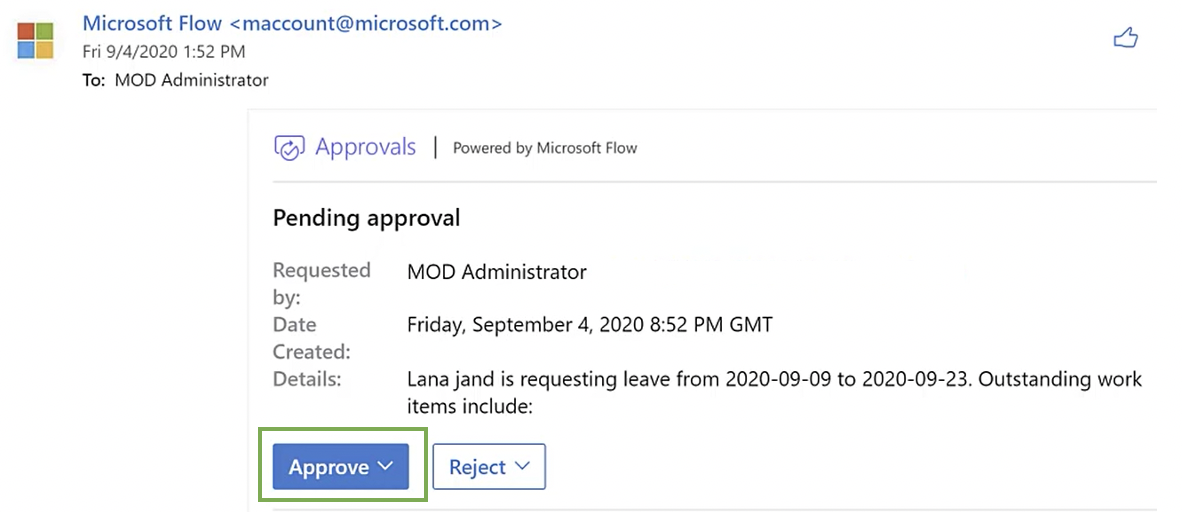
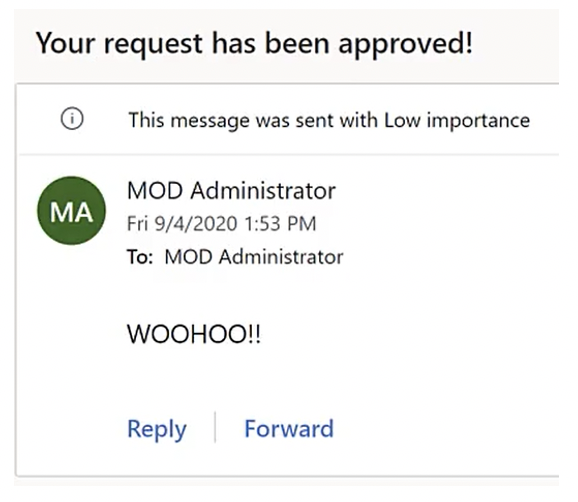
- Another email will be sent to the employee’s email with the response
Final Thoughts
Congratulations! You have completed the Leave Request app using the Common Data Service, a Model-Driven App, a Canvas App, and Power Automate. You have a fully functioning application that can be used right away! The next steps would be to implement a status field where the Approve or Reject decision will be updated in the Model-Driven App so supervisors can keep track of any pending requests. This app can be adjusted to your organization’s needs and requirements, but this app is a great starting point.
INFOPATH FORM MODERNIZATION WITH POWER PLATFORM
Discover how we helped a Fortune 100 Insurance Company modernize their InfoPath forms with Power Platform.