![]() Microsoft Dynamics CRM 2011 has come a long way from its predecessors in many areas. For companies using both CRM 2011 and SharePoint 2010, the improvements can be appreciated even more since Dynamics CRM 2011 has native SharePoint 2010 document management capabilities right out of the box.
Microsoft Dynamics CRM 2011 has come a long way from its predecessors in many areas. For companies using both CRM 2011 and SharePoint 2010, the improvements can be appreciated even more since Dynamics CRM 2011 has native SharePoint 2010 document management capabilities right out of the box.
This functionality is apparent in a couple of different places in the CRM 2011 web interface. First, there is a page under the Settings section for Document Management. Second, some entities will have a Documents area available on their forms. Please see the screen shot in Figure 1 below. (Click on any image to see full-size.)
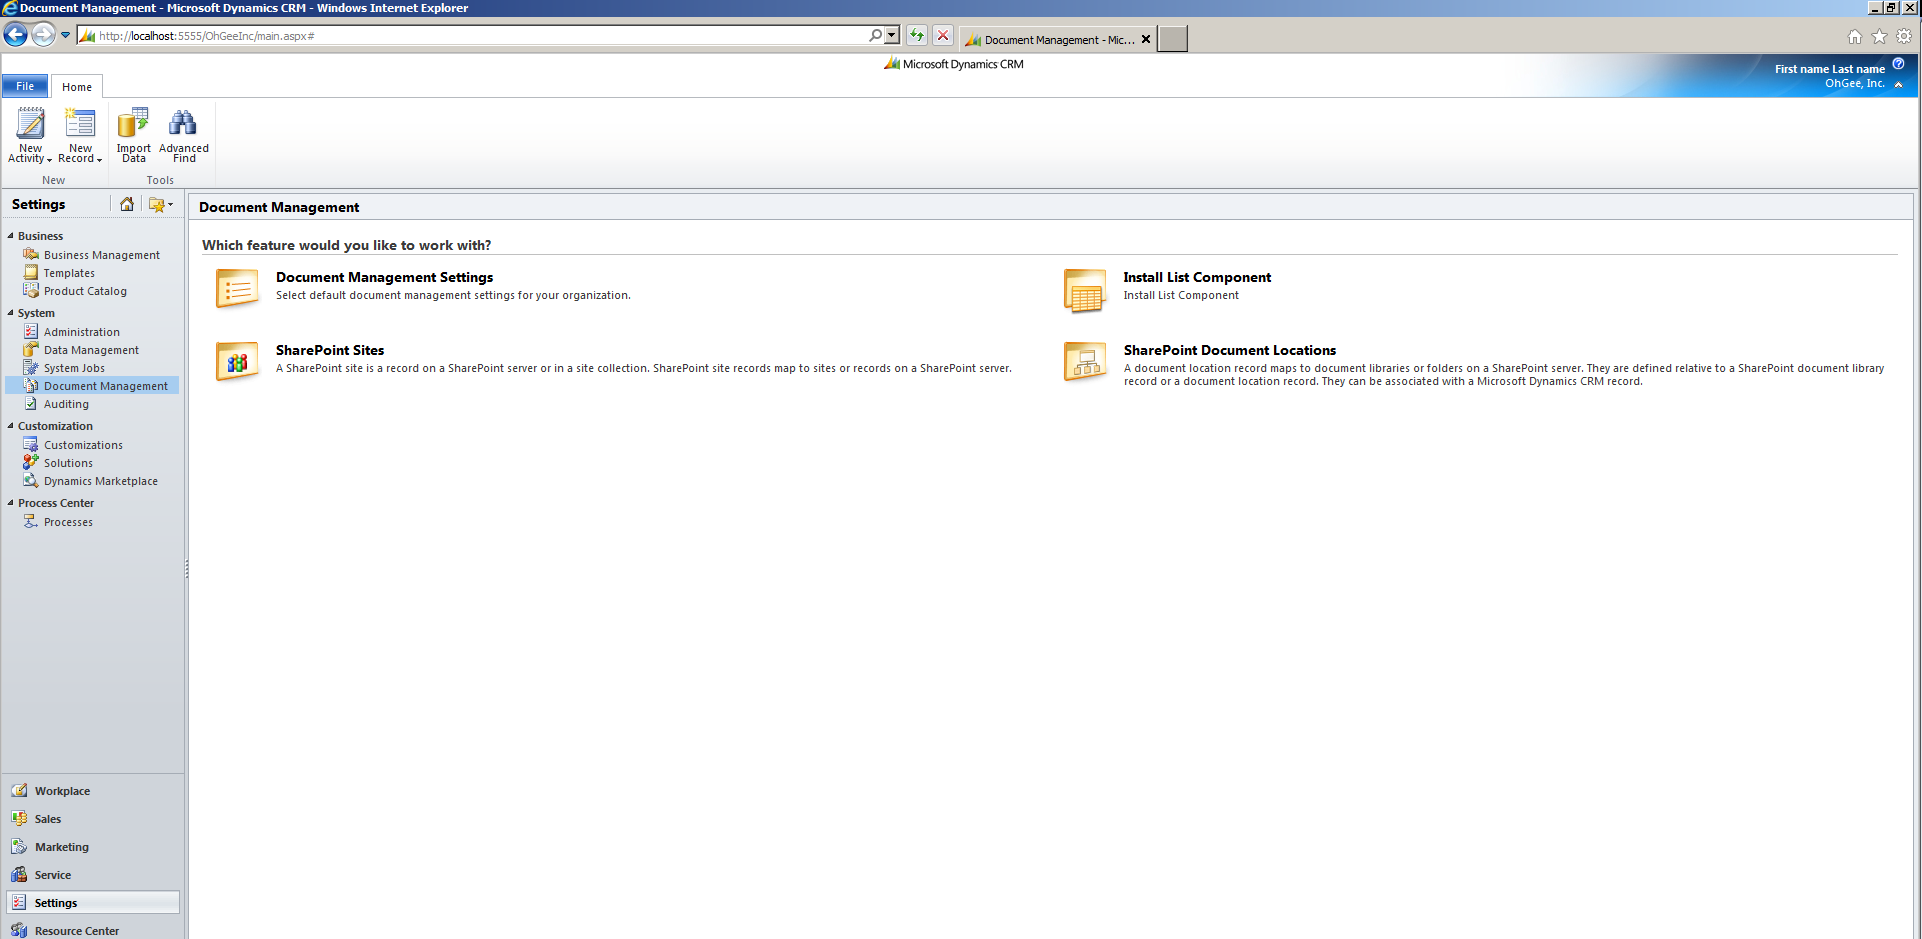
For this write-up, I’ll be focusing on the Document Management page and the required steps for configuring access to SharePoint 2010 as well as installing the SharePoint List Component.
- Document Management Settings: Allow you to select which entities will have native document management capabilities.
- Install List Component: Allows you to download the latest version of the SharePoint List Component. The SharePoint List Component can be configured to automatically create your document structure versus building it out manually.
- SharePoint Sites: These are SharePoint sites that are recognized by the CRM system. When you run the Document Management Settings Wizard a site is created here. You can also create sites manually.
- SharePoint Document Locations: These are SharePoint document library locations recognized by the CRM system. You can also create new and modify existing locations here.
SharePoint List Component
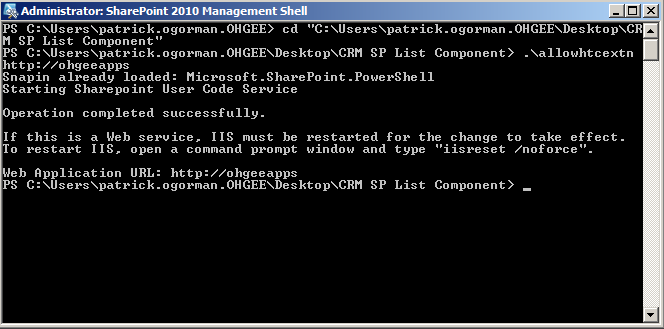
To install the SharePoint List Component, first download it and extract the contents of the executable. The extracted files should include a PowerShell script and a SharePoint (.wsp) Solution.
- Under the Site Settings for the Site Collection you want to use for document management, upload and Activate the crmlistcomponent.wsp solution.
- Execute the “AllowHtcExtn.ps1” script on the SharePoint server (e.g.
AllowHtcExtn.ps1https://servername)

Configuring the Entity Document Libraries & Adding Documents
Back in our CRM environment, we need to configure an entity to use the SharePoint List Component and point it toward a valid SharePoint Site Collection. If you have not done so, you will need to create a site collection on the SharePoint Web Application that you deployed the SharePoint List Component solution to.
1. Click on the Settings button in the left-navigation panel.
2. Click on the Document Management menu item in the left-navigation panel.
3. Click on Document Management Settings.
4. Since the Account entity should already be checked (if not, check it), enter the URL for the Site Collection you are going to use for document management.
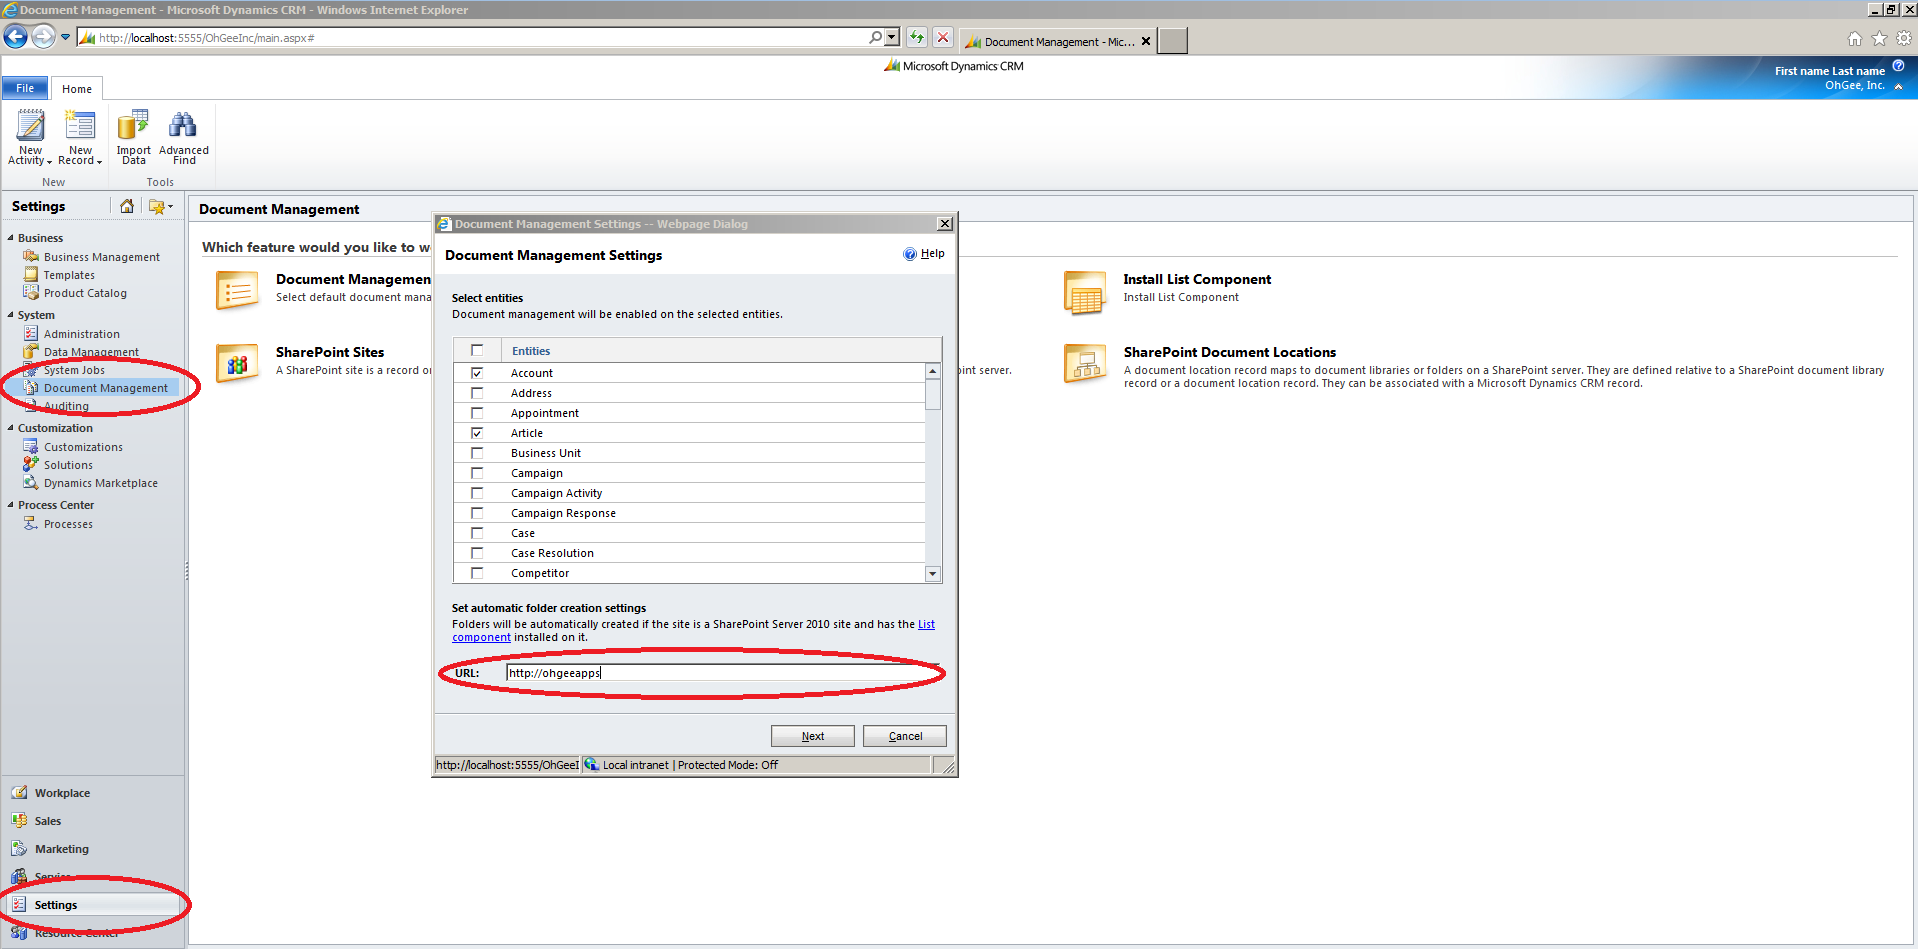
5. Click Next.
6. Since we want to manage these documents in folders based on a specific Account, check the “Based on entity” checkbox and select “Accounts” from the dropdown.
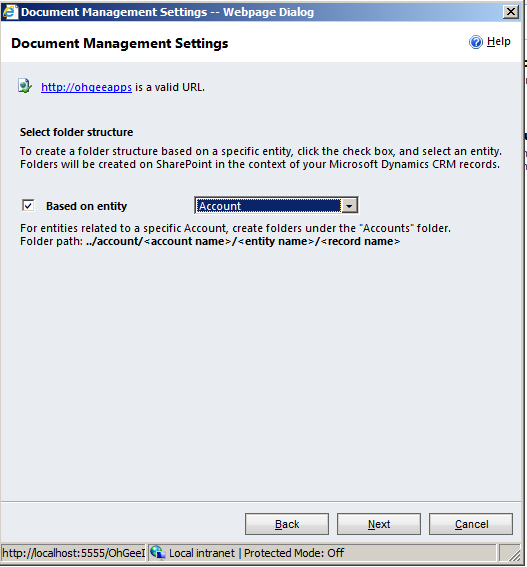
7. Click Next. You should see a dialog that informs you the process could take a while.
8. Click OK and wait for the items to be created on the Document Management Settings – Webpage Dialog.
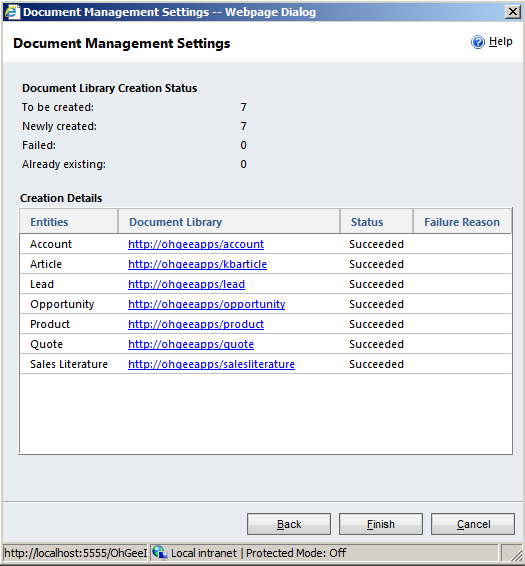
9. Click Finish.
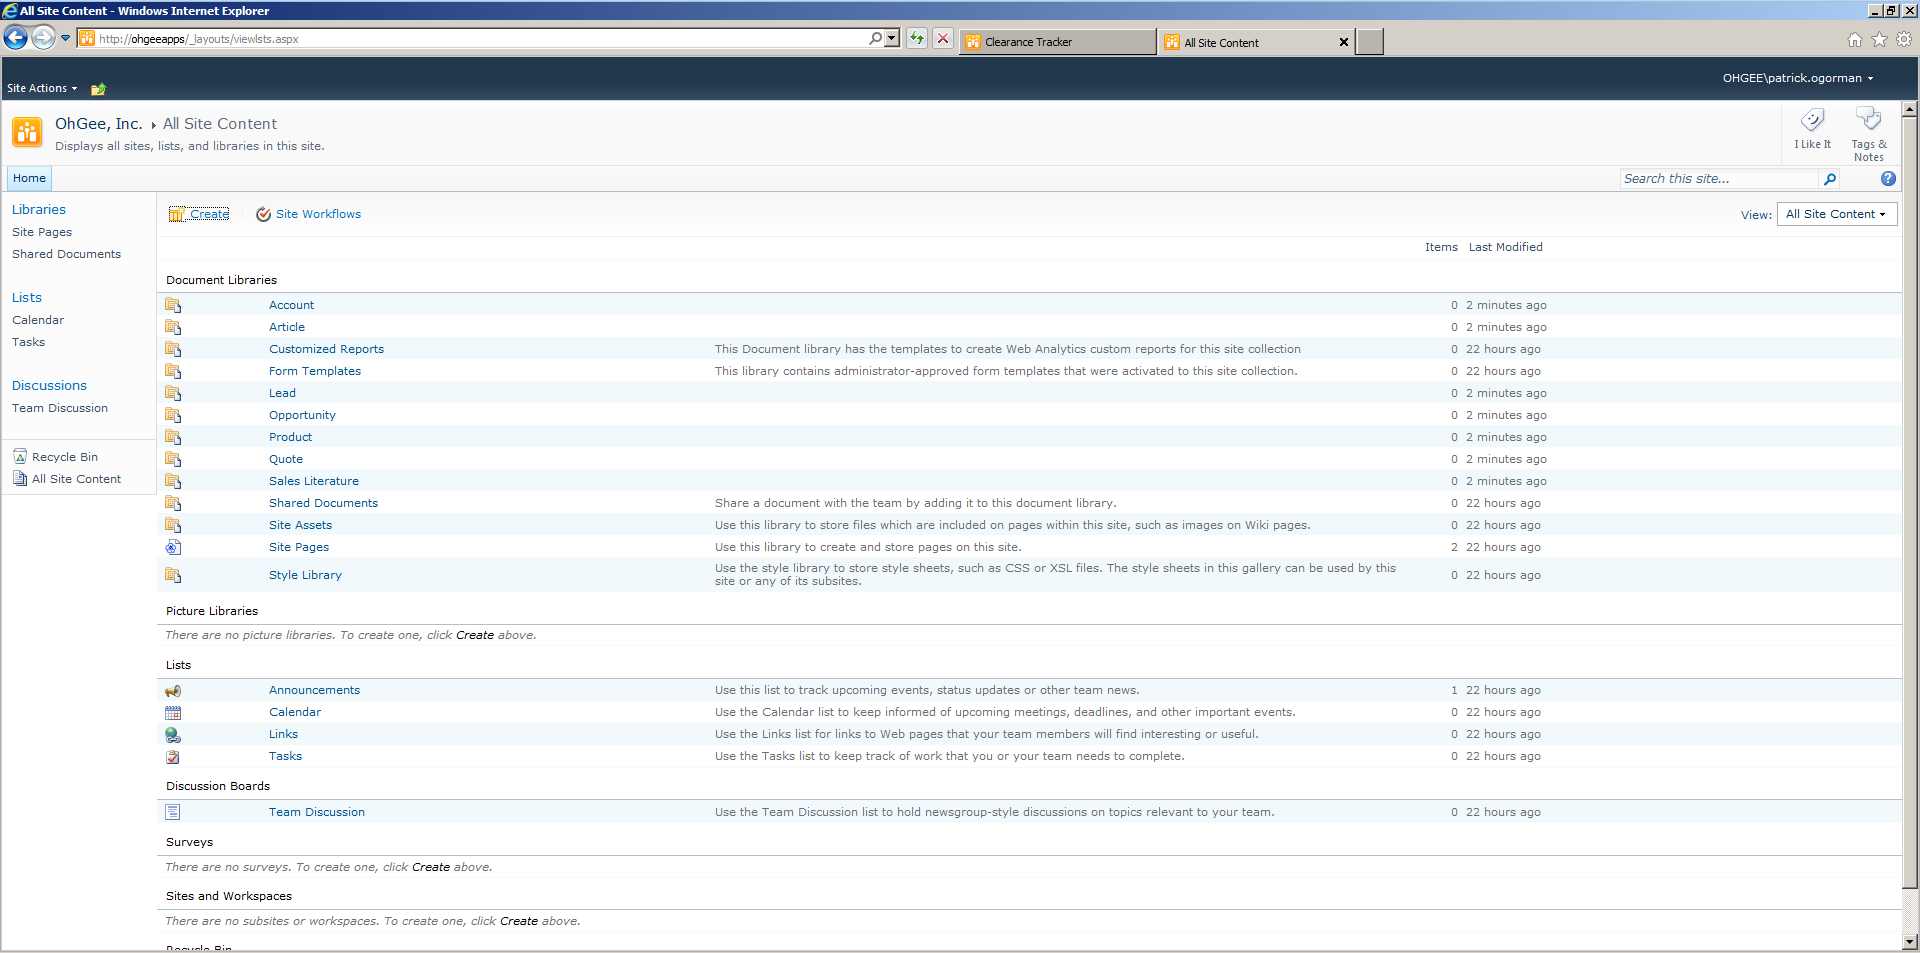
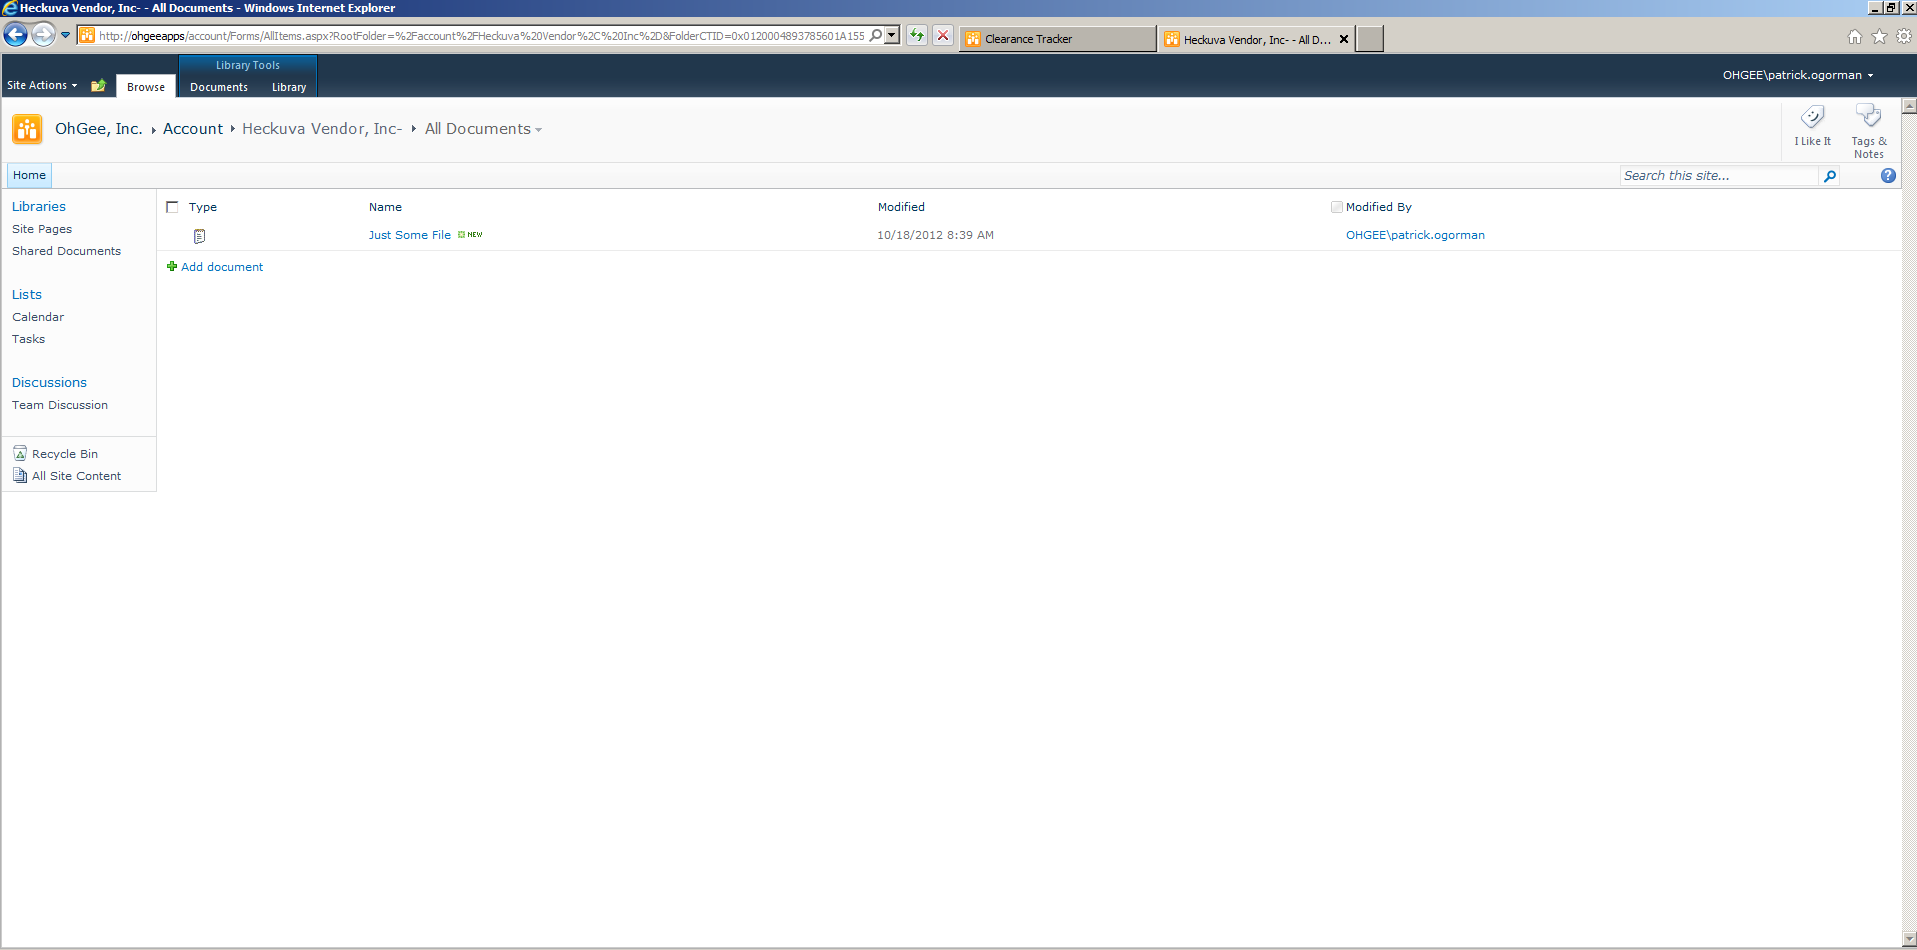
10. Jump back over to your SharePoint environment and take a look at the Document Libraries that were created in this process for the specified entities.
11. Jump back over to the CRM environment and open up an Account entity or create a new one. Note: if you create a new one you will have to save it first before you can access the Document Management capabilities.
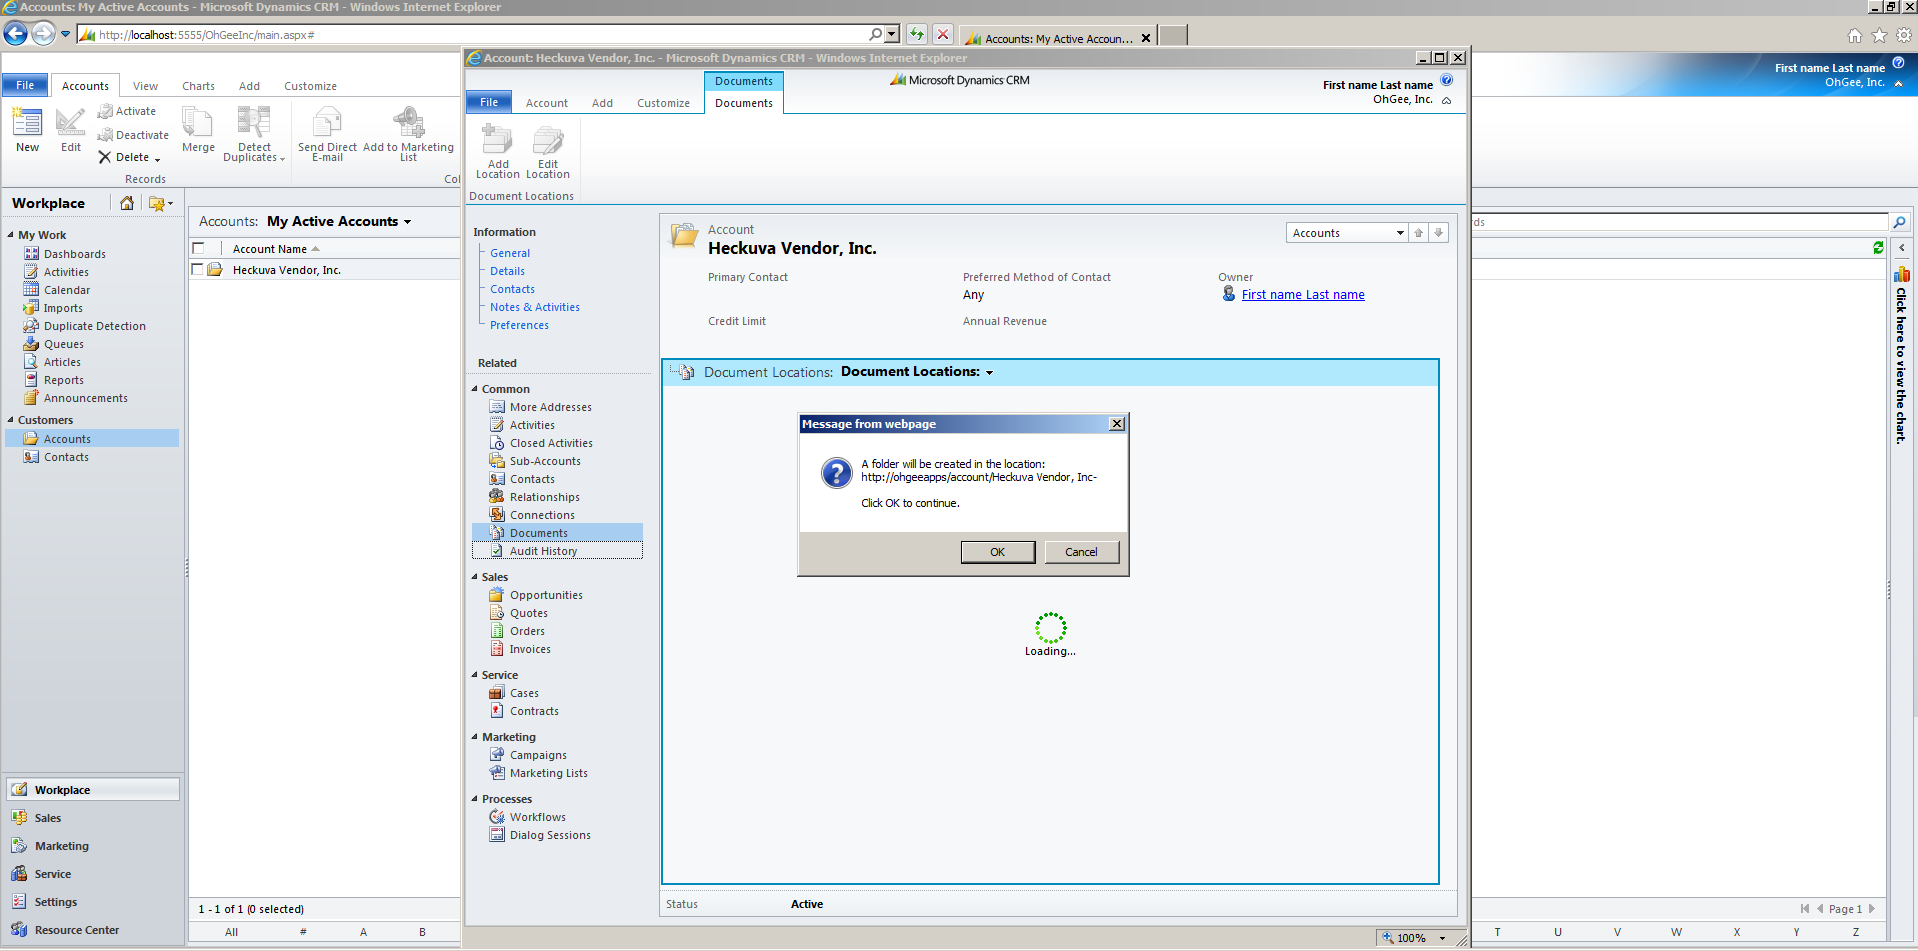
12. Click on Document Management in the left navigation panel for the entity. CRM should automatically prompt you to confirm creating a document library.
13. Click OK.
14. Once the process is complete, use the “Add” button to add a document or two from your computer to the document library.
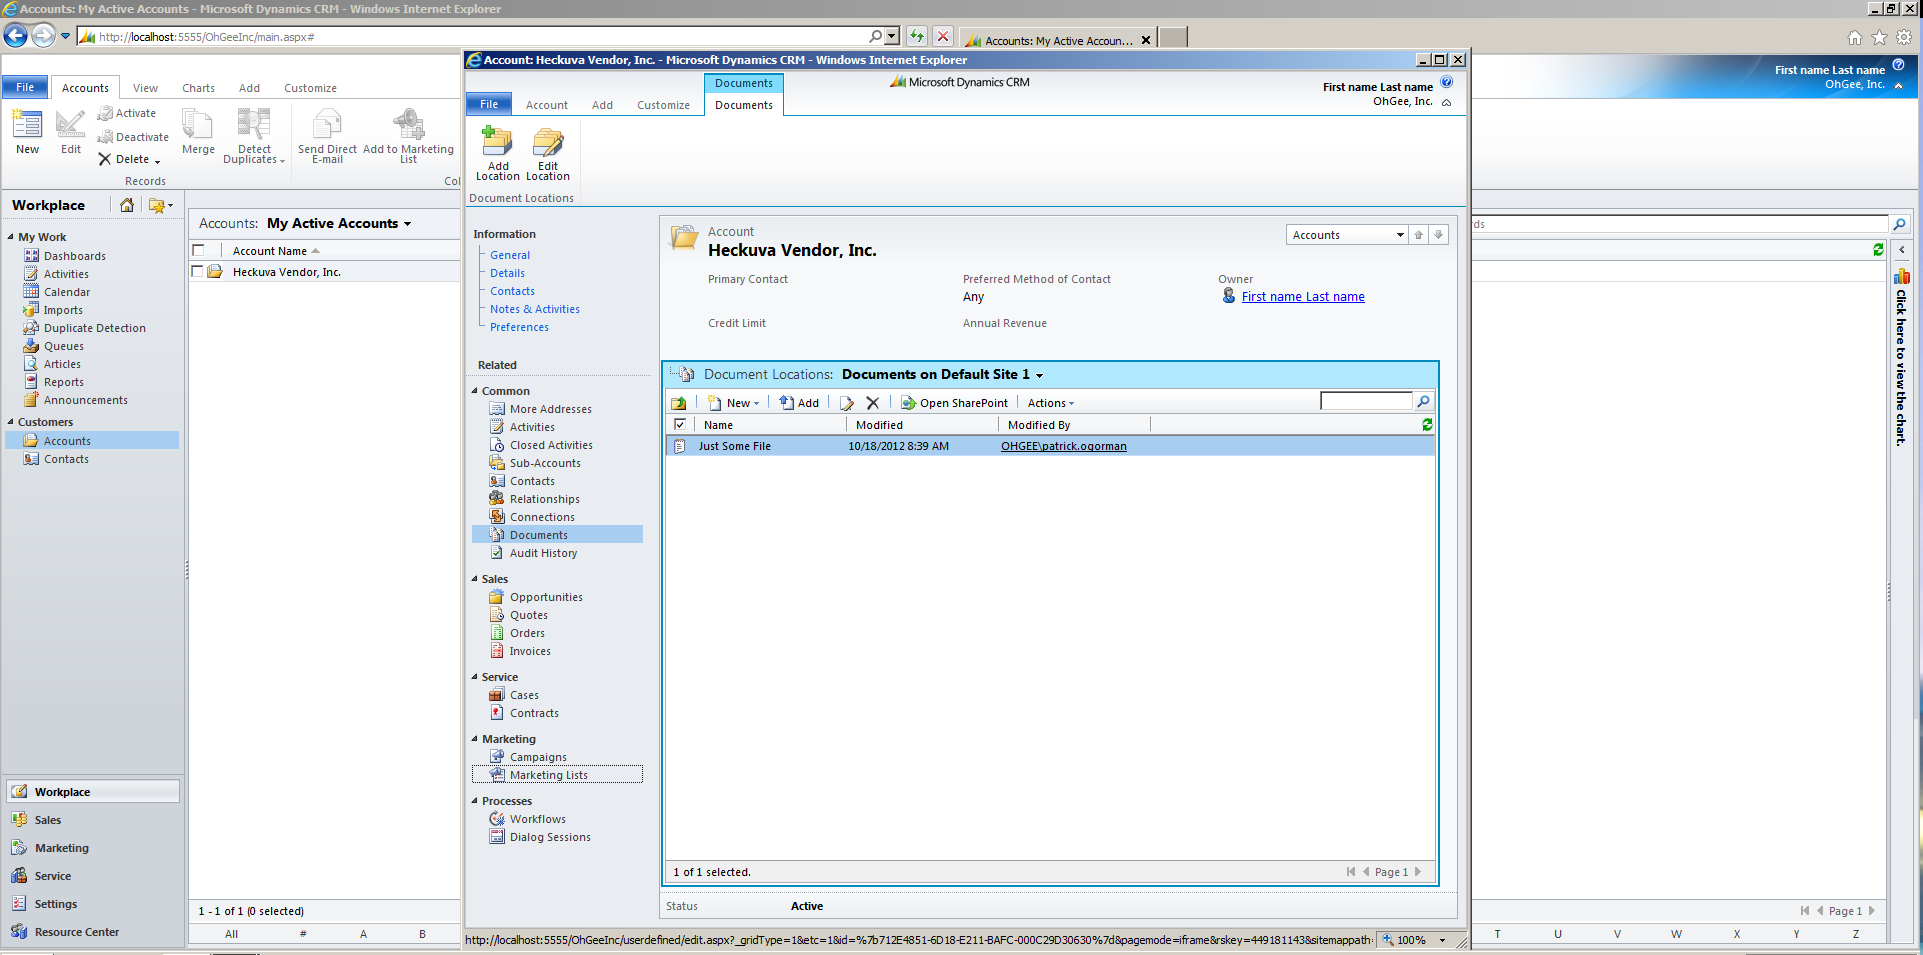
15. Jump back over to SharePoint and open up the Accounts document library. You’ll notice that the account has a folder in this library named after it. Open this folder and you should see any documents you uploaded.
Conclusion
This write-up demonstrated the basic functionality of using the native CRM/SharePoint Document Management capabilities, including the SharePoint List Component for Microsoft Dynamics CRM 2011. This out-of-box functionality makes it easy for businesses to begin leveraging SharePoint Document Libraries for their CRM records — a crucial step for emerging businesses where collaboration is key to success.