


If you have a Web application that will receive even moderate traffic, you should probably perform some load testing. Load testing can help identify what your maximum operating capacity is, as well as any bottlenecks that might prevent you from reaching that capacity. Now I’m not going to do a deep-dive into load testing, but instead I’m going to show you how to use Team Foundation Service to perform that testing in the cloud.
I’m only going to use a couple of tools here. First, I’m using Visual Studio 2013 Ultimate. If you don’t yet have it, you can download a trial here. Second, I’ll be using Team Foundation Service. If you haven’t yet signed up for this, you should. There is a free offering (for up to five users) and the sign-up is quick and painless.
Since I don’t already have a project with load tests, I’m going to quickly step through creating one that we’ll use for our demo.
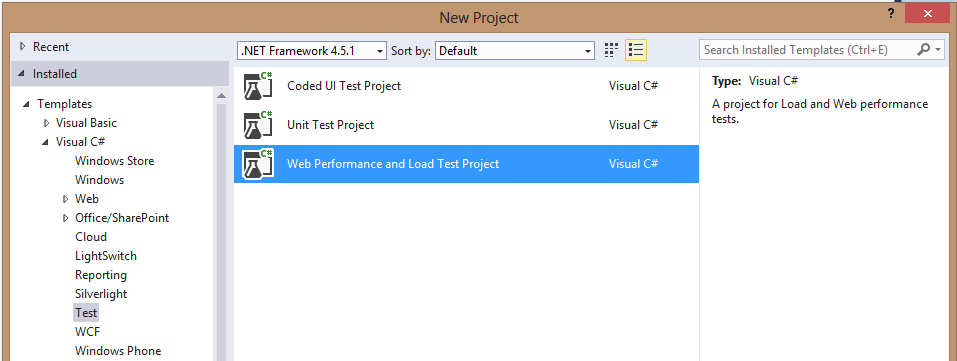
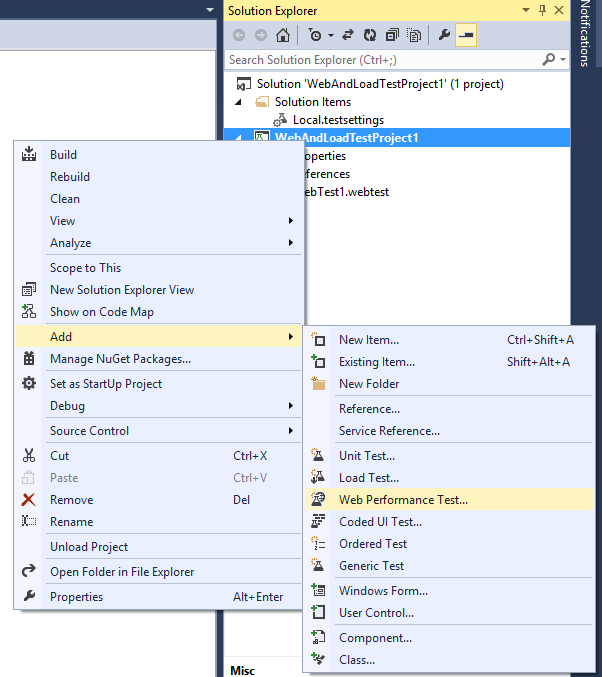
Next, we want to create one or more Web performance tests.
Record a Web Performance Test
- Create a Web performance test. After creating this test, your browser will open.
- Enter the URL of the site you wish to test and begin recording (must be publicly accessible on the Internet). Just use the site the way you feel your users would, and record a little bit of activity.
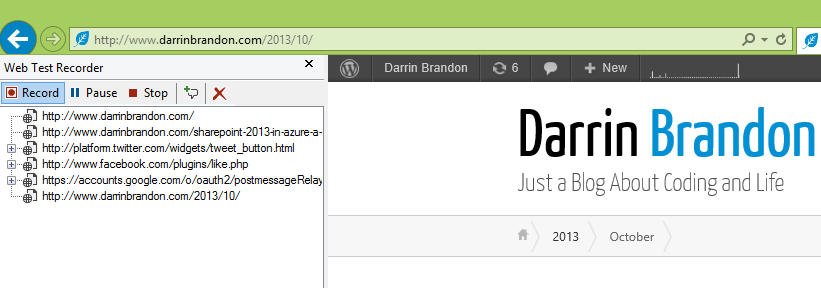
- When you are done, just stop recording. Edit any test properties that you wish to change the performance goals for.
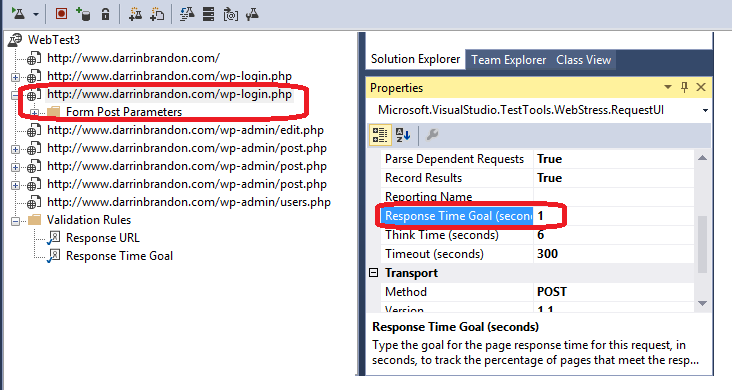
- Save the test.
Create a Load Test
- Create a new load test in your project.
- Step through the load test wizard and configure your test.
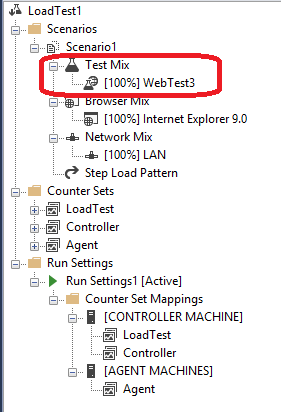
- Select the Test Mix step and add the test(s) that you just created.
When you finish the wizard, the Web performance test is added to the load test and appears in the load test editor.
Set Up Your Project to Use Team Foundation Service
If you have existing load tests that you created using Visual Studio 2010 or Visual Studio 2012, open your existing project using Visual Studio 2013 first.
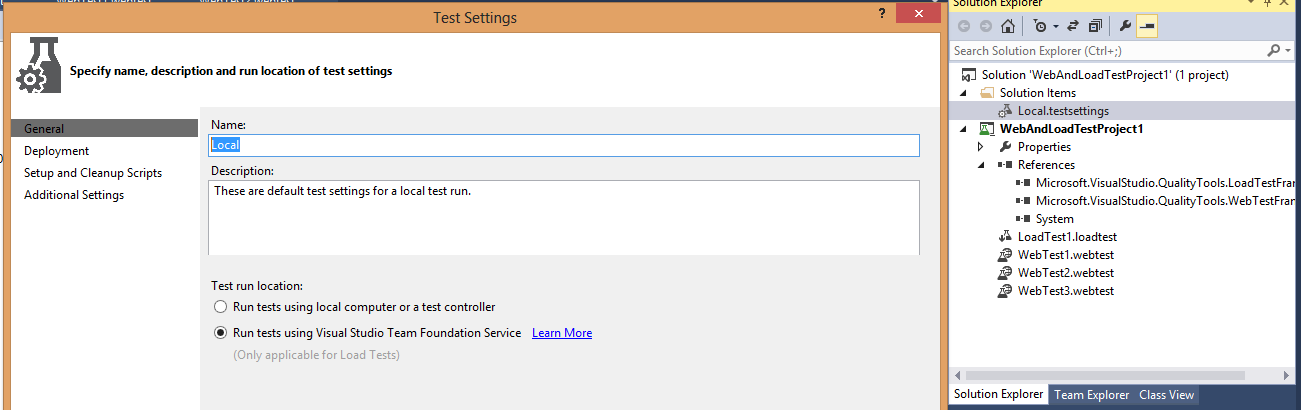
- Edit the test settings file to point your project to Team Foundation Service.
- Next, connect to a Team Project. If you don’t already have one, create one now.
- Now we are ready to run our load test and view the results.
Run the Load Test
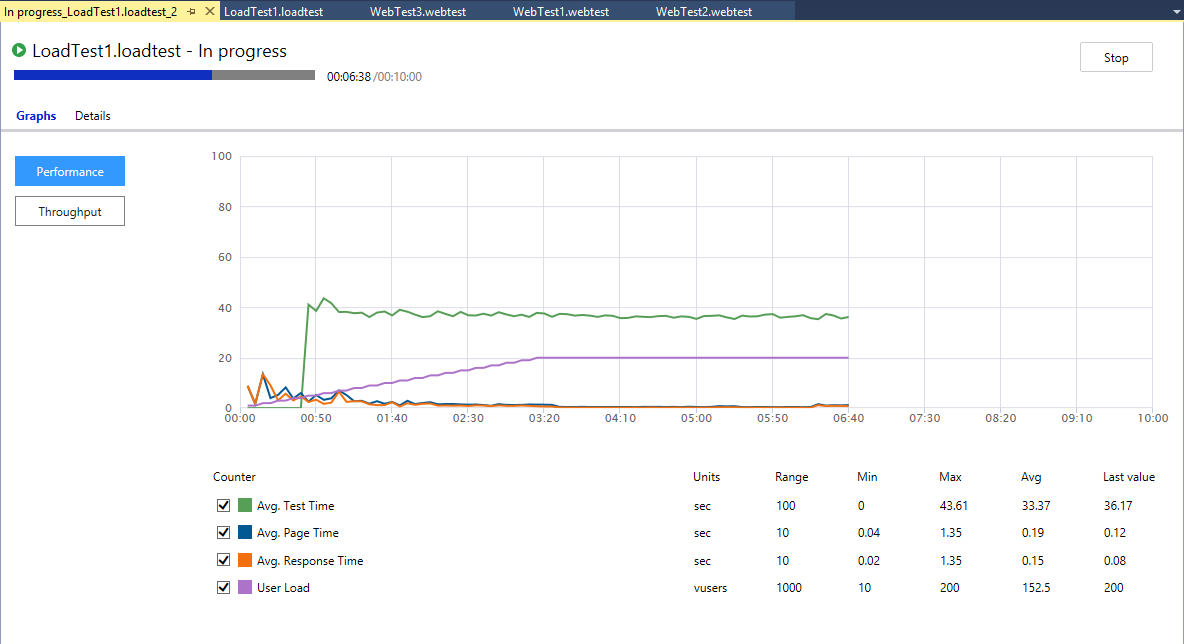
- Run the load test.
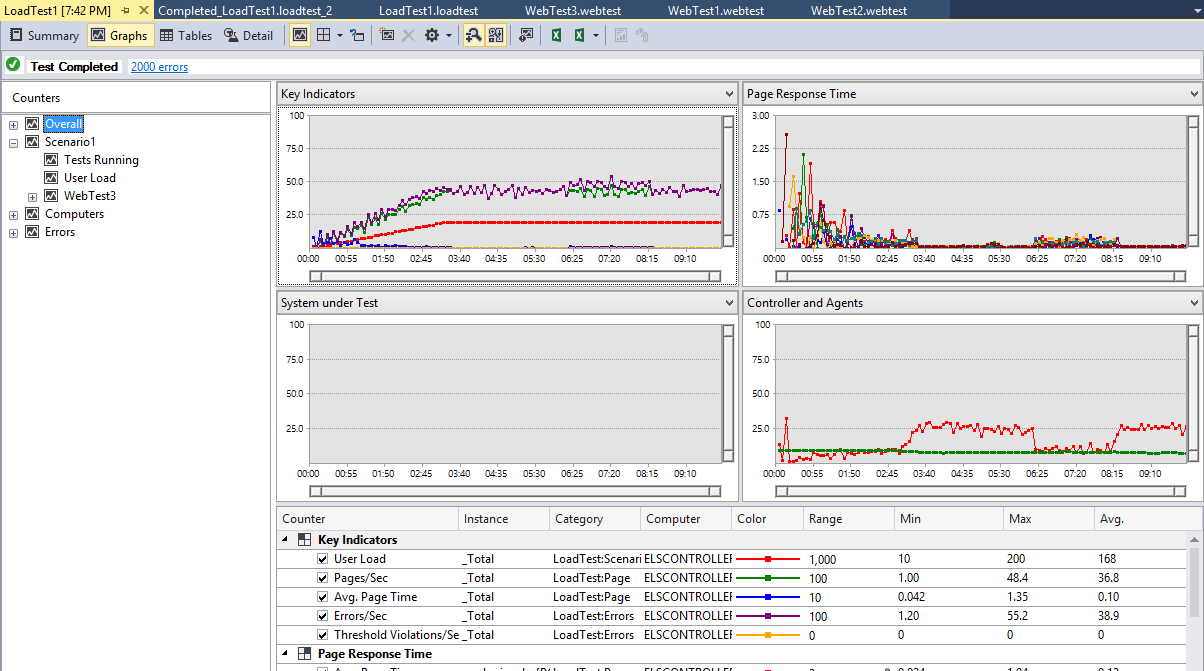
- Once the test has completed, you can download a report for viewing.
Conclusion
With the offering of this feature, Microsoft has made it a breeze to conduct load testing on your website. There is no need to set up your own machines to create this load, and it’s a great way to generate the load of many users hitting your site at the same time. So, go run some load tests using the service. If you run into issues or have any thoughts on this topic, please comment below.

